> ## Documentation Index
> Fetch the complete documentation index at: https://help.kajabi.com/llms.txt
> Use this file to discover all available pages before exploring further.
# Explore the upgraded Automations experience
> Understand what changed with the visual Automation Builder and take full advantage of the latest enhancements.
With the upgraded **Automations** experience, Kajabi offers a more powerful, flexible, and visual way to build Automations across your business. Explore what changed and how to take full advantage of the enhancements.
## What's changing
### Banner and upgrade prompt
When accessing Automations, you'll see a banner inviting you to explore and upgrade to the enhanced version. Click **Explore and Upgrade** to begin:
**Note:** Once upgraded, the Automations experience fully replaces the previous version. Rollbacks are not supported.
## What to expect after upgrading
### Visual Automations replace Automation rules
* Existing Automation rules are copied into the system; however, they no longer exist in their previous format
* If your current Automations share a trigger, they will not be combined into a single Automation. They appear as separate Automations
* For example, if you currently have one Automation that tags a contact and a separate Automation that sends an email when a form is submitted, those remain as two separate Automations after the upgrade
* Automations are created using a visual editor with nodes and branches
### Automation Blueprints
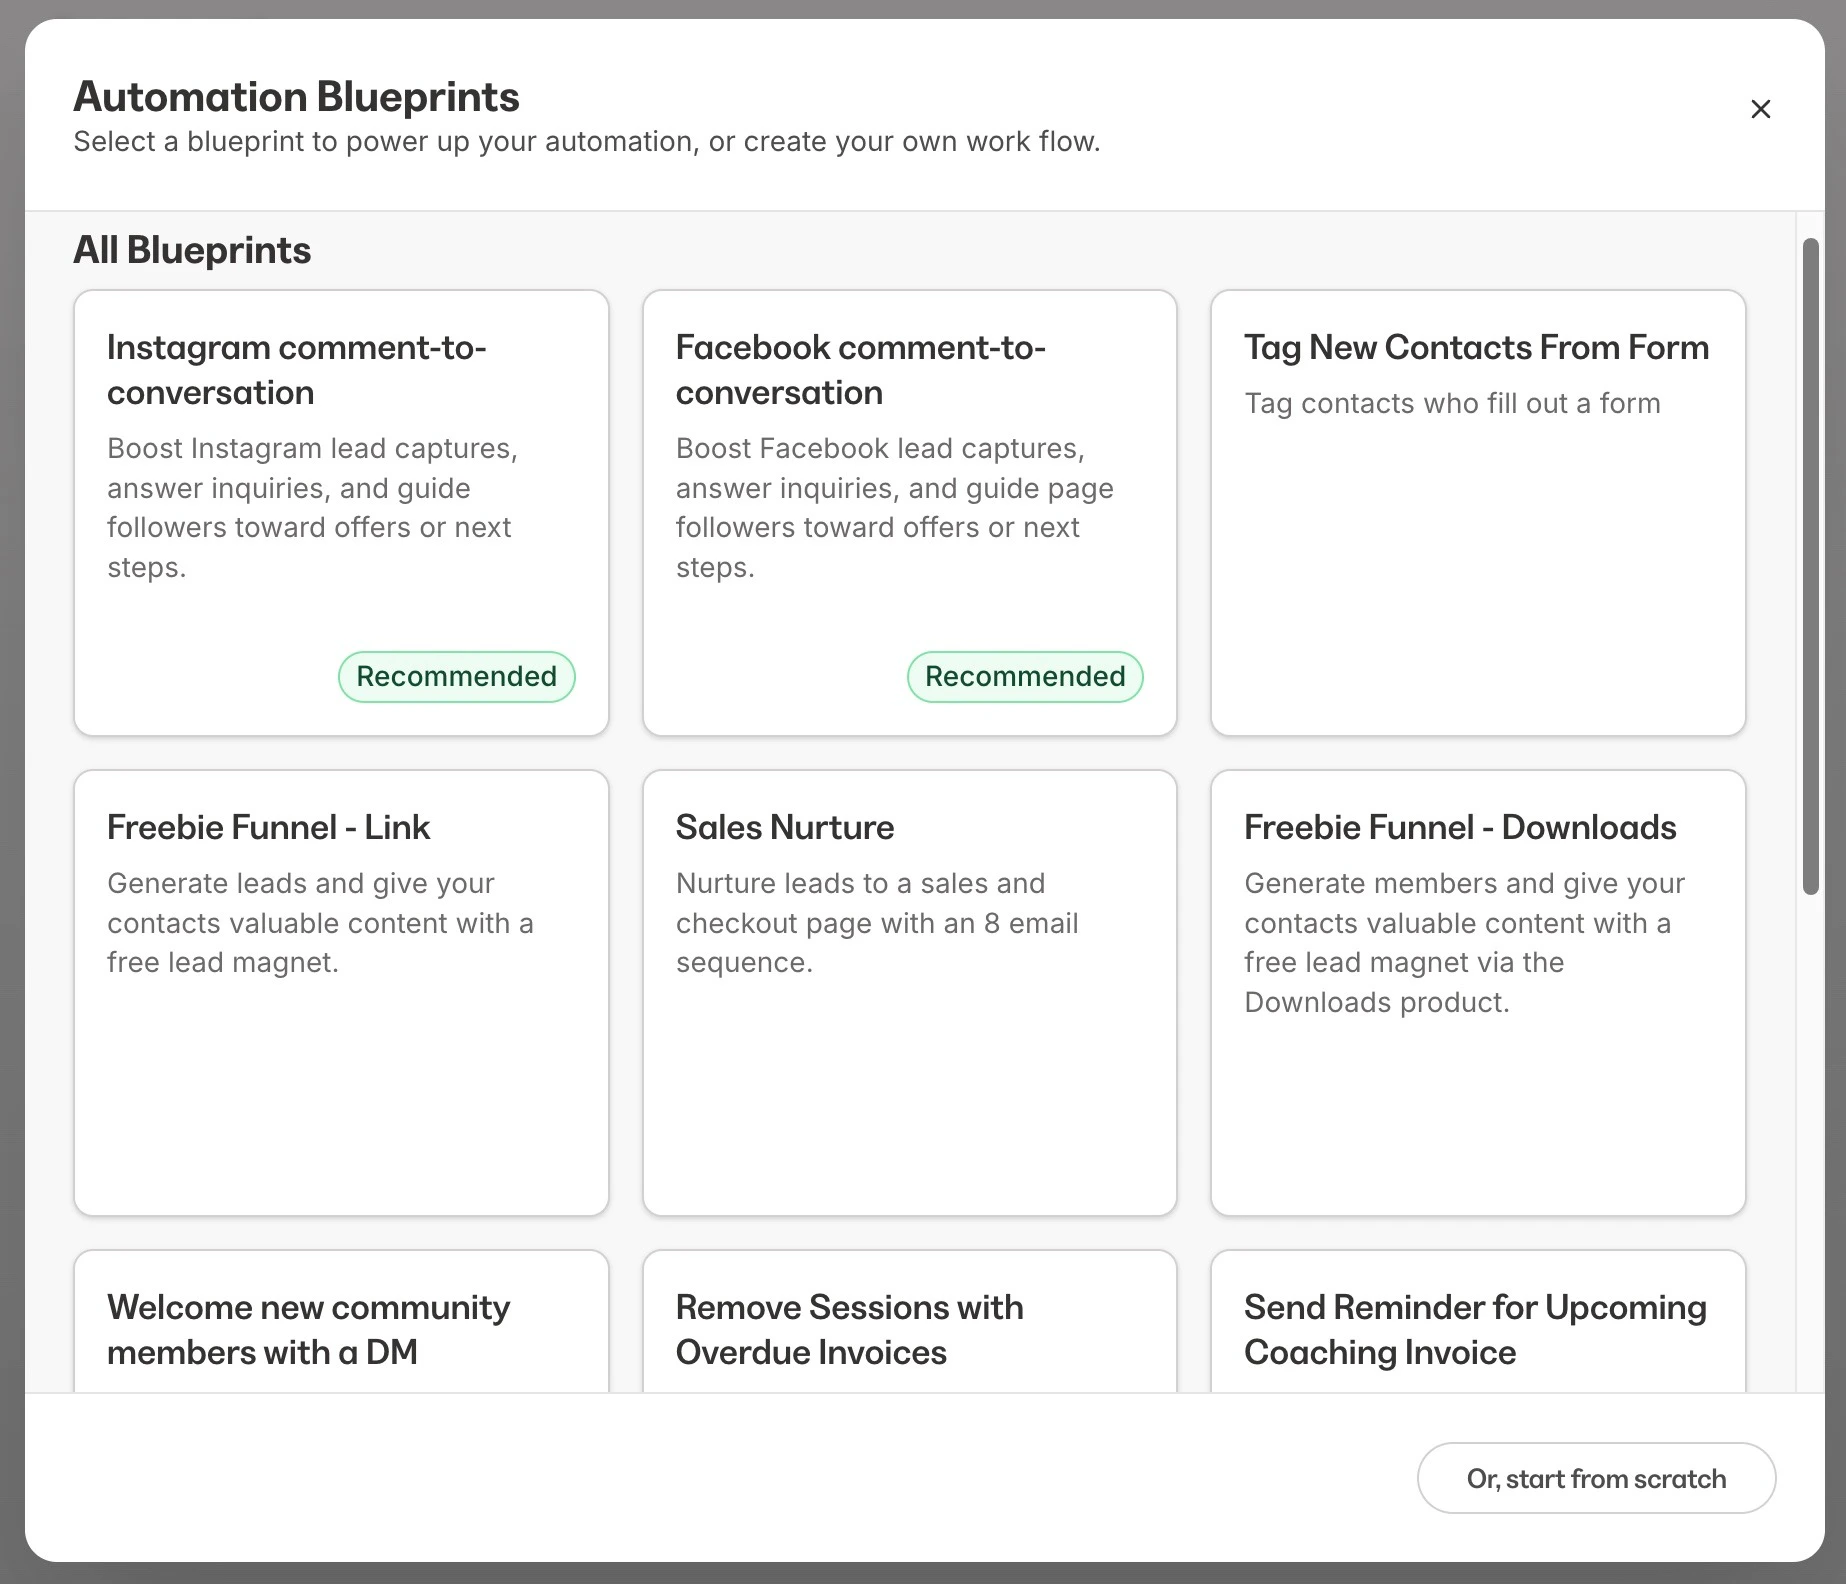
When you create an Automation, you'll see a modal with Automation Blueprints. This is where you begin building your Automation using a templated set of steps, or start from scratch.
 ### Automation basics
#### Triggers and actions (When / Then)
* Each Automation starts with a **When** trigger event
* You can then add one or more **Then** actions that follow
* The system allows multiple **Then** actions for a single trigger. Previously, only one **Then** action was allowed per Automation
#### Draft and publish status
* Automations are not automatically published when created
* You can set the Automation to **Draft** or **Published** when editing
* Automations must be published to run:
### Automation basics
#### Triggers and actions (When / Then)
* Each Automation starts with a **When** trigger event
* You can then add one or more **Then** actions that follow
* The system allows multiple **Then** actions for a single trigger. Previously, only one **Then** action was allowed per Automation
#### Draft and publish status
* Automations are not automatically published when created
* You can set the Automation to **Draft** or **Published** when editing
* Automations must be published to run:
If an Automation contains an error or is missing information, a **Publishing Unavailable** message appears.
Possible errors:
* Must have at least one lead node
* Must have at least one action node
* Email action limit reached
## Features
### Enhanced Automation editor
* **Search bar:** Find Automations quickly by name or keyword
* **Custom naming:** Organize your Automations with clear, descriptive names
* **Total Enrolled:** See how many times the Automation has run. *This does not backfill historical data.*
* **Icon tooltips:** Hover over icons in the editor for helpful explanations
* **Editable When text:** Modify trigger names directly in the editor
* **None Branch:** A fallback path when no conditions in a branch are met
* **Remove Branch Warnings:** A confirmation appears before deleting branches
### Branching logic
The Automations editor supports branching logic, allowing you to create conditional paths within your Automation. If a contact meets the conditions set in a branch, they follow that path. If not, they follow the **None** branch instead.
### Community Automations
Automations offers Community Automations. An Automation Blueprint has been added to the existing Automation Blueprints, with additional **Then** community actions also added.
The **Welcome Community Members with a DM** Automation Blueprint automatically sends a personalized message to Community members:
1. From the Kajabi Dashboard, click **Marketing** > **Automations**.
2. Select **+ New Automation**.
3. Within the pop-up, choose **Welcome Community Members with a DM**.
4. Customize the **When** trigger and click **Save**.
5. Customize the **message** that will be sent when triggered. Click **Save**.
6. (Optional) Choose a contact to send a test message to, then click **Send Test**.
7. Click **Publish** and **Save** the Automation to activate.
If you are starting from scratch or setting up a different Automation, the following **Then** actions are available:
* Send Community DM
* Add a member to a private channel
* Remove member from private channel
* Post in channel
## Where to add Automations
Once upgraded, you can create Automations from multiple areas within Kajabi:
* The **Automations** page
* **Forms**
* **Offers**
* **Funnels** (Automations tab)
* **Courses**
* **Email Campaigns** (both Broadcasts and Sequences)
* **Events**
* **Quizzes**
* **Certificates of Completion**