> ## Documentation Index
> Fetch the complete documentation index at: https://help.kajabi.com/llms.txt
> Use this file to discover all available pages before exploring further.
# Display a logo in all Email Campaigns
> Upload a logo to automatically appear in Email Broadcasts and Sequences.
Upload a **logo** to your Kajabi site so it automatically appears in your Email Campaigns. The logo generates in your Email Broadcasts when you add a Logo section with the [Email Visual Editor](/articles/marketing/email-campaigns/email-visual-editor-overview) and automatically appears in your Email Sequences to create consistent branding.
Want to add your brand logo and colors to the auto-generated emails sent by your site? [Learn to add brand logo and colors to auto-generated email templates](../../account-settings/notifications/how-to-add-your-brand-logo-and-colors-to-the-auto-generated-email-templates).
## Email broadcast
Upload your logo to your Site Details to auto-generate in all of your Email Broadcasts.
* Open the **Settings** tab from the Dashboard.
* Click **Site Details**.
* Scroll to the Branding section.
* Below the Logo box, click **Pick File**.
* Select your file and click **Upload** to upload your image to your site.
* Be sure to click **Save** to keep your changes:
**Tip:**
Override your logo by selecting a different image in the Logo Section of the [Kajabi Email Visual Editor](/articles/marketing/email-campaigns/email-visual-editor-overview). Read [Add and customize a Logo image](/articles/marketing/email-campaigns/how-to-add-and-customize-a-logo-image-in-email-campaigns) for details.
## Email sequence
* Open the **Settings** tab from the Dashboard.
* Click **Marketing Settings**.
* Scroll to the Company Logo section.
* Below the image box, click **Select Image**.
* Choose to Upload a File or Select a Recent File.
* Select your file and click **Upload** to upload your image to your site.
* Be sure to click **Save** again to keep your changes:
**Note:**
Changing your logo in Marketing Settings will impact emails scheduled to release in the future, not the emails that have already been released.
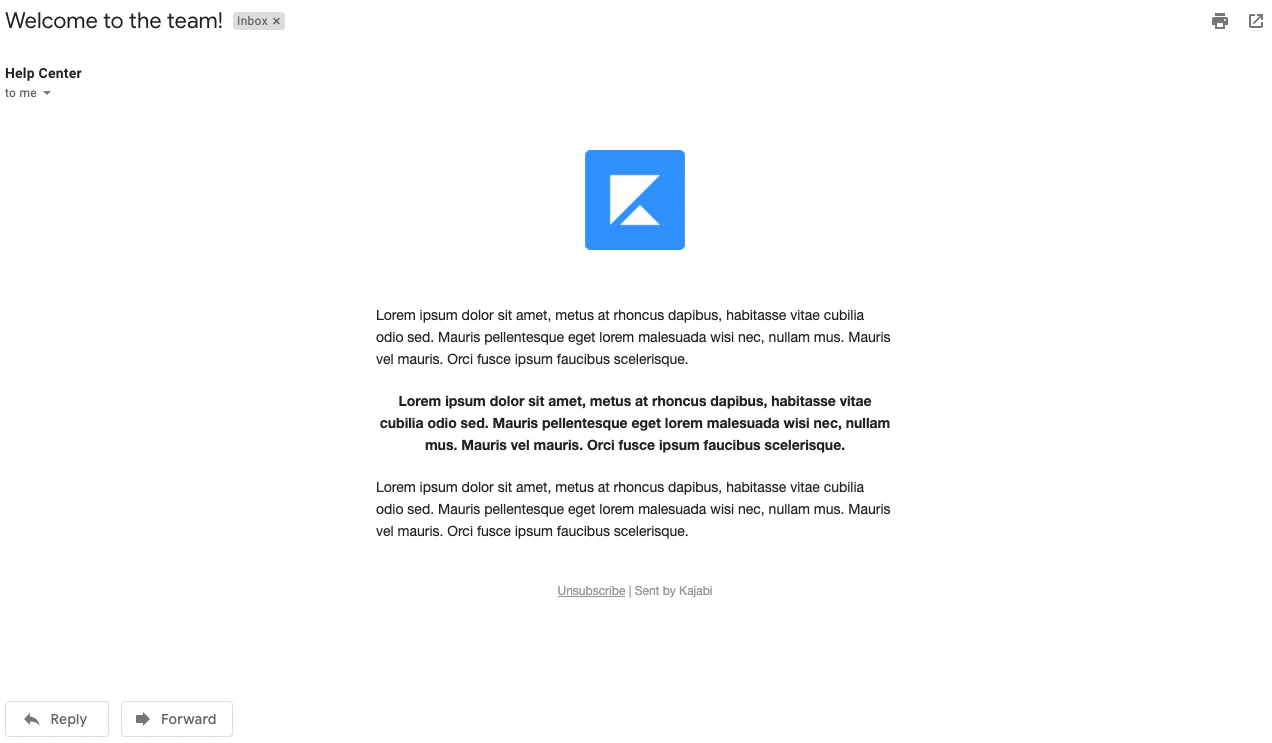
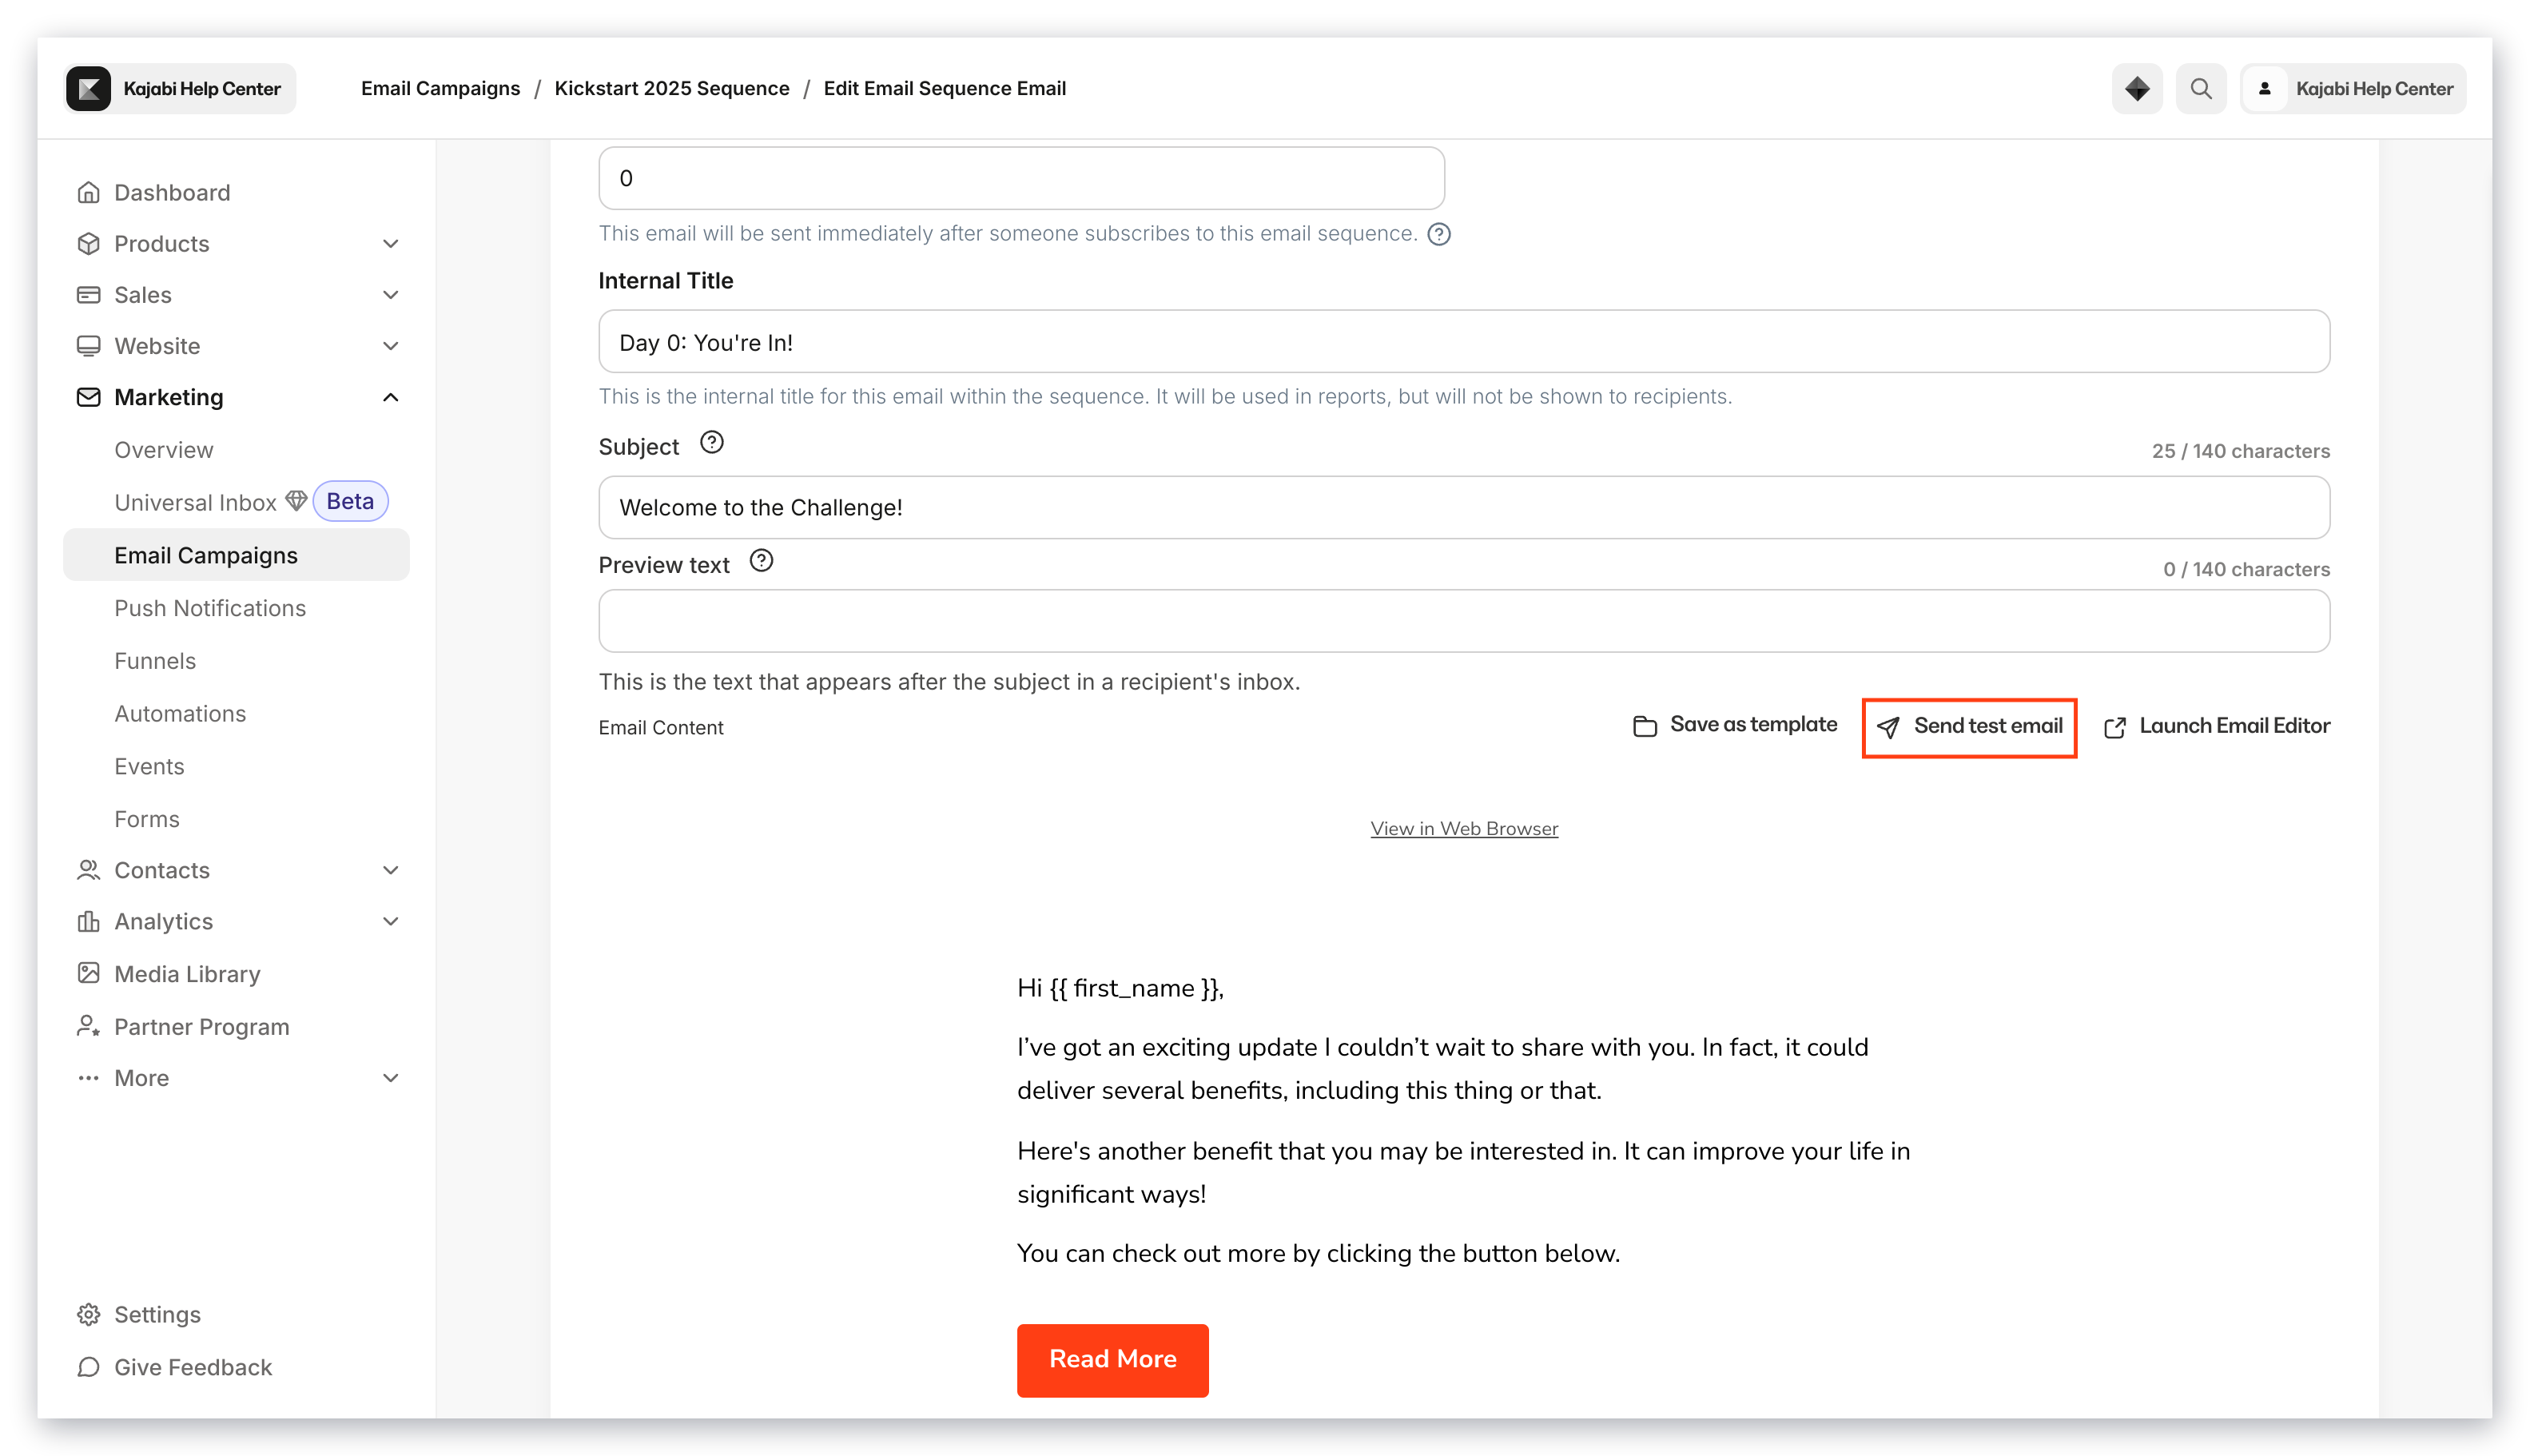
When editing your Email Sequence, your logo will not be displayed. However, if you Send a Test Email you will see your logo located at the top of your email.
### View from the Email Sequence Editor
 ### View from the test email