> ## Documentation Index
> Fetch the complete documentation index at: https://help.kajabi.com/llms.txt
> Use this file to discover all available pages before exploring further.
# Create time slots for an Event
> Create time slots for events, webinars, and services using Kajabi Events, Forms, and Automations.
**Note:**
Creating time slots with a Form requires Advanced Automations only available with the Growth and Pro Plans. Check out [kajabi.com/pricing](https://kajabi.com/pricing) for more details.
**Time slots** let you offer multiple scheduling options for an Event. By combining Events, Forms, and Automations, contacts can select the time that works best for them and automatically register for the corresponding Event.
## Create Events
Offer multiple time slots to contacts by creating Events for each time slot.
The number of time slots should correspond with the number of Events. The corresponding Events will be the time slots you offer with any surrounding emails you may wish to send for contacts registering to the Event.
### Create an Event
1. Open the **Marketing** tab from the Dashboard
2. Click **Events**
3. Navigate to the top-right corner and click **+ New Event**
4. Title the Event to easily identify it as a time slot
5. Specify the time slot to offer
6. Select the time zone
7. Click **Save**
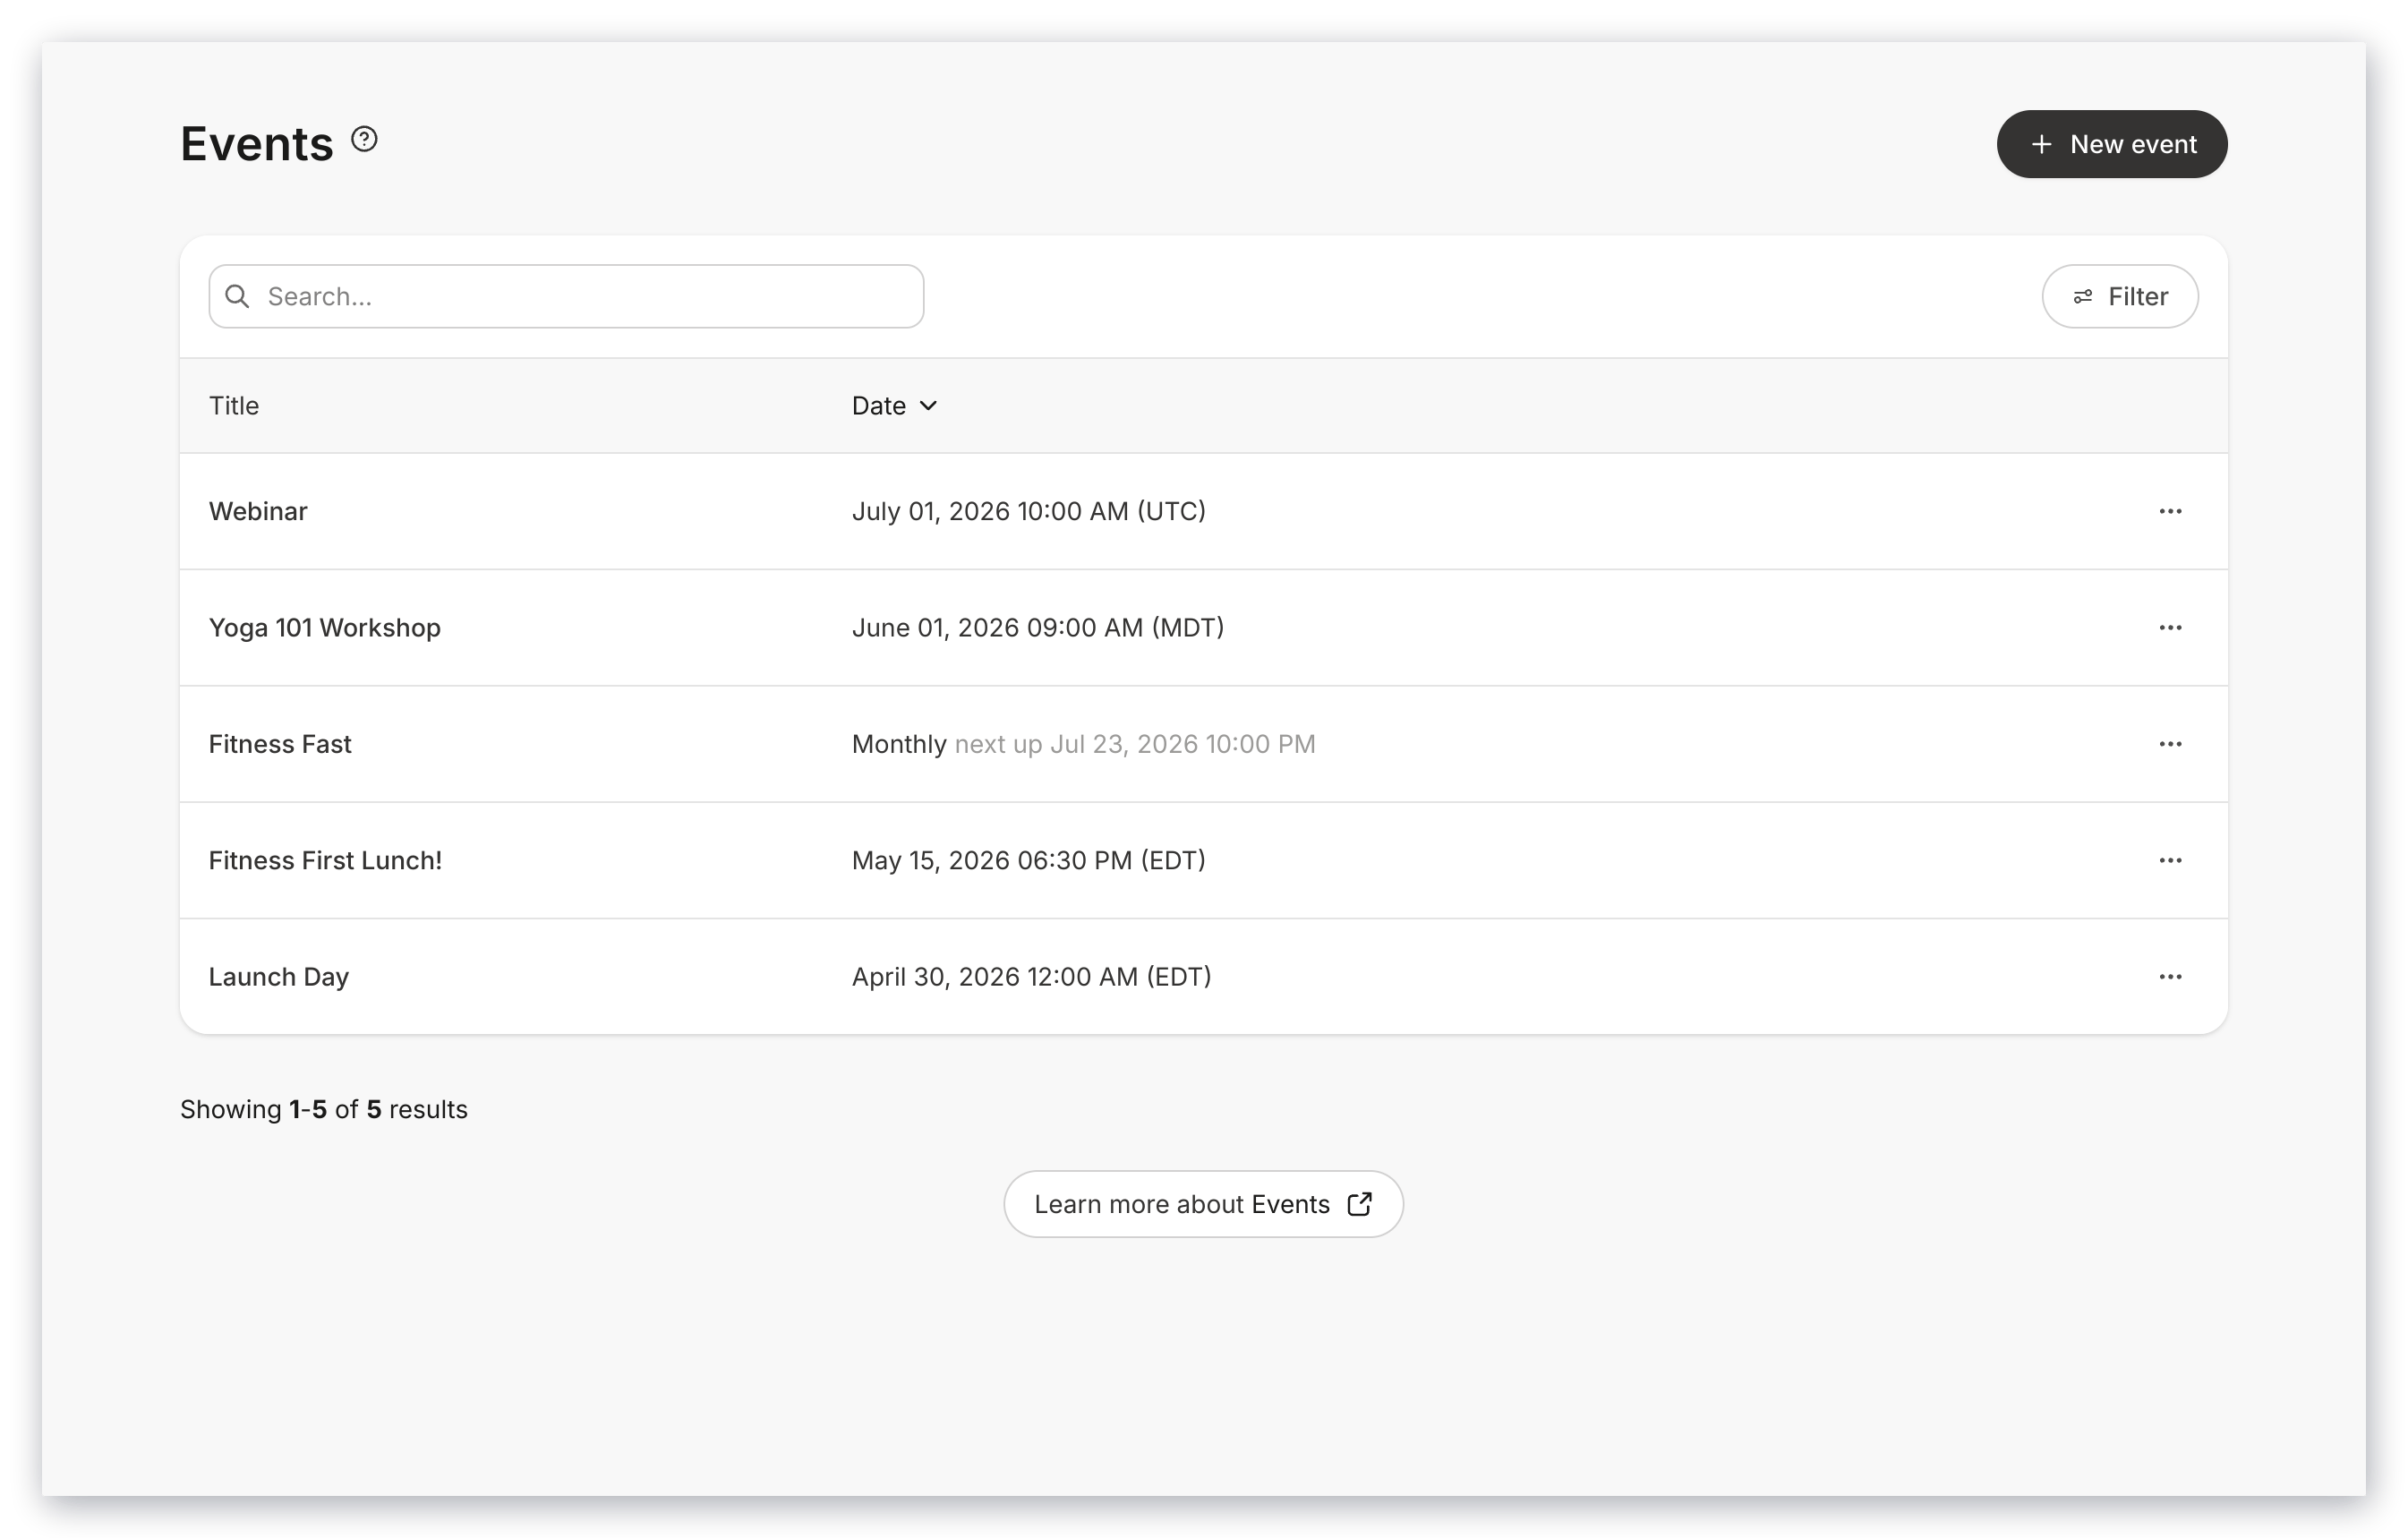
Repeat for each time slot. After creating Events for each time slot, you should have multiple Events created before moving on.
Example Events for time slots:
 [Learn more about creating Events in Kajabi.](../../marketing/events/how-to-create-an-event)
## Add a Form field
After you have created Events for each time slot, create a Form for contacts to select their preferred time slot.
In the Form, create a Radio Button Field to list every time slot (Event) available. With Radio Buttons, contacts can select an open time slot to register to.
### Add Radio Buttons to a Form
1. Open the **Marketing** tab from the Dashboard
2. Select **Forms**
3. Create a Form or edit an existing one
4. Click **+ Add Form Field**
5. Click **Create A New Field**
6. Enter the Title of the Event
7. Select **Radio Buttons** in the **Type** field dropdown
8. In the **Choices** field, enter each time slot corresponding with the Events (e.g., 9:30AM, 10:00AM)
9. Select **Make this field required** to ensure that contacts select a time slot
10. Click **Save** to keep the changes
[Learn more about creating Events in Kajabi.](../../marketing/events/how-to-create-an-event)
## Add a Form field
After you have created Events for each time slot, create a Form for contacts to select their preferred time slot.
In the Form, create a Radio Button Field to list every time slot (Event) available. With Radio Buttons, contacts can select an open time slot to register to.
### Add Radio Buttons to a Form
1. Open the **Marketing** tab from the Dashboard
2. Select **Forms**
3. Create a Form or edit an existing one
4. Click **+ Add Form Field**
5. Click **Create A New Field**
6. Enter the Title of the Event
7. Select **Radio Buttons** in the **Type** field dropdown
8. In the **Choices** field, enter each time slot corresponding with the Events (e.g., 9:30AM, 10:00AM)
9. Select **Make this field required** to ensure that contacts select a time slot
10. Click **Save** to keep the changes
[Learn more about creating Form Fields.](../../marketing/forms/how-to-add-and-edit-fields-on-a-form)
## Create Automations
Now that you have set up the essentials for time slots, connect the Form to each time slot with Automations. Create Automations for each time slot and Radio Button created in the previous steps.
### Create an Automation
1. Click **+ Add Automation**
2. The **When** field will be pre-filled
3. In the **Then** field, select **Register to an event** and select a time slot
4. Click **Add Condition**
5. Open the dropdown menu and scroll down to **Custom Field Filters**
6. Select the name of the Radio Button Field
7. Enter the time slot exactly as entered in the Radio Button Choice
8. Click **Apply**
9. Click **Save** to keep the changes
**Tip:**
Copy and paste the Radio Button choice into the Condition Field of the Automation to ensure that the Radio Button and Automation are set up correctly.
Repeat for every Radio Button Choice (available time slot) to register contacts to the Event based on their desired time slot.
[Learn more about Automations.](../../marketing/automations/automations-overview)