> ## Documentation Index
> Fetch the complete documentation index at: https://help.kajabi.com/llms.txt
> Use this file to discover all available pages before exploring further.
# Sell access to a webinar
> Sell digital tickets to a webinar with Kajabi Events, Pages, and Offers.
**Webinars** can be a powerful tool for reaching your audience in real-time. With Kajabi, you can connect an Event and Offers to sell access to a webinar. This page walks you through creating an Event to correspond with the date and time of the webinar, building a confirmation page with instructions for customers, and setting up an Offer to collect payment.
### Where to hold a webinar
A webinar can be a pre-recorded video added to a [Landing Page](/articles/website/pages/pages-explained) connected to an Offer, or you can set up video streaming with a third-party service (e.g., Zoom) and add the webinar link to [Event Emails](/articles/marketing/events/how-to-create-an-event#add-emails-to-an-event).
## Create an Event
First, set up an Event. The Event reflects the date and time of the webinar.
1. Open the **Marketing** tab from the Dashboard
2. Click **Events**
3. Click **+ New Event**
4. Title the Event
5. Select the Event date and time (Events can be scheduled up to one year in advance)
6. Select the time zone
7. Configure the Event as a one-time occurrence or recurring
8. Click **Save** to begin customizing the Event
After creating the Event, set up Event Emails to include the link to the webinar:
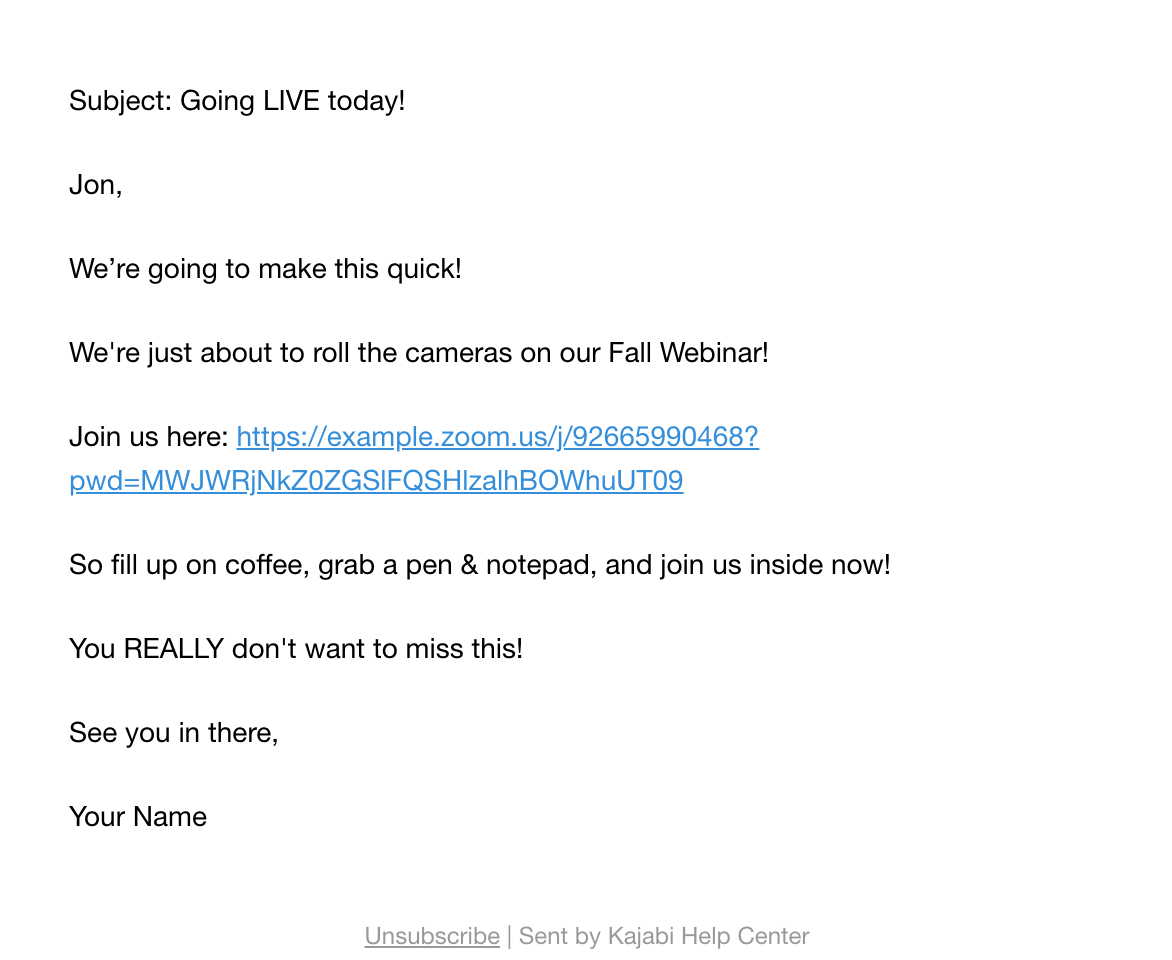 [Learn to add Event Emails.](/articles/marketing/events/how-to-create-an-event#add-emails-to-an-event)
## Create a confirmation page
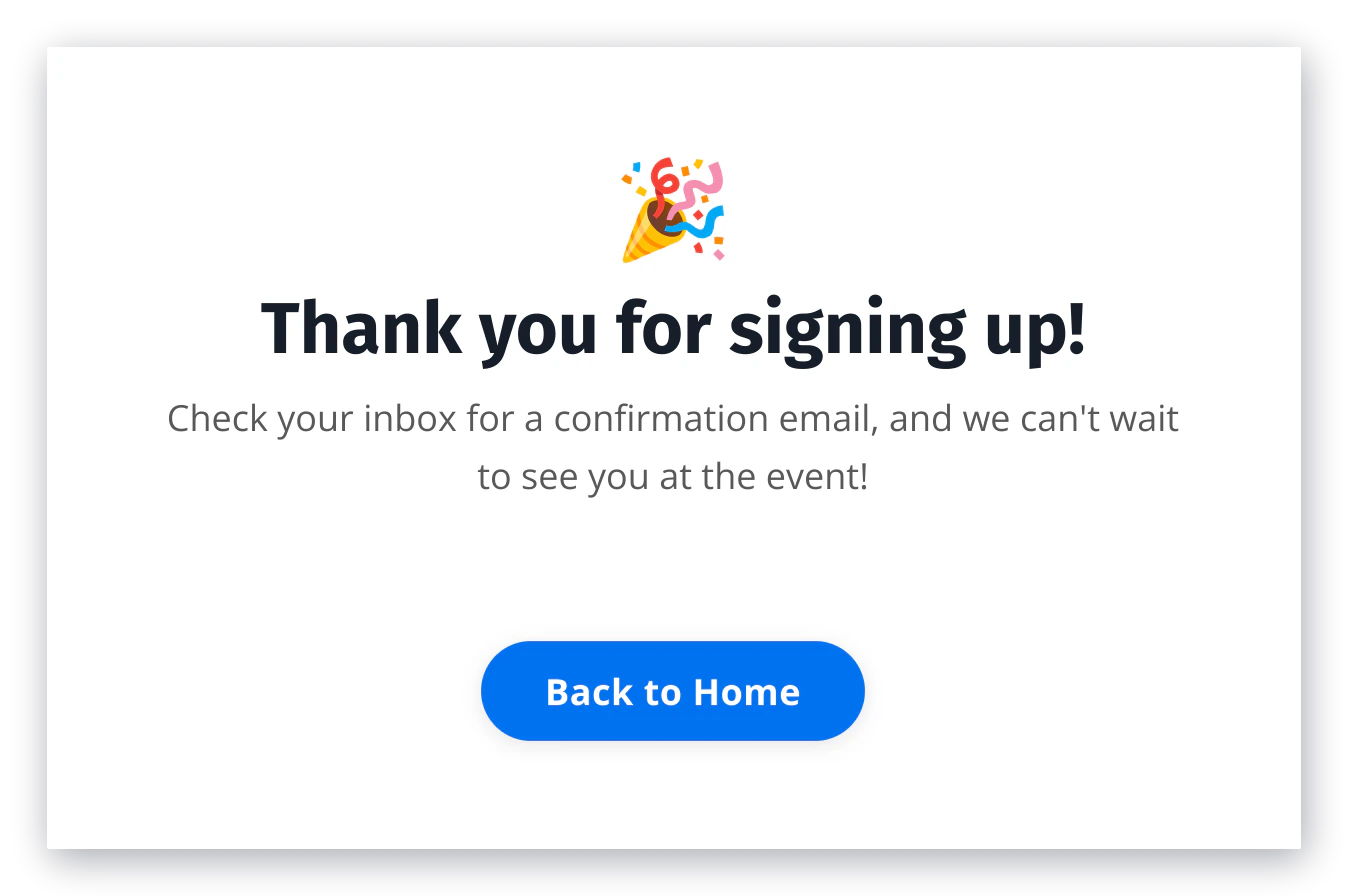
After setting up the Event, create a confirmation page. The confirmation page communicates to customers that the instructions for joining the webinar can be found in their email inbox.
[Learn to create a page on Kajabi.](/articles/website/pages/pages-explained)
For example:
[Learn to add Event Emails.](/articles/marketing/events/how-to-create-an-event#add-emails-to-an-event)
## Create a confirmation page
After setting up the Event, create a confirmation page. The confirmation page communicates to customers that the instructions for joining the webinar can be found in their email inbox.
[Learn to create a page on Kajabi.](/articles/website/pages/pages-explained)
For example:
 ## Create an Offer
Now that the Event and confirmation page are ready, build an Offer to connect the pieces. Create a Ghost Offer (an Offer without a Product) and set up Automations to register purchasers to the Event and send them to the confirmation page.
This ensures that customers purchasing the Offer receive the emails associated with the Event and instructions on how to join the webinar.
### Create a Ghost Offer
1. Open the **Sales** tab from the Dashboard
2. Select **Pricing**
3. Click **+ New Offer**
4. Enter a Title for the Ghost Offer
5. Leave the **Select your product** field empty (the Offer should *not* be connected to a Product)
6. Enter the Payment type and Price and click **Create** (you can edit the price further within the Offer builder)
## Create an Offer
Now that the Event and confirmation page are ready, build an Offer to connect the pieces. Create a Ghost Offer (an Offer without a Product) and set up Automations to register purchasers to the Event and send them to the confirmation page.
This ensures that customers purchasing the Offer receive the emails associated with the Event and instructions on how to join the webinar.
### Create a Ghost Offer
1. Open the **Sales** tab from the Dashboard
2. Select **Pricing**
3. Click **+ New Offer**
4. Enter a Title for the Ghost Offer
5. Leave the **Select your product** field empty (the Offer should *not* be connected to a Product)
6. Enter the Payment type and Price and click **Create** (you can edit the price further within the Offer builder)
## Connect the Event and page to the Offer
After setting up the basic information for the Offer, create Automations to connect the Event and confirmation page to the Offer.
### Register customers to the Event
1. Open the **Sales** tab from the Dashboard
2. Select the Ghost Offer
3. Navigate to the **Automations** card
4. Click **+ Add Automation**
5. In the **Then** field, select **Register to an event**
6. In the field below **Register to an event**, select the Event
7. Click **Save** to keep and apply the changes
### Send customers to the confirmation page after purchase
1. Open the **Sales** tab from the Dashboard
2. Select the Ghost Offer
3. Navigate to the **Post-purchase** card
4. In the **Post-purchase** dropdown menu, select **Existing Landing Page**
5. In the **Landing page** dropdown menu, select the confirmation page
6. Navigate to the top-right corner and click **Save**
## Test the setup
Performing a test purchase is a great way to confirm everything works as intended.
[Learn how to perform a test purchase.](/articles/sales/offers/creating-a-test-purchase-in-kajabi)
Edit the Offer checkout page and any additional settings you want to customize. [Learn more about Offers on Kajabi.](/articles/sales/offers/offers-overview)