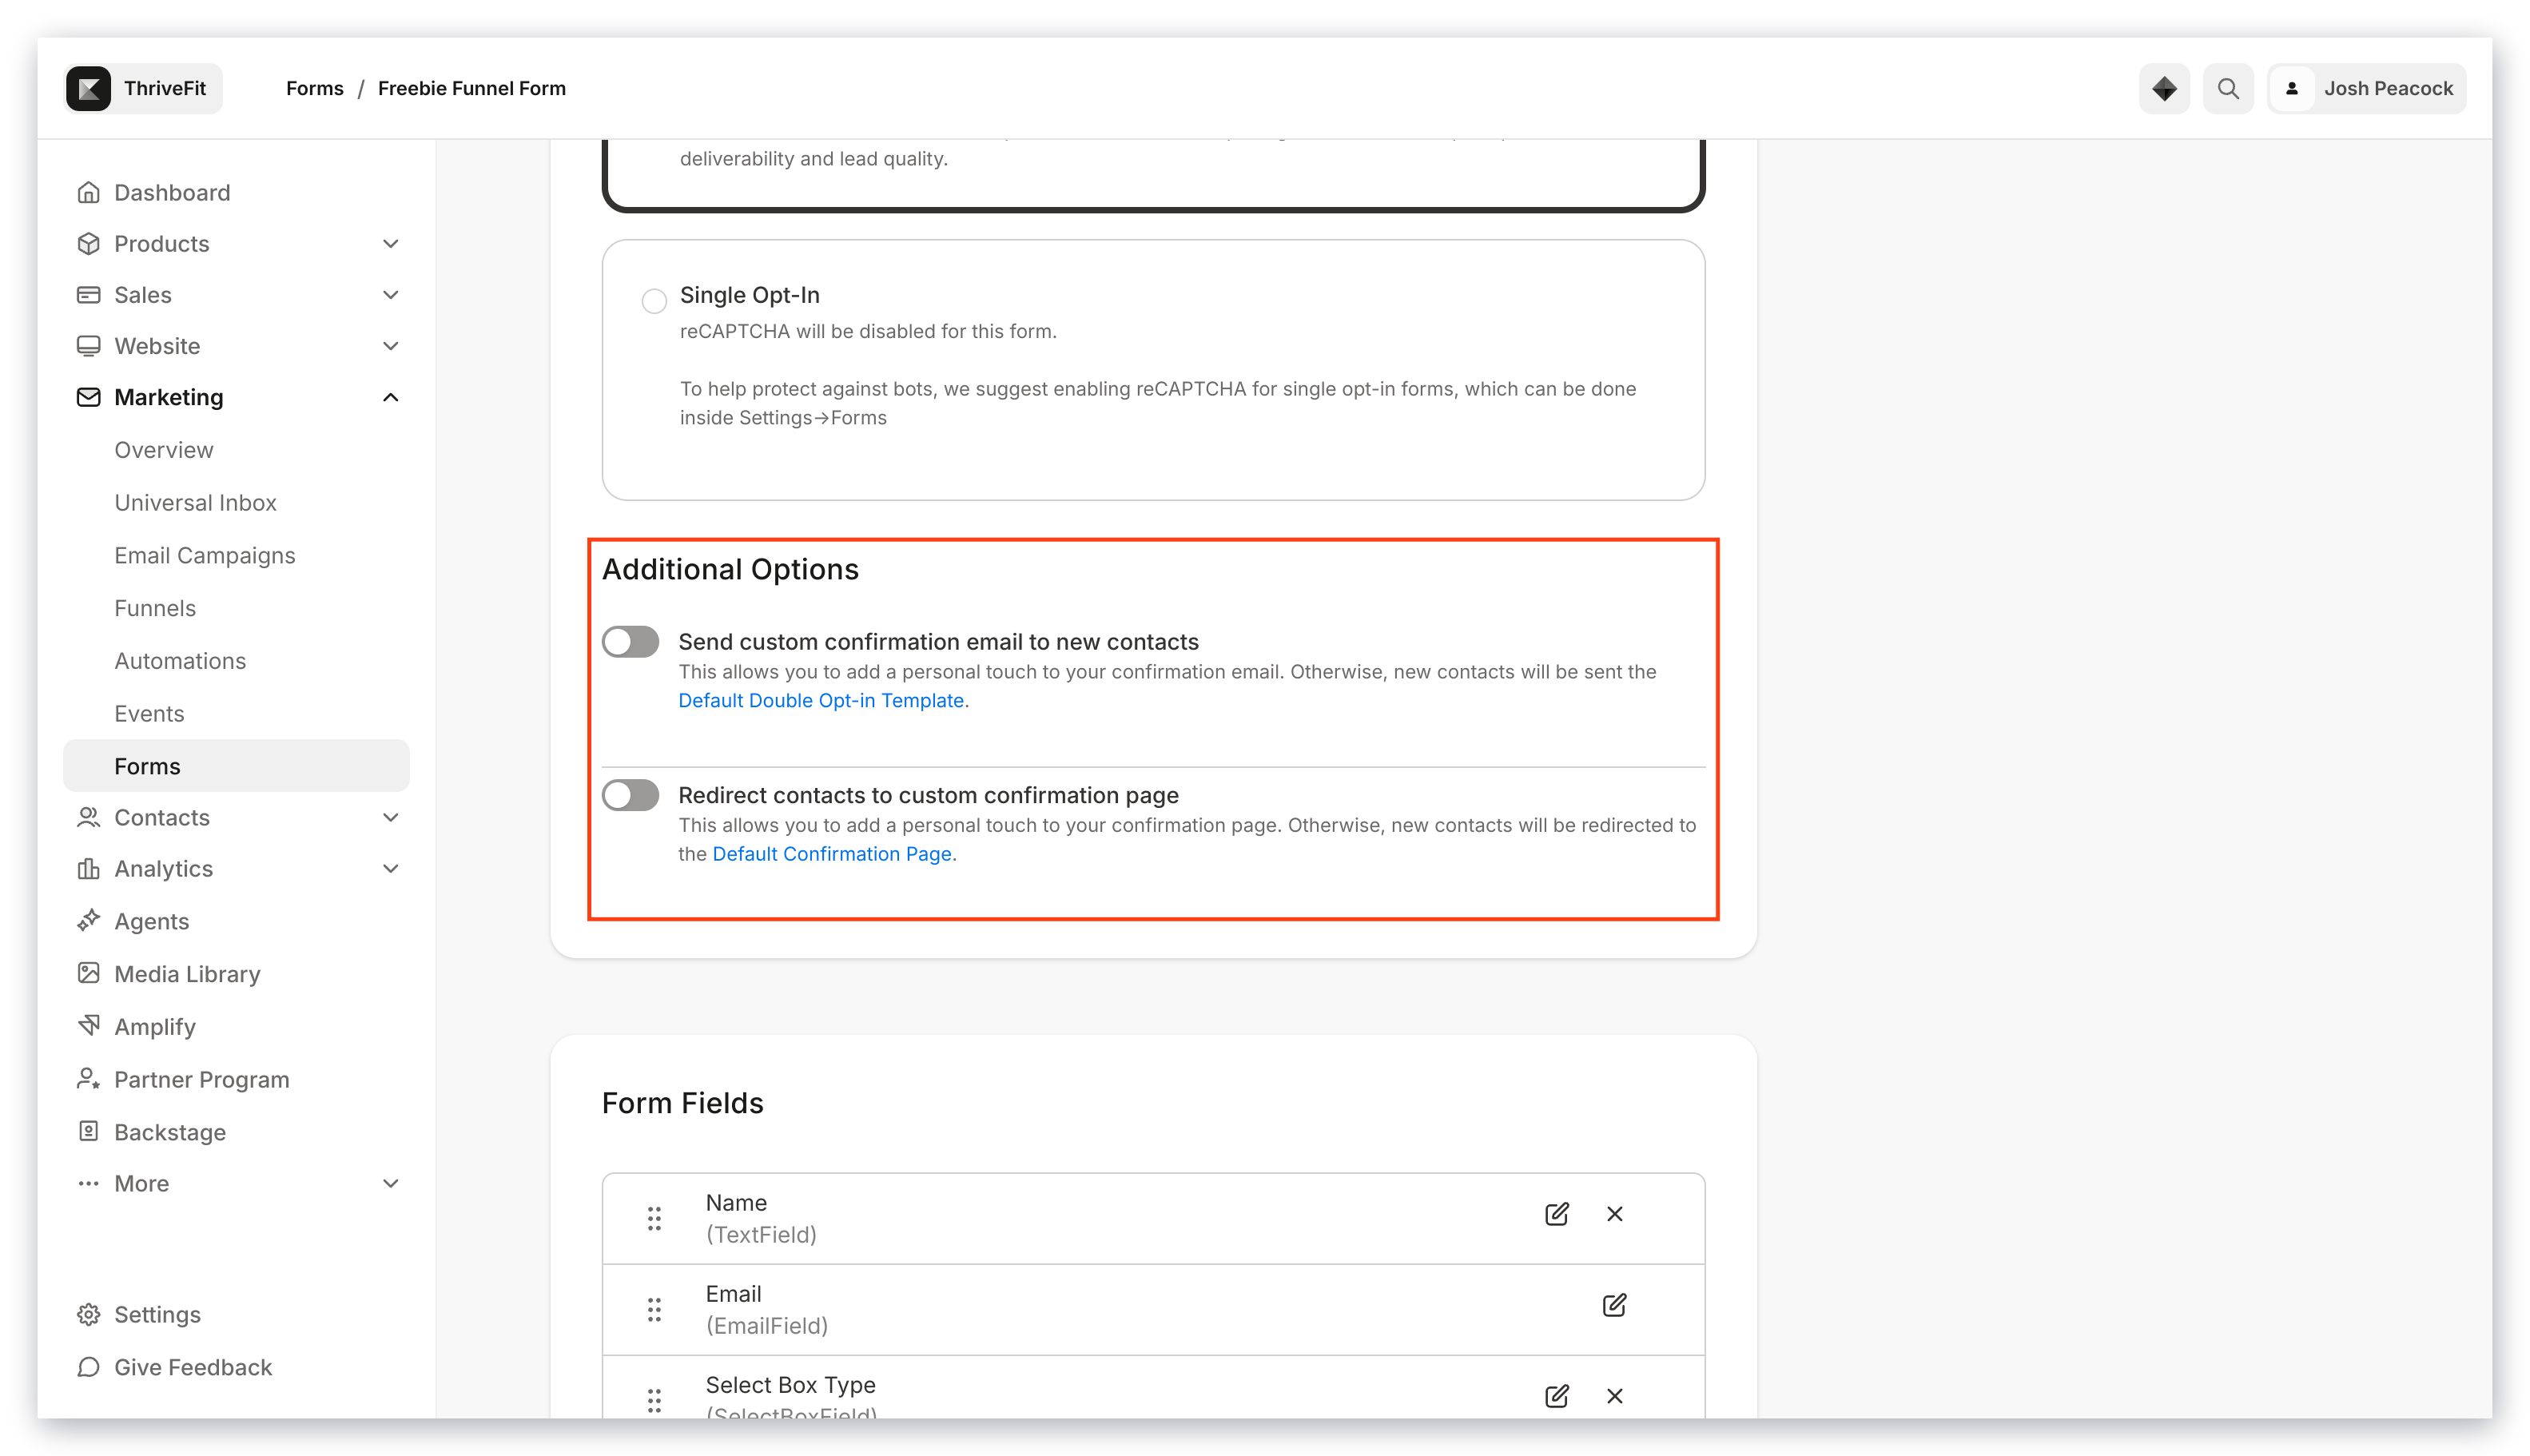
 To customize your Double Opt-In Additional Options settings, select **Double Opt-In (Recommended)** and enable your desired settings by clicking the toggle and changing it from grey to black.
[Learn to set up a Form with double opt-in](./how-to-set-up-a-form-with-double-opt-in).
## Default confirmation settings
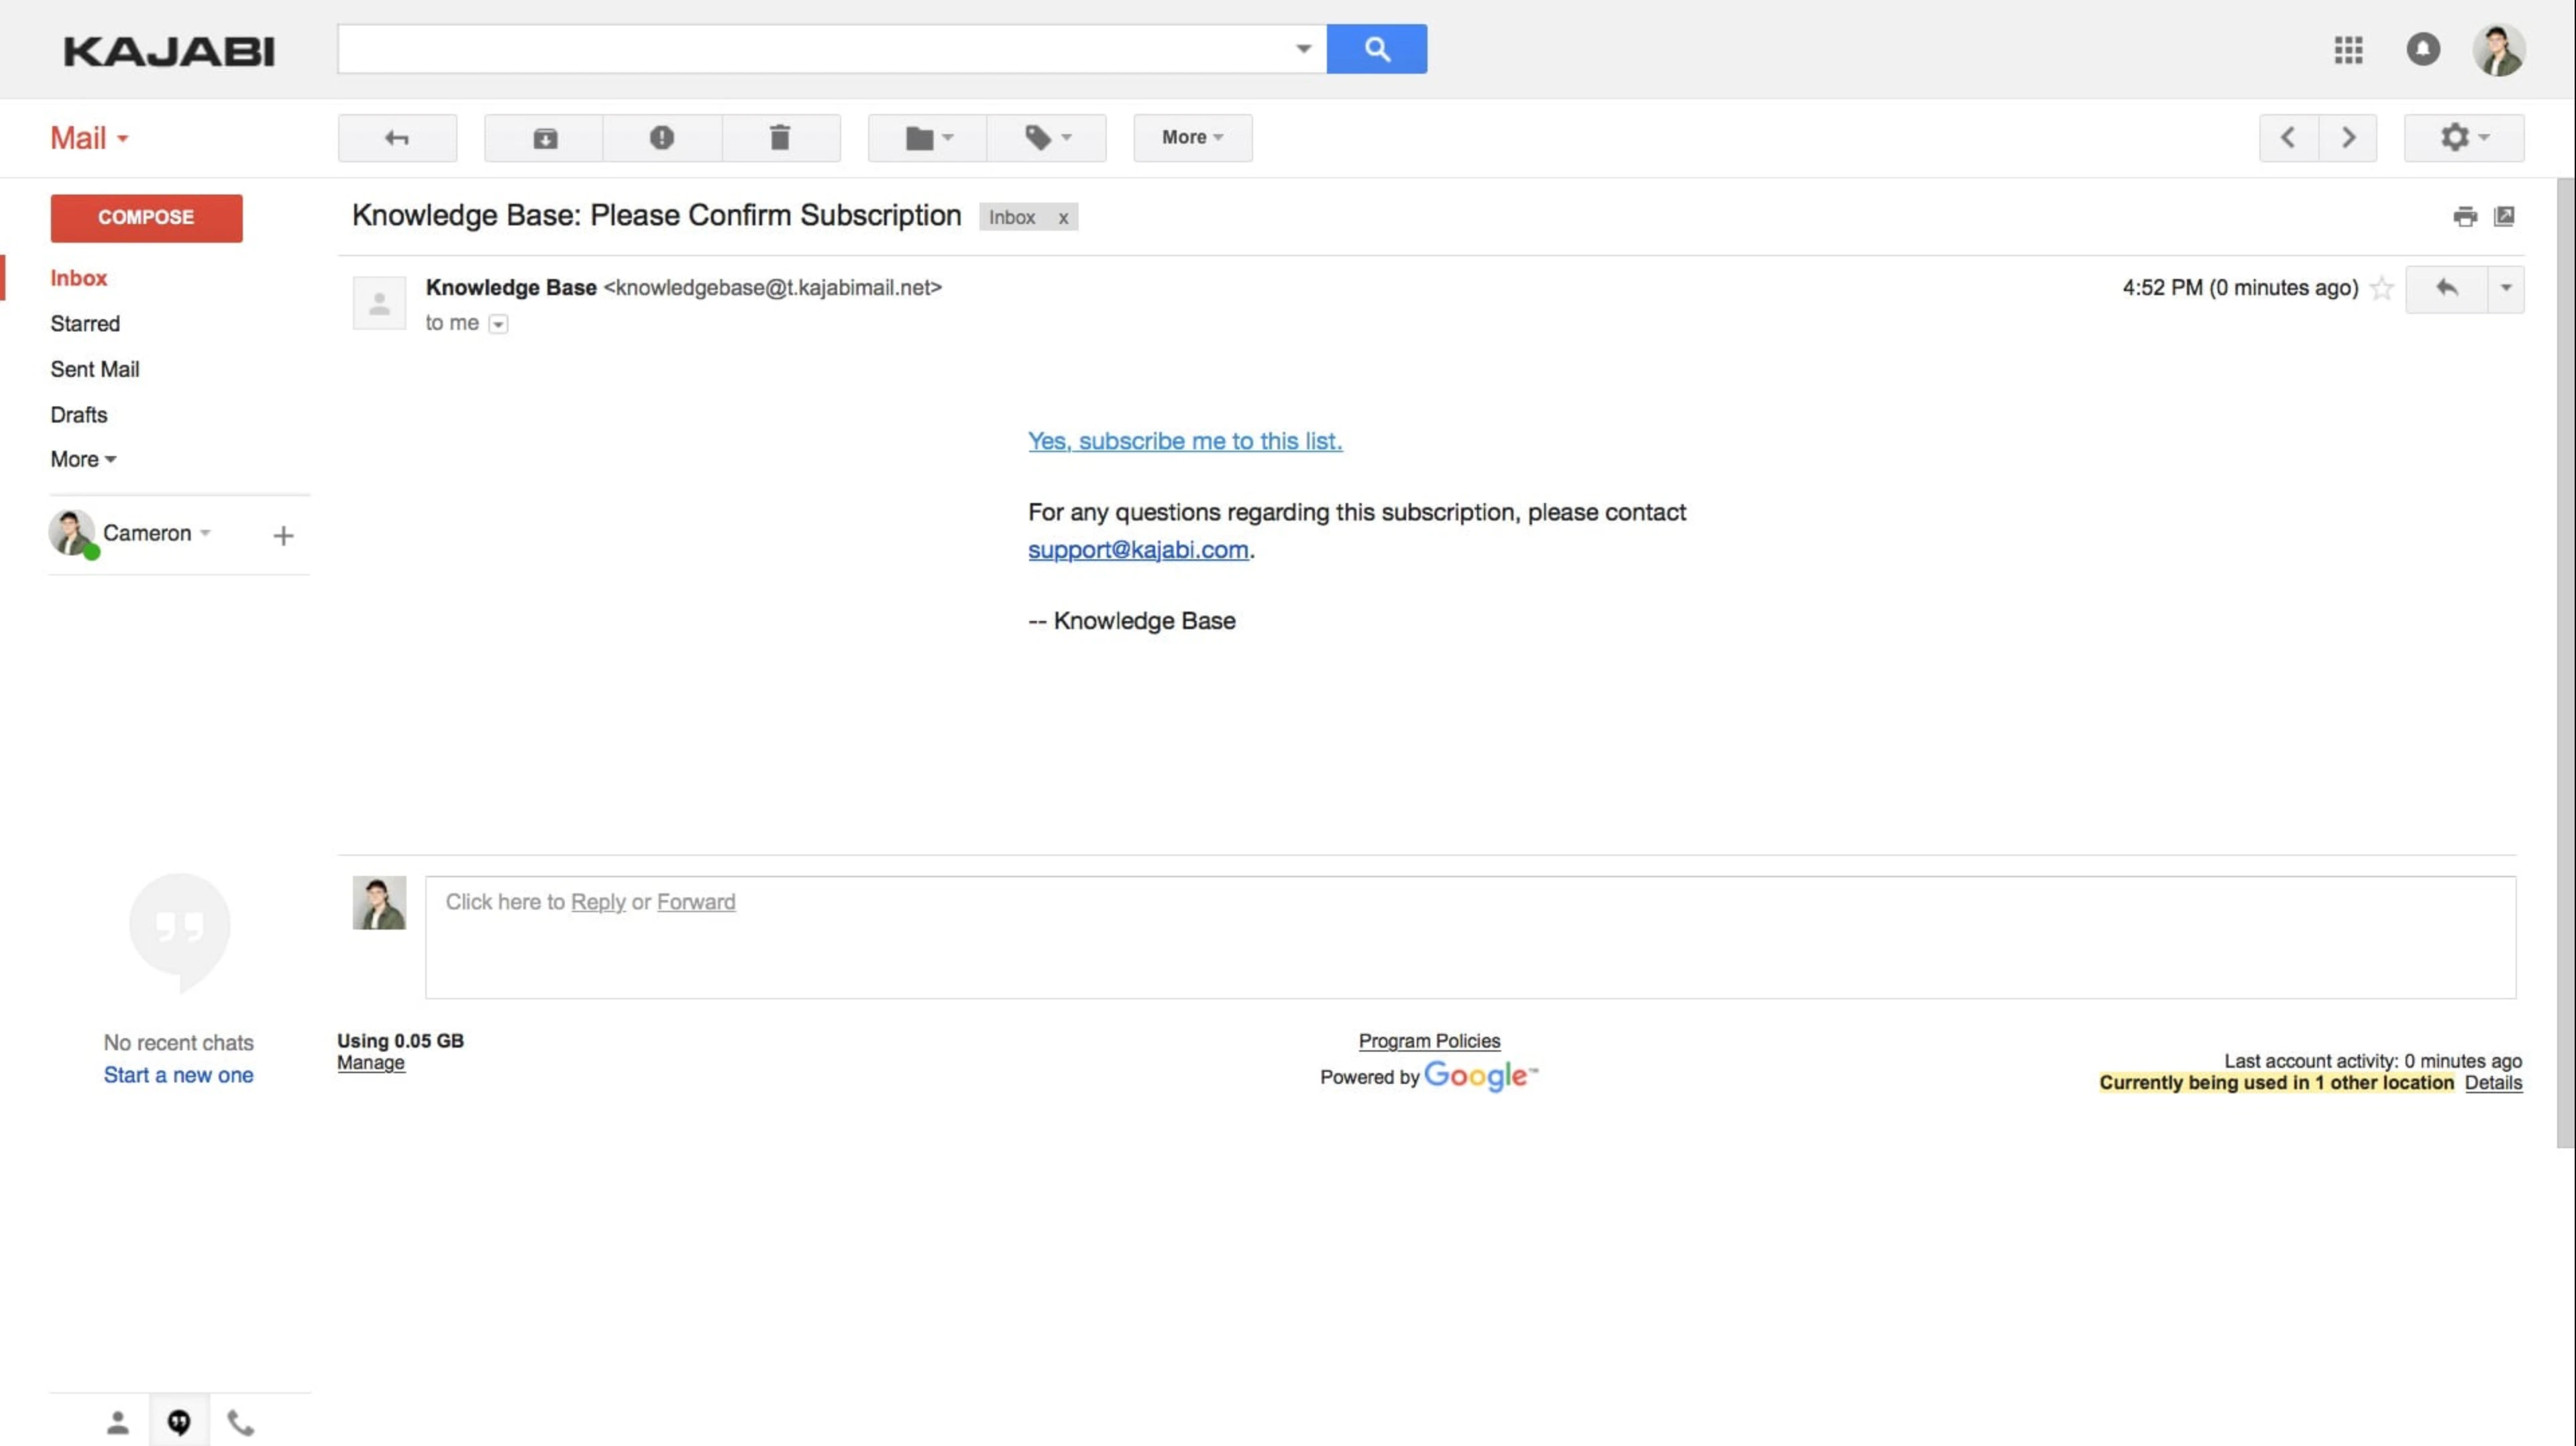
If you disable the Additional Options for your Double Opt-In settings, your site sends Form submitters the default confirmation email:
To customize your Double Opt-In Additional Options settings, select **Double Opt-In (Recommended)** and enable your desired settings by clicking the toggle and changing it from grey to black.
[Learn to set up a Form with double opt-in](./how-to-set-up-a-form-with-double-opt-in).
## Default confirmation settings
If you disable the Additional Options for your Double Opt-In settings, your site sends Form submitters the default confirmation email:
 Learn to [customize the default email templates sent by your site](../../account-settings/notifications/edit-automated-email-notifications).
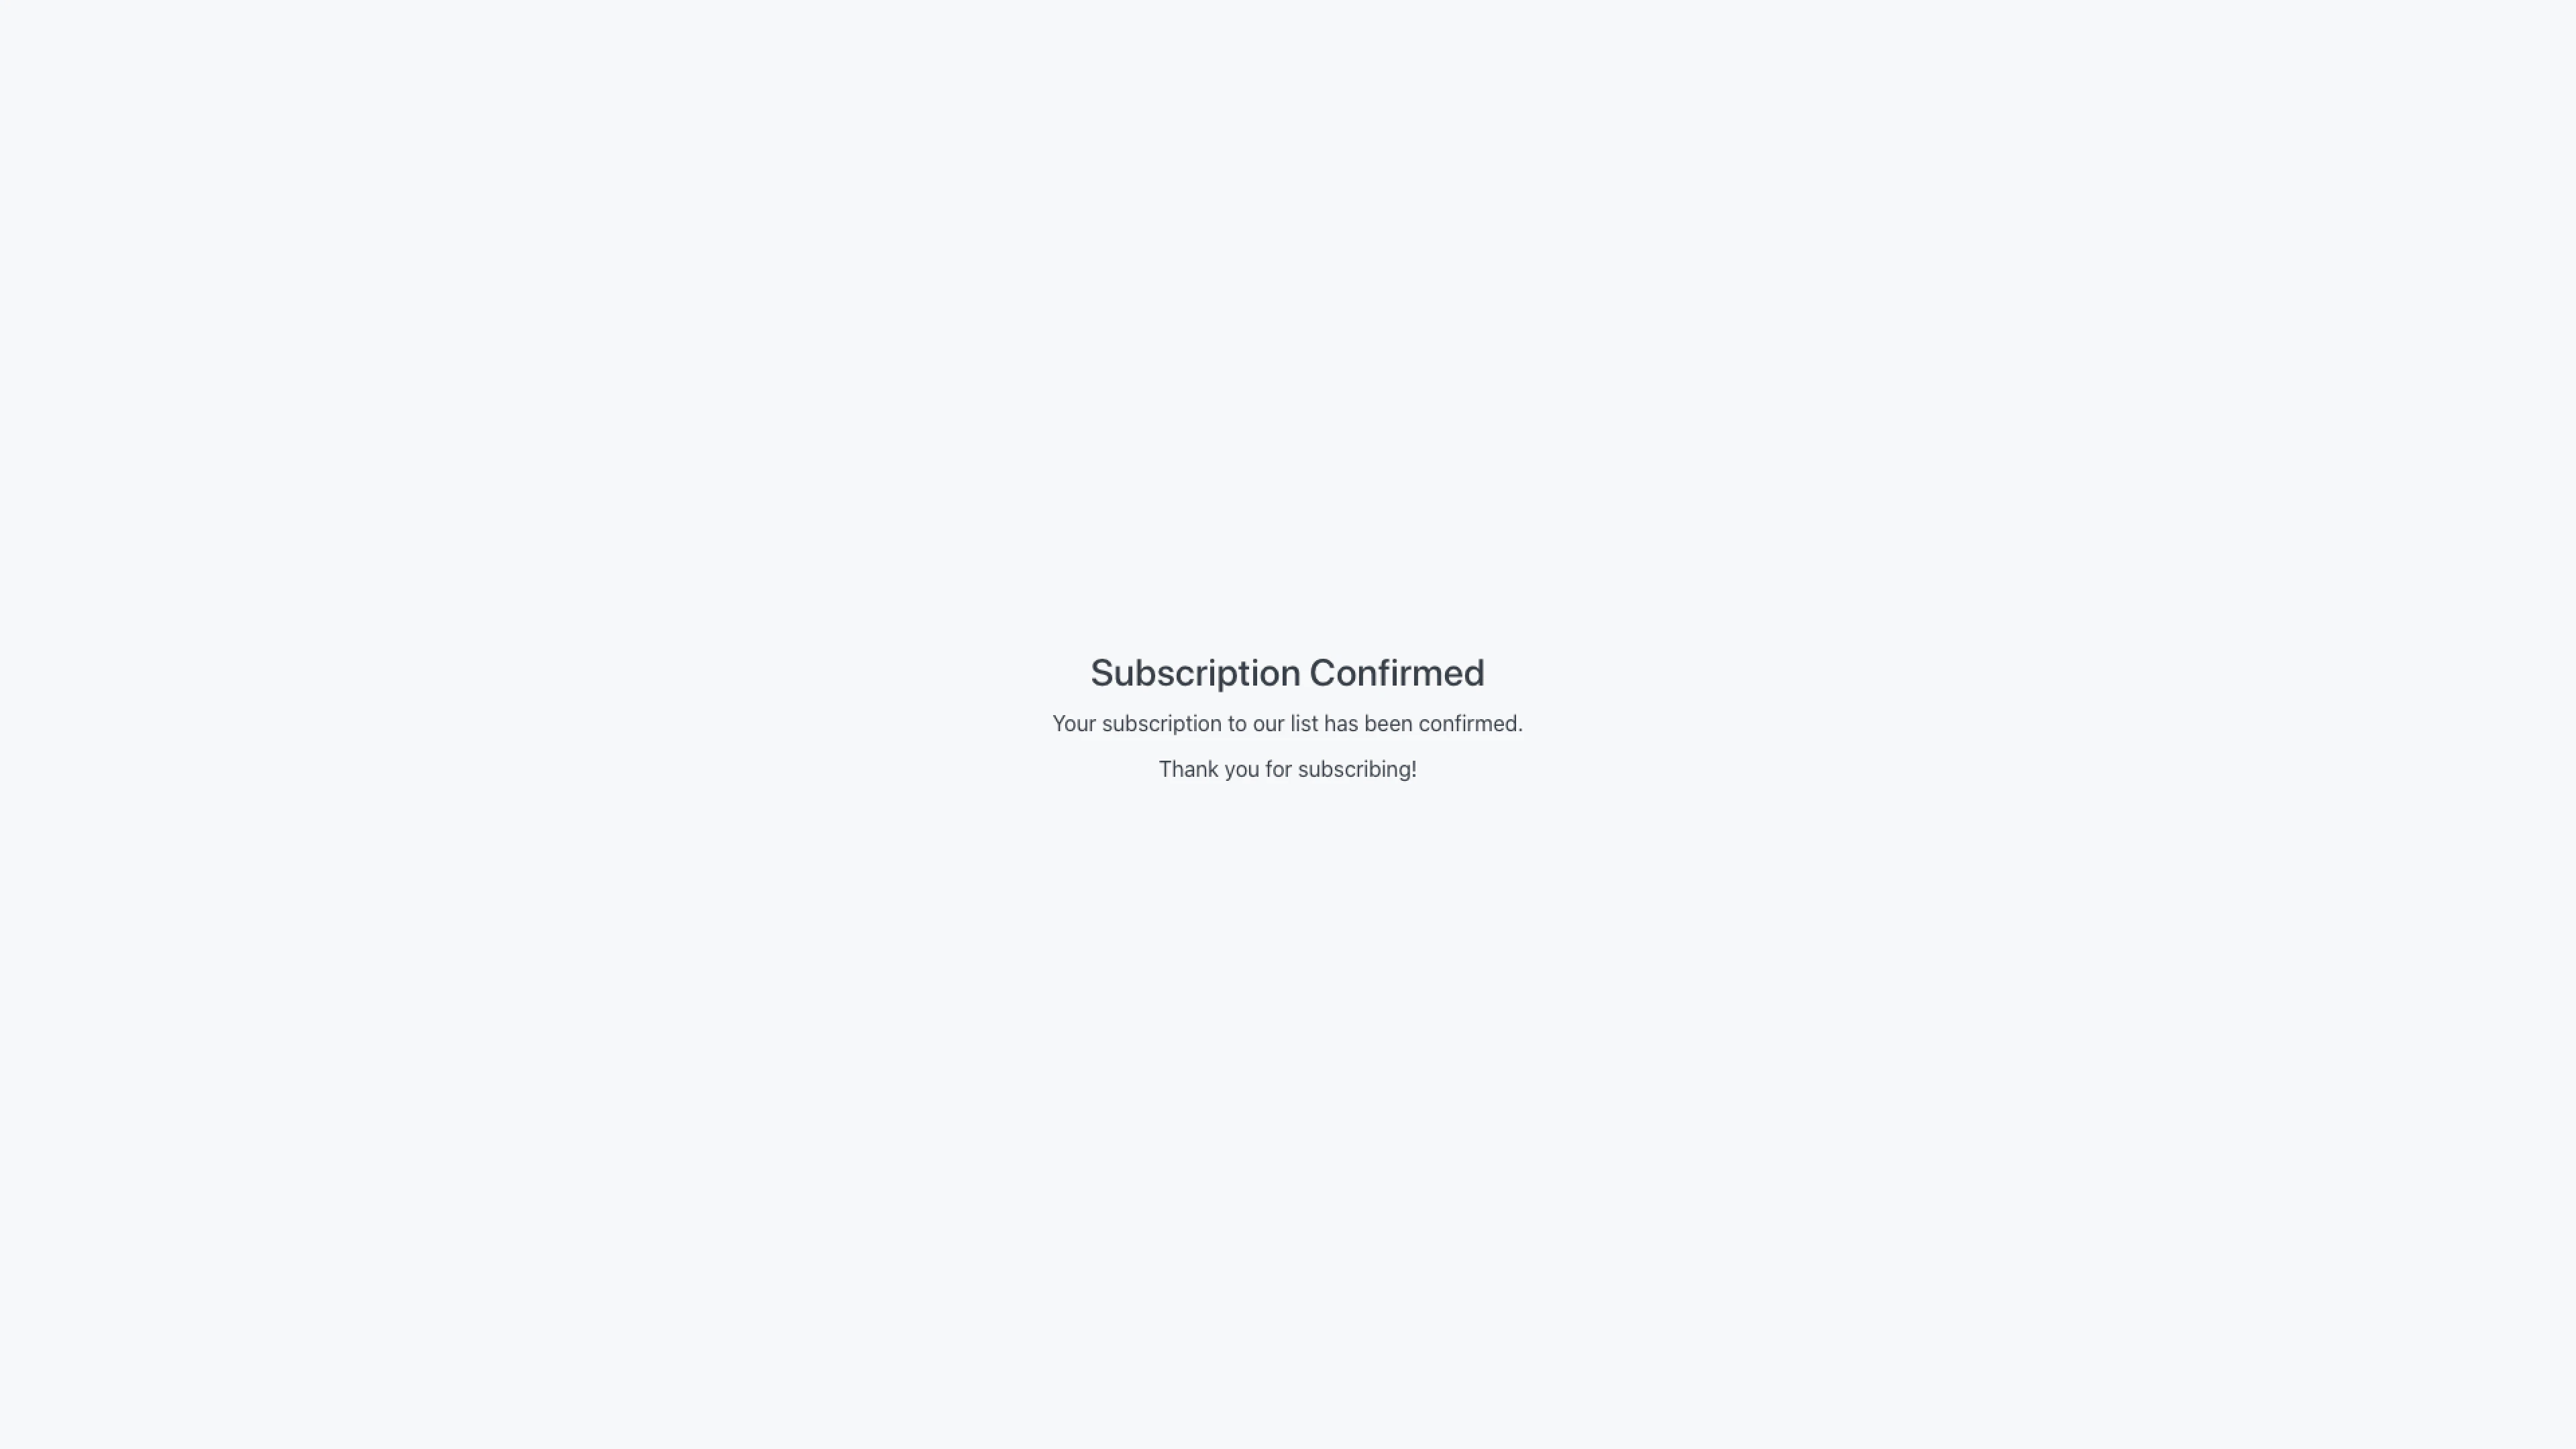
After your contacts confirm their intent to subscribe to your marketing emails they are redirected to the default confirmation page:
Learn to [customize the default email templates sent by your site](../../account-settings/notifications/edit-automated-email-notifications).
After your contacts confirm their intent to subscribe to your marketing emails they are redirected to the default confirmation page:
 With the Double Opt-In Additional Options you can design your contacts' experience with your site when a Form is submitted to fit your brand and business. When a Form is submitted, your contact receives your Double Opt-In email (the default email or your custom email) and can be redirected to a custom landing page or the default confirmation page.
## Customize Double Opt-In settings
1. Open the **Marketing** tab from your Dashboard.
2. Select **Forms**.
3. Click the Form you wish to edit or create a Form.
4. Select **Double Opt-In (Recommended)**.
5. Enable your desired **Additional Options** settings:
* Select **Send custom confirmation email to new contacts** to craft a custom email to encourage your Form submitters to confirm their intent to subscribe to your marketing emails. If the setting is left unselected, your Form submitters receive the default Double Opt-In email template.
* Select **Redirect contacts to custom confirmation page** to design a custom confirmation page that displays after they have confirmed their desire to subscribe to your marketing emails. If left unselected, your Form submitters receive the default confirmation page.
6. Click **Save** to keep and apply your changes:
With the Double Opt-In Additional Options you can design your contacts' experience with your site when a Form is submitted to fit your brand and business. When a Form is submitted, your contact receives your Double Opt-In email (the default email or your custom email) and can be redirected to a custom landing page or the default confirmation page.
## Customize Double Opt-In settings
1. Open the **Marketing** tab from your Dashboard.
2. Select **Forms**.
3. Click the Form you wish to edit or create a Form.
4. Select **Double Opt-In (Recommended)**.
5. Enable your desired **Additional Options** settings:
* Select **Send custom confirmation email to new contacts** to craft a custom email to encourage your Form submitters to confirm their intent to subscribe to your marketing emails. If the setting is left unselected, your Form submitters receive the default Double Opt-In email template.
* Select **Redirect contacts to custom confirmation page** to design a custom confirmation page that displays after they have confirmed their desire to subscribe to your marketing emails. If left unselected, your Form submitters receive the default confirmation page.
6. Click **Save** to keep and apply your changes: