> ## Documentation Index
> Fetch the complete documentation index at: https://help.kajabi.com/llms.txt
> Use this file to discover all available pages before exploring further.

<AgentInstructions>

## Submitting Feedback

If you encounter incorrect, outdated, or confusing documentation on this page, submit feedback:

POST https://help.kajabi.com/feedback

```json
{
  "path": "/articles/marketing/forms/how-to-add-and-edit-fields-on-a-form",
  "feedback": "Description of the issue"
}
```

Only submit feedback when you have something specific and actionable to report.

</AgentInstructions>

# Add and edit fields on a Form

> Customize Form fields to gather specific information about leads and customers.

**Form Fields** let you gather specific and unique information about your leads and customers. Customize the fields on your opt-in Forms and Event registrations to collect the data that matters most to your business.

## Add a field to a Form

1. Open the **Marketing** tab from the Dashboard.
2. Select **Forms**.
3. [Create a Form](./create-and-build-your-form) or edit an existing one.
4. Scroll down to Form Fields and click **Add Form Field**.
5. Select an existing field or click **Create A New Field**.
6. Click **Save**:

<div className="w-full aspect-video">
  <iframe src="https://fast.wistia.net/embed/iframe/5se0yb5665" allow="autoplay; fullscreen" allowFullScreen className="w-full h-full" />
</div>

When a Form is submitted, the data collected is included in the submitter's Contacts Profile. View the submitted data in your **Contacts** tab. [Learn more](../../contacts/manage-your-contacts/how-to-manage-your-contacts-profiles)

<Note>
  **Note:**
  Create up to 50 custom Form Fields in your site. Custom Fields are created by selecting **Create a New Field** in a Form. If you reach your maximum custom Form Fields for your site, learn to [archive or permanently delete custom Fields](./how-to-remove-custom-form-fields).
</Note>

## Edit a Form field

### Form Editor options

* Click on an existing field on the Form to edit the field
* **Change the order** of the fields on your Form by clicking and holding `=` next to the field title and dragging to your desired location
* Choose to make the **Form field required** by checking or unchecking **Make this field required** in the Field Editor

### Edit field settings

<div className="w-full aspect-video">
  <iframe src="https://fast.wistia.net/embed/iframe/drknr06s77" allow="autoplay; fullscreen" allowFullScreen className="w-full h-full" />
</div>

<Note>
  **Note:**
  Selecting **Make this field required** makes the field required in every Form in which the field is used. If you need the field to be required in one Form while staying optional in another, create two identical custom fields — one as a required field and the other as an optional field.
</Note>

## Create a field type

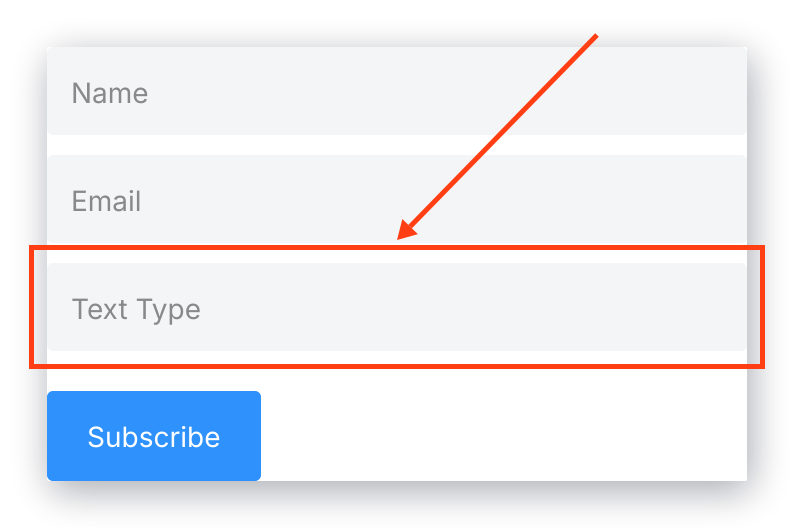
* **Text** — allows Form submitters to enter a short line of custom text:

<img src="https://mintcdn.com/kajabi-support/km6s0kSe4aDFzY4R/articles/images/a80ff96a_upload_12861537357971649814.png?fit=max&auto=format&n=km6s0kSe4aDFzY4R&q=85&s=9c9e0ac445ccd413f378ace451cde128" alt="Text form field" width="764" height="498" data-path="articles/images/a80ff96a_upload_12861537357971649814.png" />

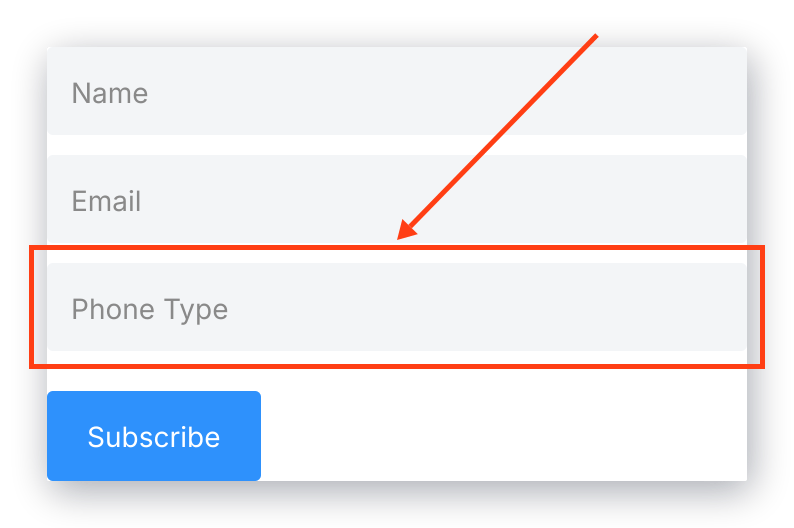
* **Phone** — allows Form submitters to enter their phone number:
<img src="https://mintcdn.com/kajabi-support/DB7yAogdPbid1BoD/articles/images/22967f76_upload_4196108698476282582.png?fit=max&auto=format&n=DB7yAogdPbid1BoD&q=85&s=0233b717117f8fa42e6eafe98b154284" alt="Phone form field" width="764" height="498" data-path="articles/images/22967f76_upload_4196108698476282582.png" />

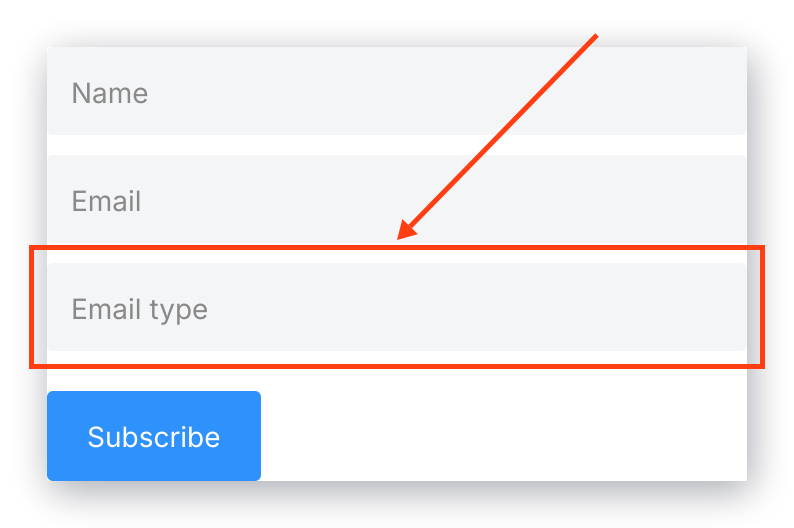
* **Email** — allows Form submitters to enter another email:
<img src="https://mintcdn.com/kajabi-support/PGtO8PCuc_NzdaFE/articles/images/d9dbdc83_upload_7786830603896757062.png?fit=max&auto=format&n=PGtO8PCuc_NzdaFE&q=85&s=dd0bab0fdd69845d5bdf314def2c593d" alt="Email form field" width="764" height="498" data-path="articles/images/d9dbdc83_upload_7786830603896757062.png" />

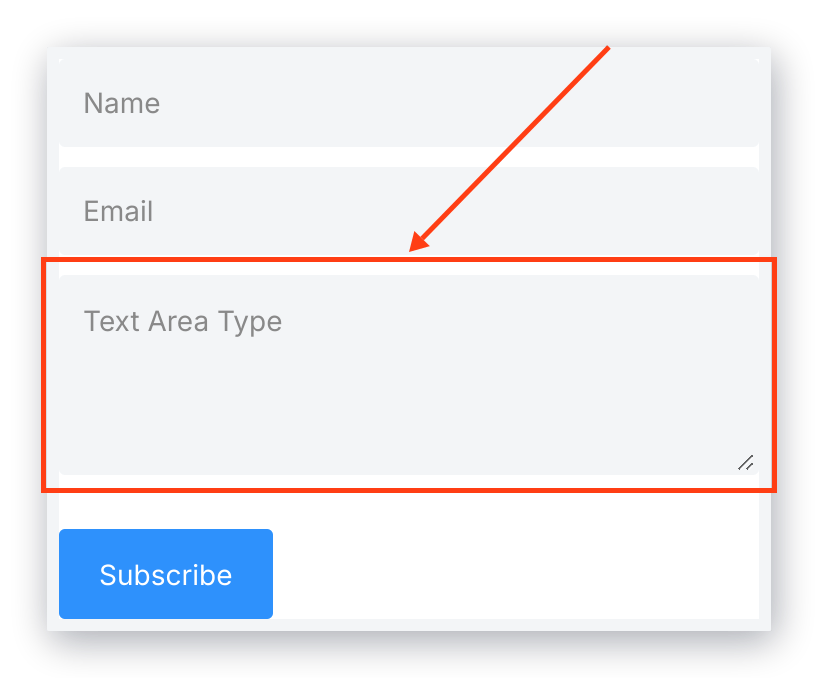
* **Text Area** — allows Form submitters to enter more text than the Text type:
<img src="https://mintcdn.com/kajabi-support/DB7yAogdPbid1BoD/articles/images/235b3414_upload_16767139758857268429.png?fit=max&auto=format&n=DB7yAogdPbid1BoD&q=85&s=53c5e47afd663c3300c5d364ed87dd0a" alt="Text area form field" width="764" height="624" data-path="articles/images/235b3414_upload_16767139758857268429.png" />

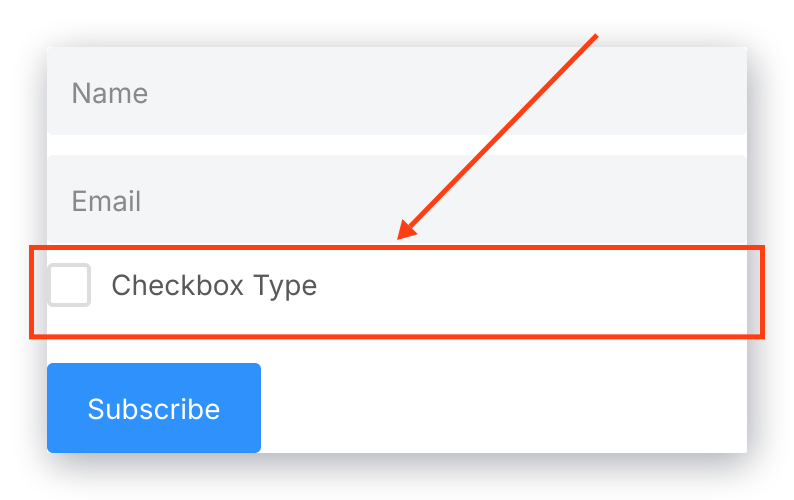
* **Checkbox** — allows Form submitters to check a box or leave it unchecked (typically used with yes or no type inquiries, but can also be used for a "select all that apply" question):
<img src="https://mintcdn.com/kajabi-support/0X831VxXANnxgpSu/articles/images/dca8cb1b_upload_3541627365273792763.png?fit=max&auto=format&n=0X831VxXANnxgpSu&q=85&s=c48fa89a4fbfa738d96e6bd1dca93036" alt="Checkbox form field" width="764" height="470" data-path="articles/images/dca8cb1b_upload_3541627365273792763.png" />

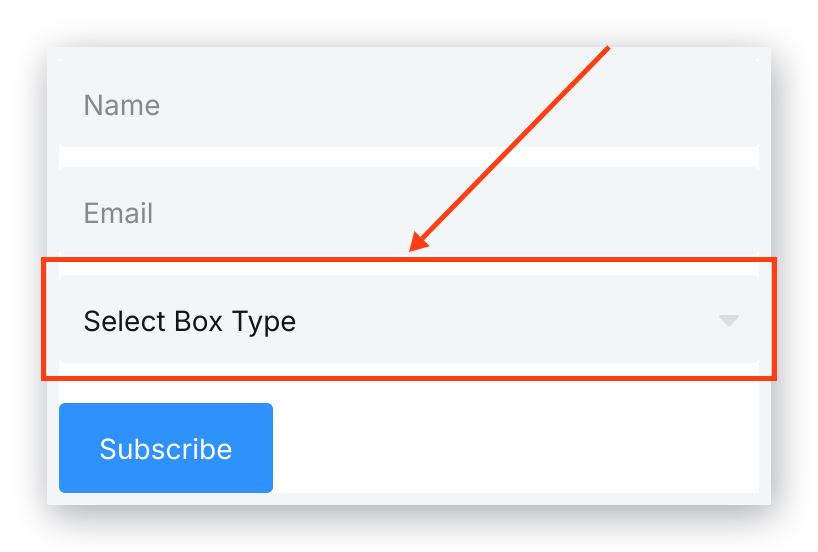
* **Select Box** — allows Form submitters to select a choice from a dropdown menu:
<img src="https://mintcdn.com/kajabi-support/eksT-QgQCtdu-eQT/articles/images/ff3980f6_upload_7147999125252561341.png?fit=max&auto=format&n=eksT-QgQCtdu-eQT&q=85&s=476db3521f77a9810cf3de577d03680f" alt="Select box form field" width="764" height="498" data-path="articles/images/ff3980f6_upload_7147999125252561341.png" />

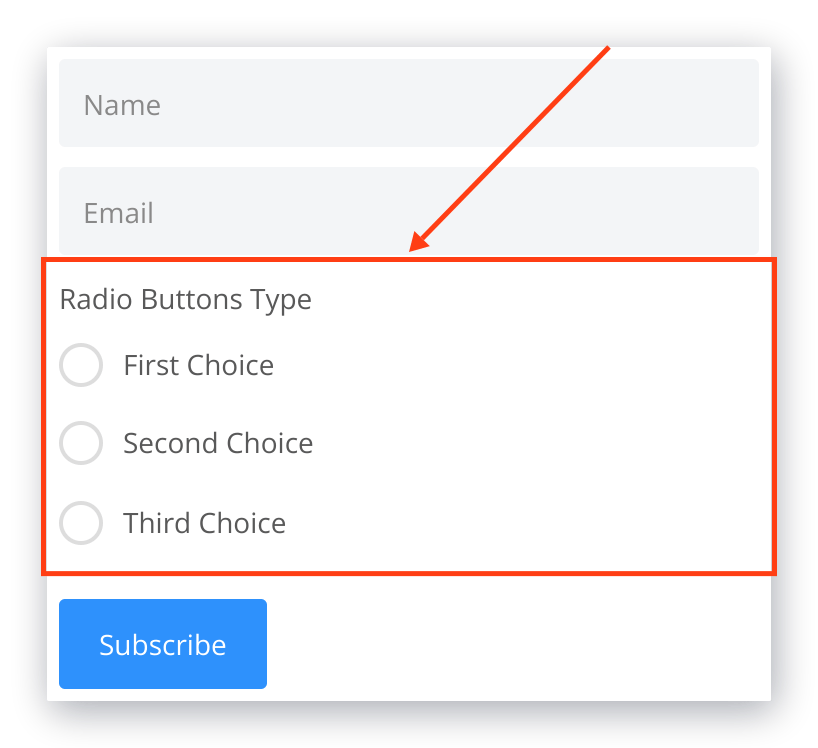
* **Radio Buttons** — allows Form submitters to check a button next to their selection:
<img src="https://mintcdn.com/kajabi-support/KcN1Ave2wqokJV1G/articles/images/644a9ee4_upload_1609248919560095817.png?fit=max&auto=format&n=KcN1Ave2wqokJV1G&q=85&s=a3bc701d594c2fec5e538c96e28ee0e1" alt="Radio buttons form field" width="764" height="694" data-path="articles/images/644a9ee4_upload_1609248919560095817.png" />

* **Country** — allows Form submitters to select their country from a dropdown menu

To customize the look and feel of your Form, add it to a page and customize your Form Block with the Page Editor. [Learn to add and customize a Form on your page](../../website/pages/how-to-add-a-form-to-your-page).
