> ## Documentation Index
> Fetch the complete documentation index at: https://help.kajabi.com/llms.txt
> Use this file to discover all available pages before exploring further.
# Trigger Automations based on Form responses
> Set up Forms to trigger Automations based on the submitter's response with custom field types.
**Automations** can perform actions automatically based on a Form submitter's responses. Use conditional logic with custom field types — checkboxes, select boxes, and radio buttons — to control what happens after a Form is submitted.
For example, you can:
* Grant or revoke an Offer
* Subscribe to or unsubscribe from an Email Sequence
* Register to or deregister from an Event
* Add or remove a Tag
* Send an Email
* Send a single-use Coupon
**Note:**
Creating a Form that triggers an Automation based on the response of the submitter requires Advanced Automations available with the Growth and Pro Plans. [Learn more about the different plans](https://kajabi.com/pricing/).
## Trigger Automations with a checkbox
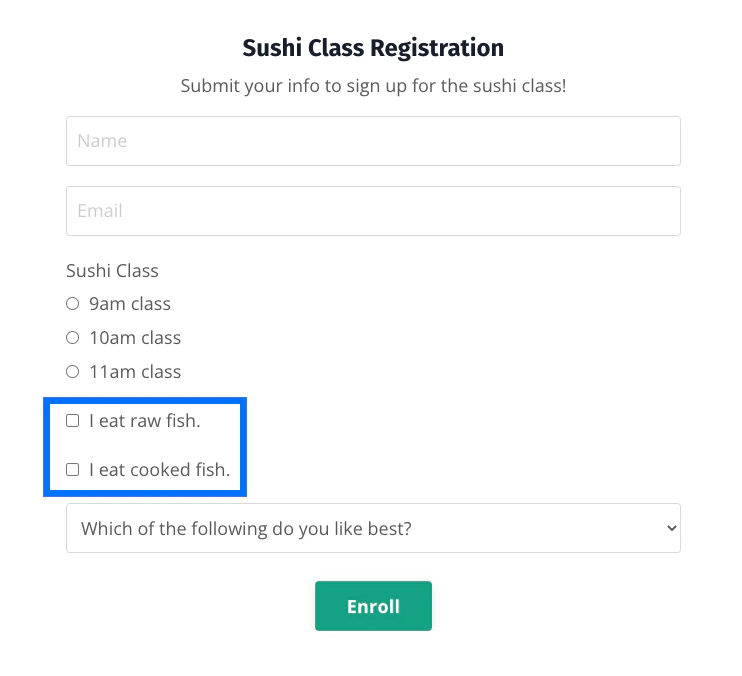
A *checkbox* allows your Form submitters to either select an option or leave it unselected. Create multiple checkboxes for your Form submitters to select one or more options:
 ### Create a checkbox
1. Open the **Marketing** tab from your Dashboard.
2. Select **Forms**.
3. [Create a Form](./create-and-build-your-form) or choose an existing Form to edit.
4. Under **Form Fields**, choose **Add Form Field**.
5. Click **Create a New Field**.
6. Title your custom field and select **Checkbox** as the field type.
7. Click **Save**.
8. Navigate to the upper right corner of the Form Editor and click **Save** again:
### Create a checkbox
1. Open the **Marketing** tab from your Dashboard.
2. Select **Forms**.
3. [Create a Form](./create-and-build-your-form) or choose an existing Form to edit.
4. Under **Form Fields**, choose **Add Form Field**.
5. Click **Create a New Field**.
6. Title your custom field and select **Checkbox** as the field type.
7. Click **Save**.
8. Navigate to the upper right corner of the Form Editor and click **Save** again:
### Customize the Form Automation
After creating your checkbox, create an Automation in your Form to process the Form submitter's checkbox selection:
1. Inside the Form Editor, click **Add Automation**.
2. Select the action you want to occur after the Form is submitted in the **Then** dropdown menu.
3. Click the **Add Condition** button.
4. Select your custom checkbox field filter in the **Select filter** dropdown menu (custom field filters can be found at the end of the menu).
5. Enter `1` in the final field to trigger the Automation if the box is checked, or `0` to trigger the Automation if the box is not checked.
6. Click **Apply**.
7. Click **Save**:
## Trigger Automations with a select box
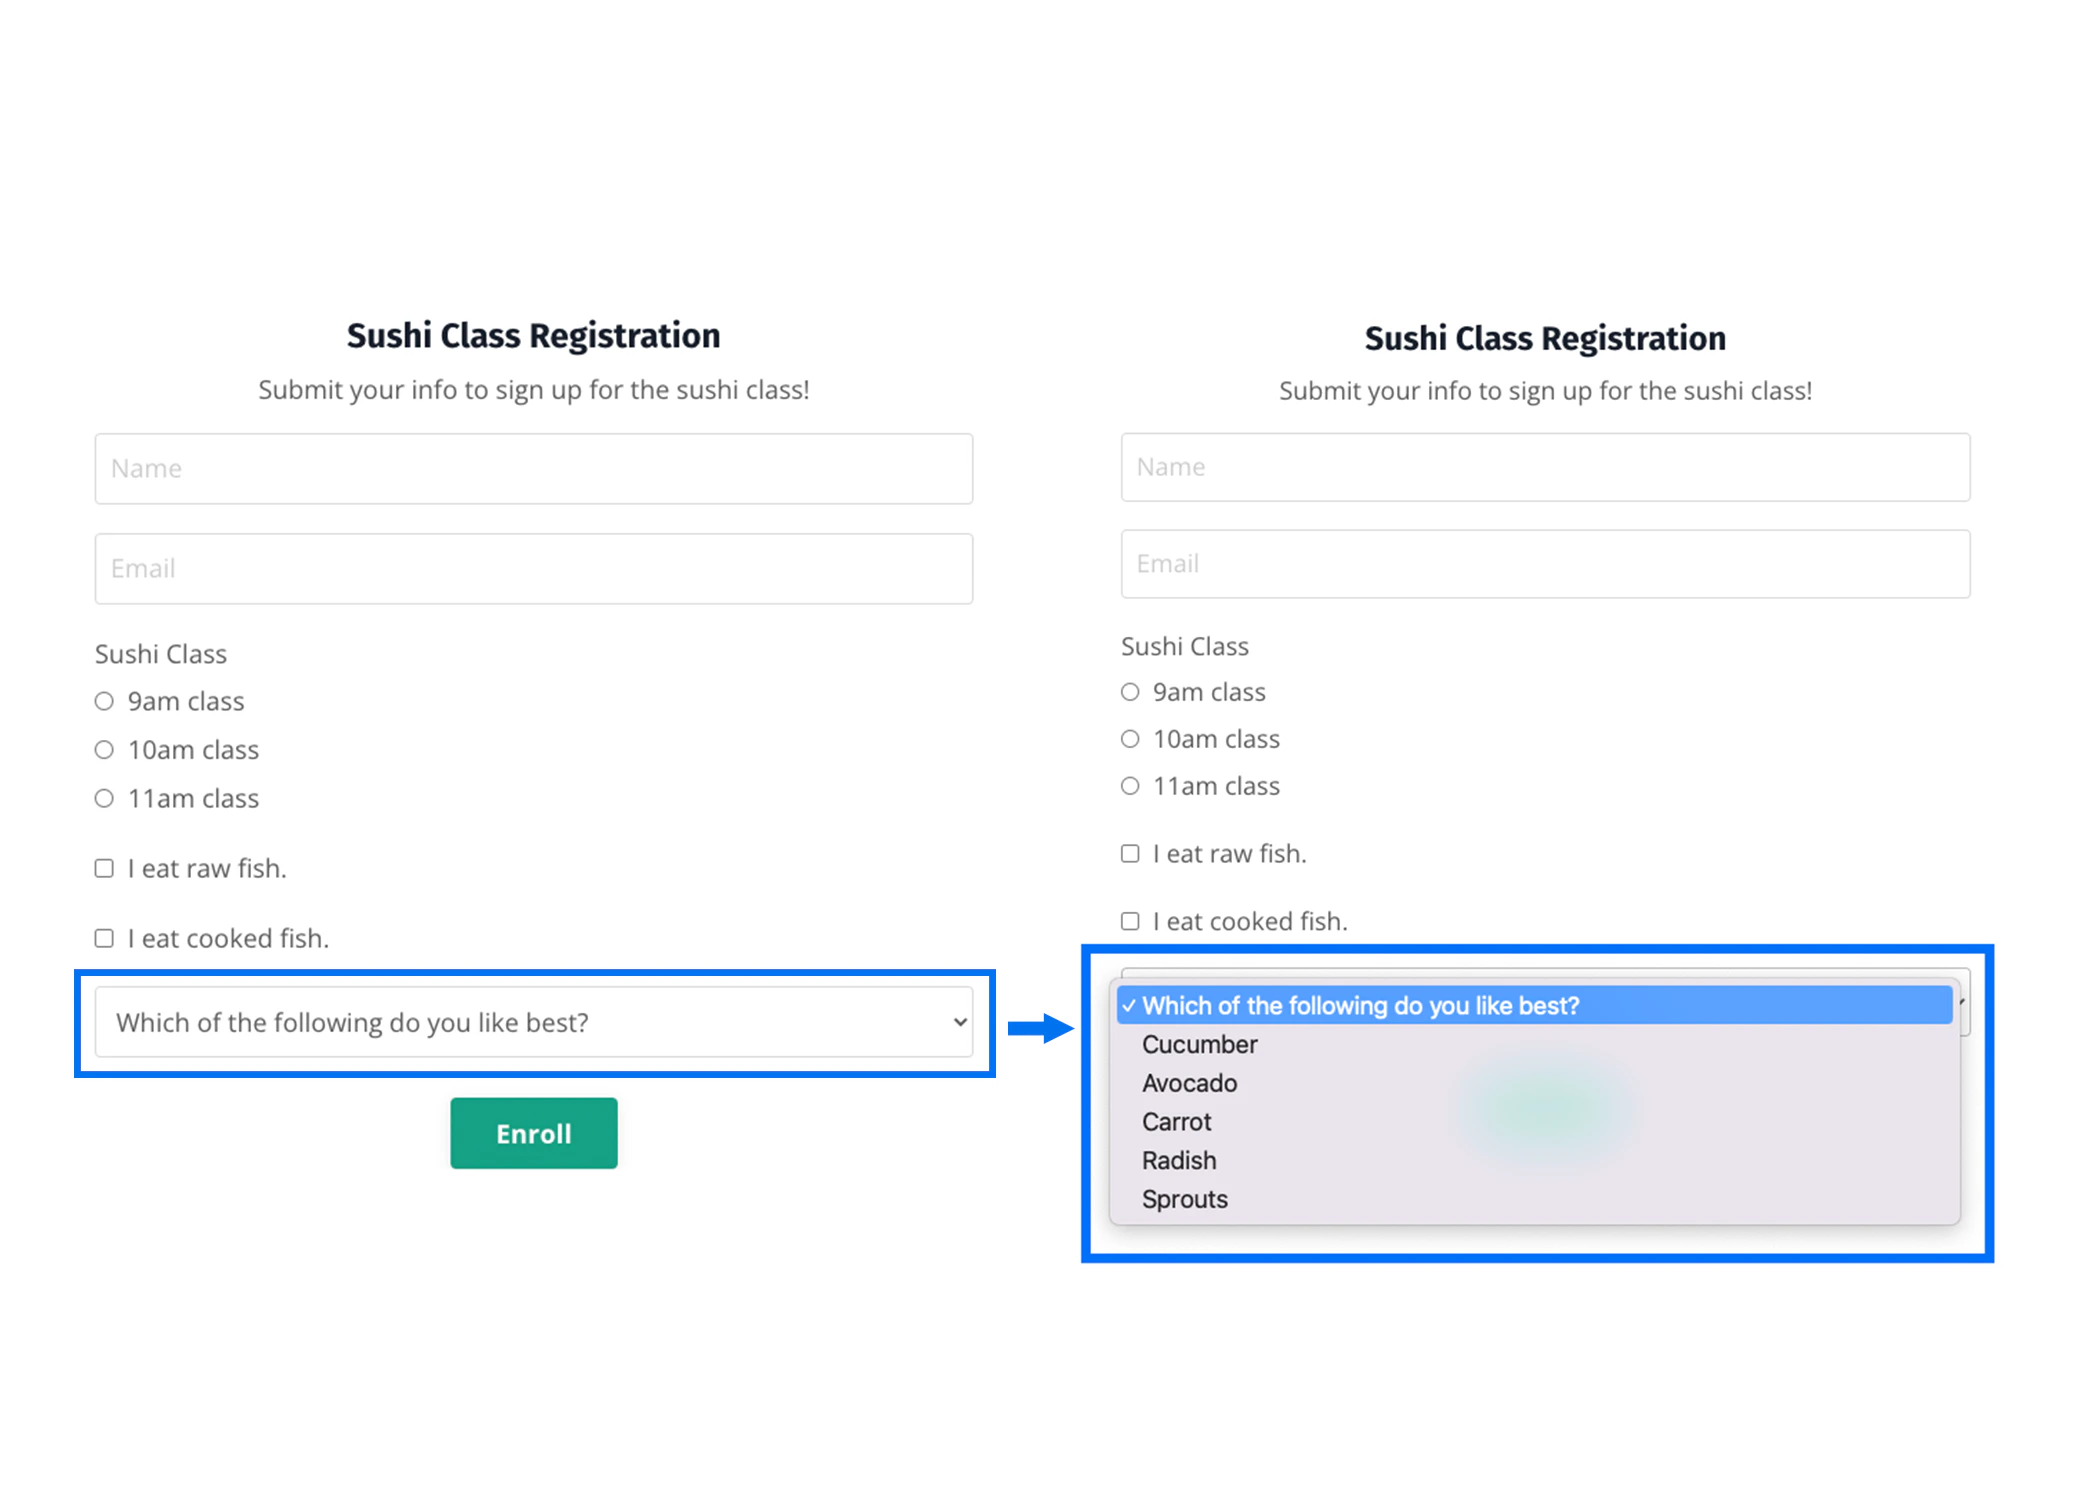
A *select box* lets your Form submitters select a single response from a dropdown experience:
 ### Create a select box
1. Open the **Marketing** tab from your Dashboard.
2. Select **Forms**.
3. [Create a Form](./create-and-build-your-form) or choose an existing Form to edit.
4. Under **Form Fields**, choose **Add Form Field**.
5. Click **Create a New Field**.
6. Title your custom field and select **Select Box** as the field type.
7. Enter your select box answer options.
8. Click **Save**.
9. Navigate to the upper right corner of the Form Editor and click **Save** again:
### Create a select box
1. Open the **Marketing** tab from your Dashboard.
2. Select **Forms**.
3. [Create a Form](./create-and-build-your-form) or choose an existing Form to edit.
4. Under **Form Fields**, choose **Add Form Field**.
5. Click **Create a New Field**.
6. Title your custom field and select **Select Box** as the field type.
7. Enter your select box answer options.
8. Click **Save**.
9. Navigate to the upper right corner of the Form Editor and click **Save** again:
### Customize the Form Automation
After creating your select box, create an Automation in your Form to process the Form submitter's select box selection:
1. Inside the Form Editor, click **Add Automation**.
2. Select the action you want to occur after the Form is submitted in the **Then** dropdown menu.
3. Click the **Add Condition** button.
4. Select your custom select box field filter in the **Select filter** dropdown menu (custom field filters can be found at the end of the menu).
5. In the second dropdown menu, select your desired select box answer option to trigger the Automation.
6. Click **Apply**.
7. Click **Save**:
## Trigger Automations with radio buttons
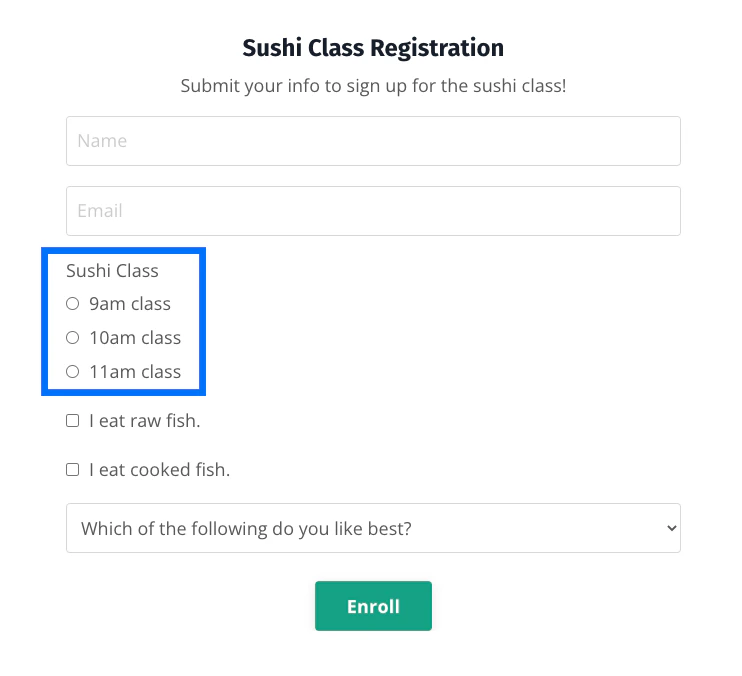
*Radio buttons* let your Form submitters select a single response from multiple options:
 ### Create radio buttons
1. Open the **Marketing** tab from your Dashboard.
2. Select **Forms**.
3. [Create a Form](./create-and-build-your-form) or choose an existing Form to edit.
4. Under **Form Fields**, choose **Add Form Field**.
5. Click **Create a New Field**.
6. Title your custom field and select **Radio Buttons** as the field type.
7. Enter your radio button answer options.
8. Click **Save**.
9. Navigate to the upper right corner of the Form Editor and click **Save** again:
### Create radio buttons
1. Open the **Marketing** tab from your Dashboard.
2. Select **Forms**.
3. [Create a Form](./create-and-build-your-form) or choose an existing Form to edit.
4. Under **Form Fields**, choose **Add Form Field**.
5. Click **Create a New Field**.
6. Title your custom field and select **Radio Buttons** as the field type.
7. Enter your radio button answer options.
8. Click **Save**.
9. Navigate to the upper right corner of the Form Editor and click **Save** again:
### Customize the Form Automation
After creating your radio buttons, create an Automation in your Form to process the Form submitter's radio button selection:
1. Inside the Form Editor, click **Add Automation**.
2. Select the action you want to occur after the Form is submitted in the **Then** dropdown menu.
3. Click the **Add Condition** button.
4. Select your custom radio buttons field filter in the **Select filter** dropdown menu (custom field filters can be found at the end of the menu).
5. In the second dropdown menu, select your desired radio button answer option to trigger the Automation.
6. Click **Apply**.
7. Click **Save**: