> ## Documentation Index
> Fetch the complete documentation index at: https://help.kajabi.com/llms.txt
> Use this file to discover all available pages before exploring further.
# Complete the iOS app transfer process
> Transfer an iOS app into an Apple Developer account and update Kajabi settings.
If an iOS app was initially built under a different Apple Developer account, you need to complete a **transfer process** to move it into your own account. The steps below cover preparing account info, completing the transfer in App Store Connect, and updating Kajabi settings.
## Prepare app account info
You'll need to submit the following account information to complete the app transfer process:
* Full name
* Email address
* Phone number
* Support URL
* Marketing URL
* Privacy policy
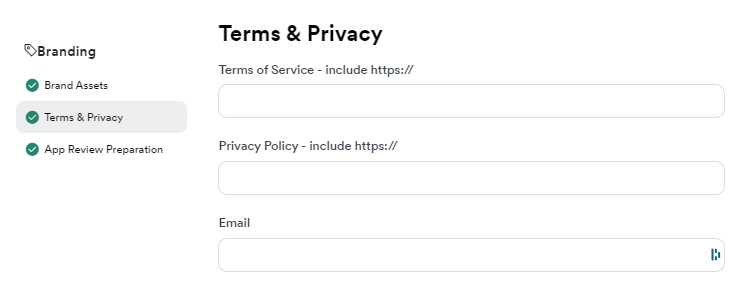
Make sure the email address and privacy policy URL you submit match those listed in the Branded App branding settings in Kajabi.
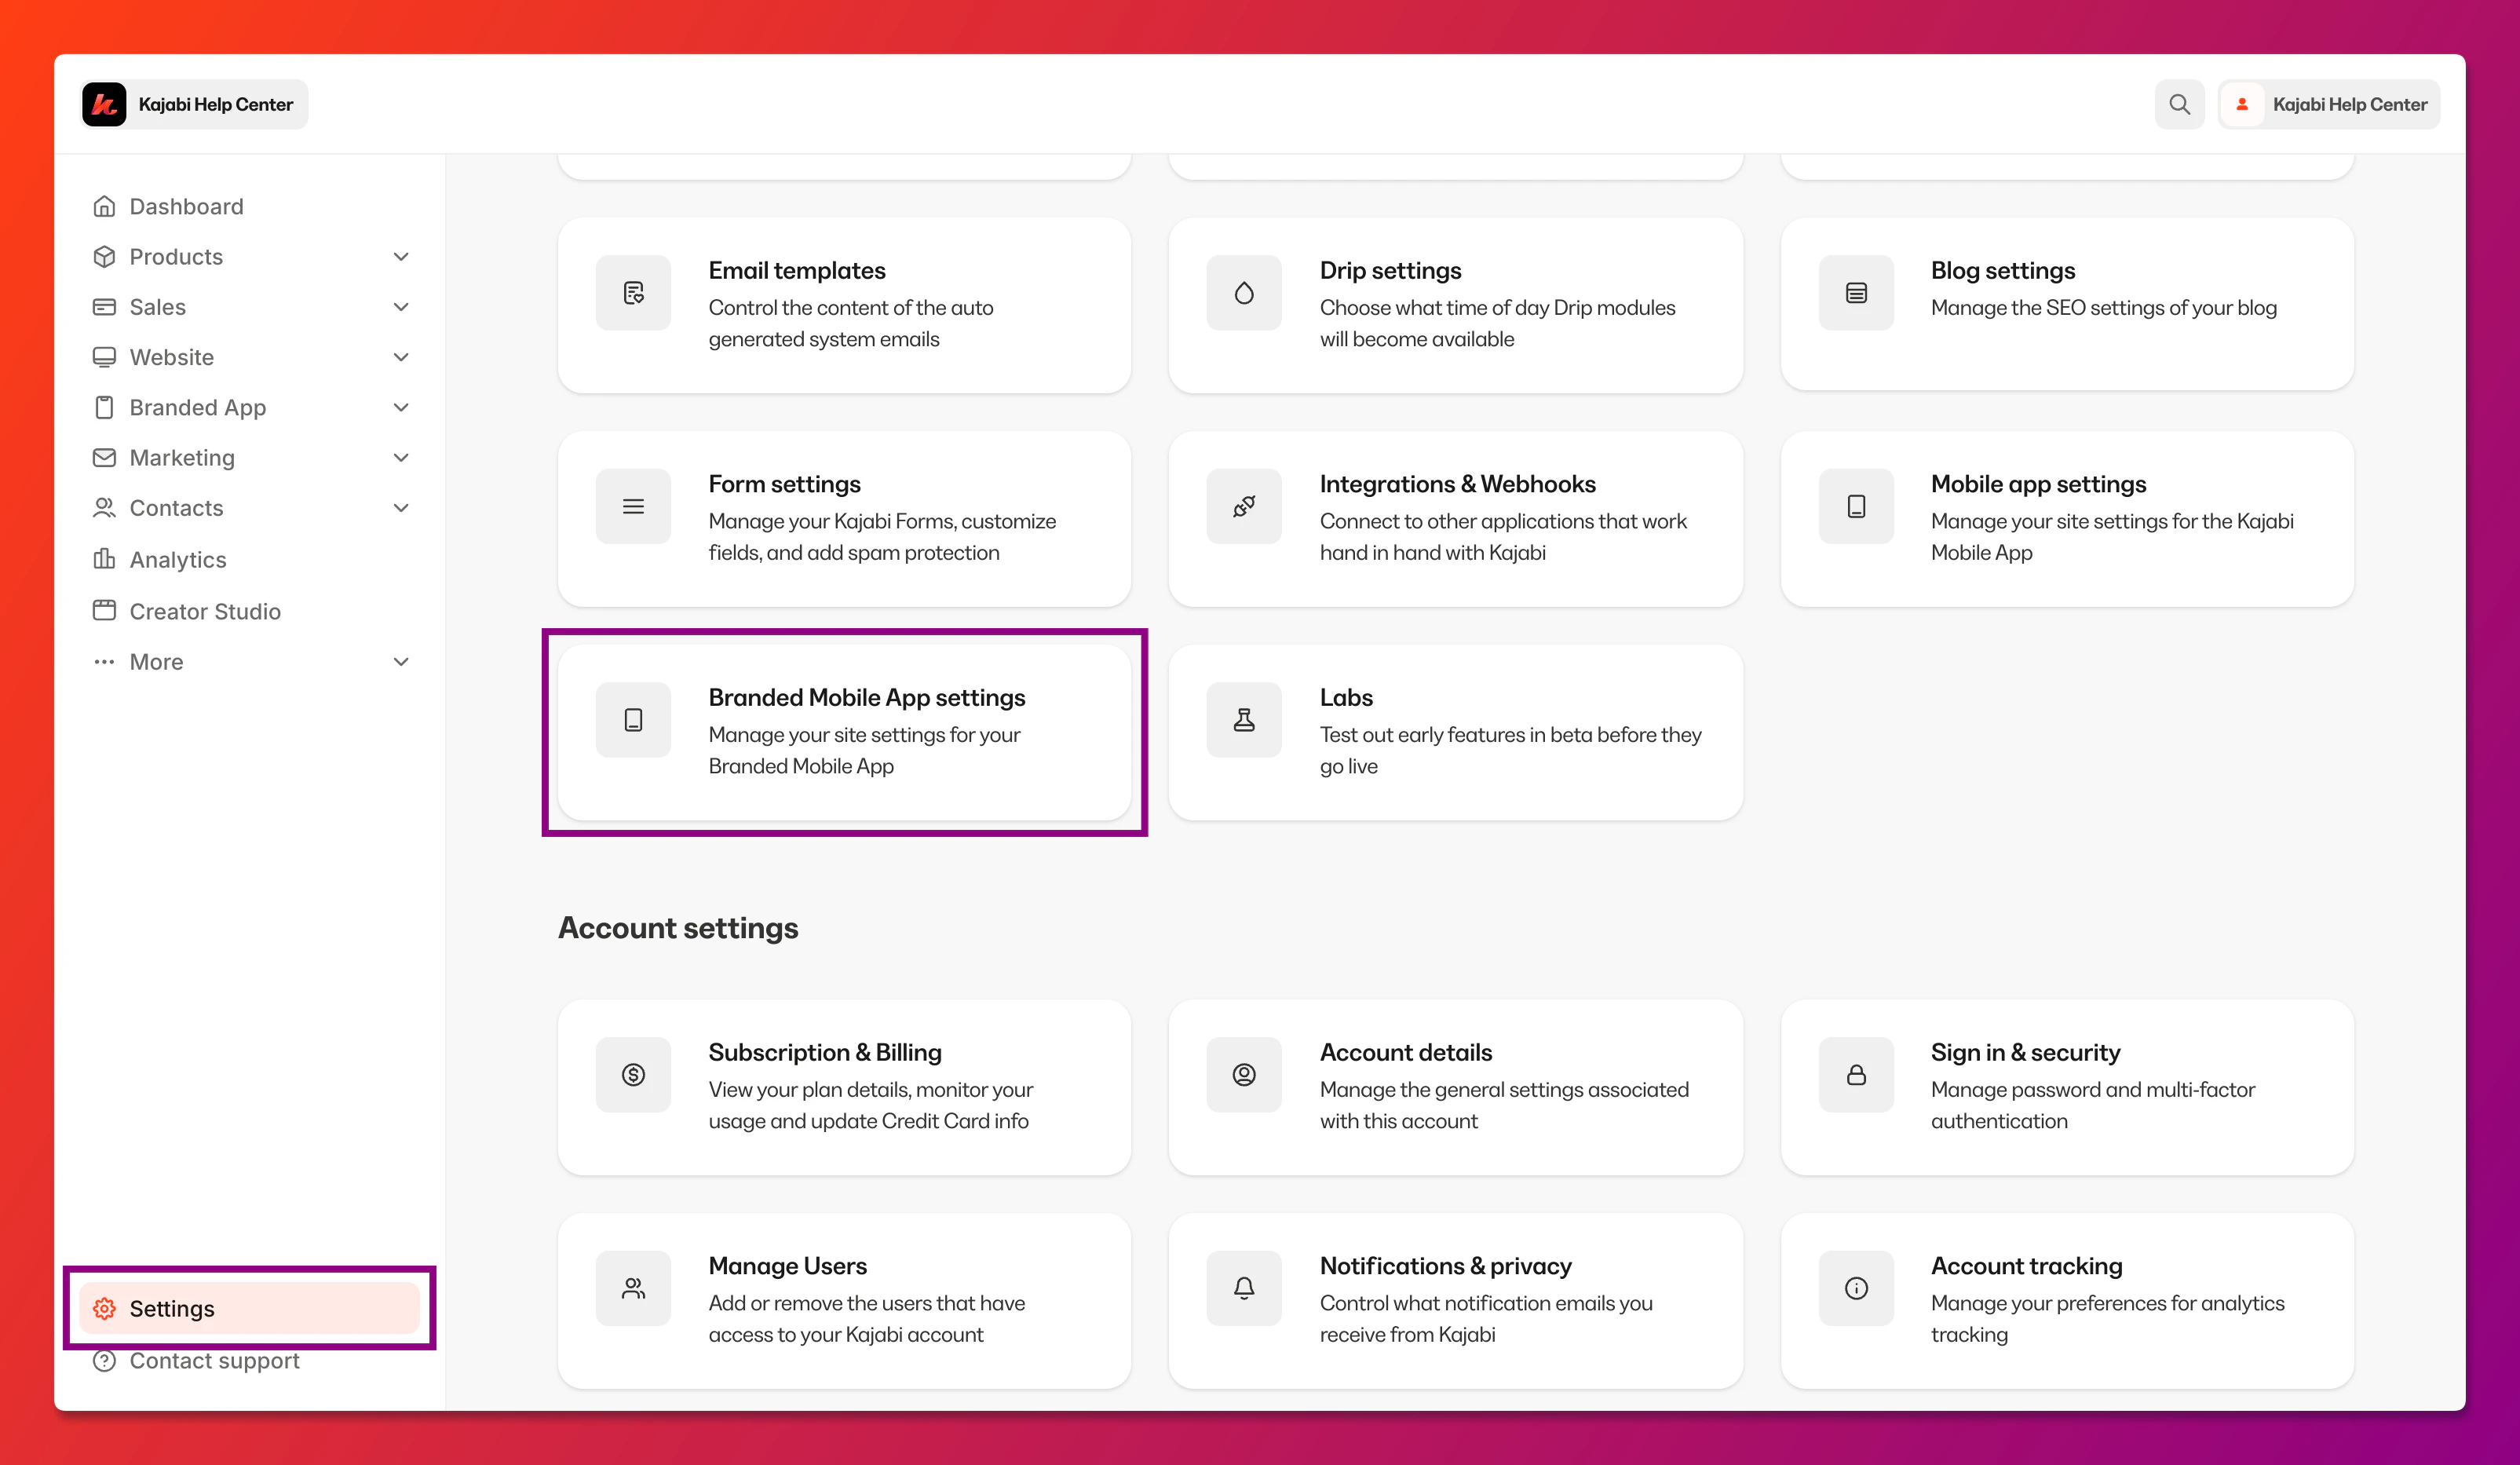
**To open the Branded App branding settings:**
1. Log into your [Kajabi account](https://app.kajabi.com/login).
2. Select **Settings** at the lower left corner of the Kajabi dashboard.
3. Then, select **Branded Mobile App Settings**:
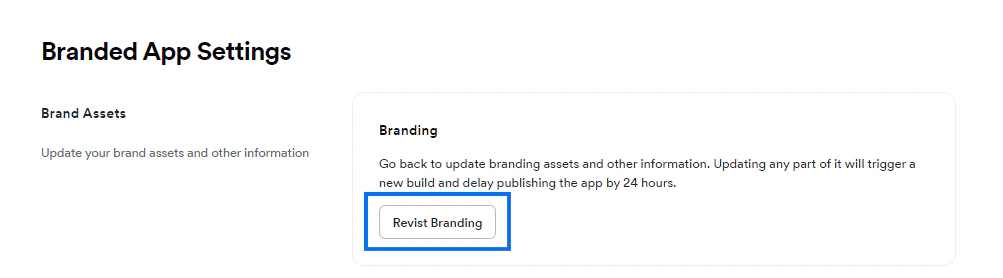
 4. Navigate to Brand Assets and click **Revisit Branding**:
 5. Select **Terms & Privacy**:
 ## Complete the transfer in App Store Connect
Once you have your account information ready, complete the app transfer process in App Store Connect.
**To transfer the app:**
1. Log into your [App Store Connect](https://appstoreconnect.apple.com/) account.
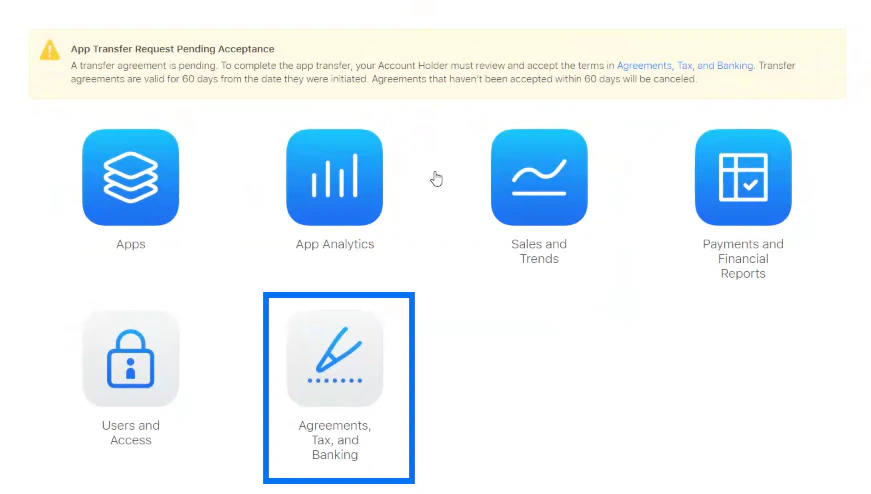
2. You should see a yellow notification banner at the top of the page stating that you have an app transfer request pending acceptance.
3. Click on **Agreements, Tax, and Banking**:
## Complete the transfer in App Store Connect
Once you have your account information ready, complete the app transfer process in App Store Connect.
**To transfer the app:**
1. Log into your [App Store Connect](https://appstoreconnect.apple.com/) account.
2. You should see a yellow notification banner at the top of the page stating that you have an app transfer request pending acceptance.
3. Click on **Agreements, Tax, and Banking**:
 4. Under **App Transfers**, verify that you see the pending app transfer request.
5. In the **Action** column at the far right of the App Transfer record, click **Review**:
4. Under **App Transfers**, verify that you see the pending app transfer request.
5. In the **Action** column at the far right of the App Transfer record, click **Review**:
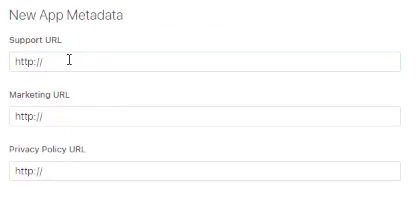
 6. Scroll down the page to **New App Metadata**.
7. Enter your metadata information. Be sure to include https\:// at the front of each URL:
* Support URL
* Marketing URL
* Privacy Policy URL
6. Scroll down the page to **New App Metadata**.
7. Enter your metadata information. Be sure to include https\:// at the front of each URL:
* Support URL
* Marketing URL
* Privacy Policy URL
 8. Next, enter your contact information:
* First name
* Last name
* Phone number
* Email
**To verify that the app transfer has completed successfully:**
1. Click the **App Store Connect** logo:
8. Next, enter your contact information:
* First name
* Last name
* Phone number
* Email
**To verify that the app transfer has completed successfully:**
1. Click the **App Store Connect** logo:
 2. Then, click **Apps**:
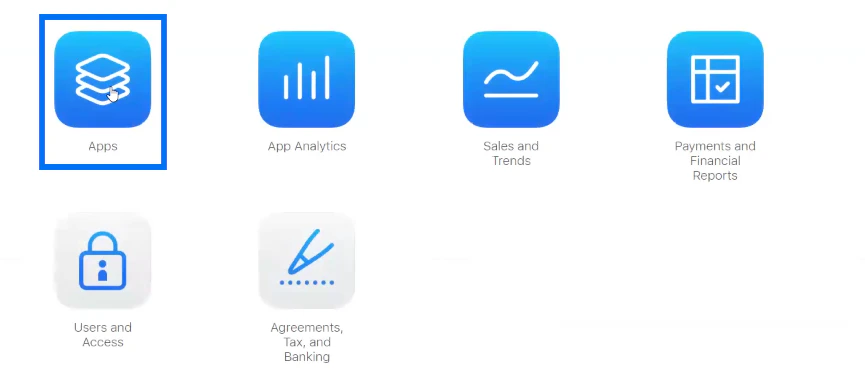 3. If you don't immediately see the app icon for the Branded App on the **Apps** page, keep refreshing the browser page until you see the app icon.
## Update Branded App info in Kajabi
After transferring the app into your own Apple Developer account, you'll need to update a few pieces of information in Kajabi Branded App settings.
**Important:**
If you don't update the Branded App info in Kajabi after transferring the app, the app cannot be updated and push notifications will stop working.
[Click here for the final steps to complete the app transfer process](/articles/mobile-apps/branded-app/what-to-update-in-kajabi-for-your-ios-app).
3. If you don't immediately see the app icon for the Branded App on the **Apps** page, keep refreshing the browser page until you see the app icon.
## Update Branded App info in Kajabi
After transferring the app into your own Apple Developer account, you'll need to update a few pieces of information in Kajabi Branded App settings.
**Important:**
If you don't update the Branded App info in Kajabi after transferring the app, the app cannot be updated and push notifications will stop working.
[Click here for the final steps to complete the app transfer process](/articles/mobile-apps/branded-app/what-to-update-in-kajabi-for-your-ios-app).