> ## Documentation Index
> Fetch the complete documentation index at: https://help.kajabi.com/llms.txt
> Use this file to discover all available pages before exploring further.
# Create a Google Developer account
> Set up a Google Developer account in Google Play Console to publish a Branded App on Android.
To publish a Branded App on Android, you need a **Google Developer account** in the Google Play Console. A \$25 registration fee is required to create an account, so have your credit card details handy.
**Tip:**
We require you to create an organizational developer account for Google to speed up the Android app build process. With an organizational account, we can generally get the Android app up in 6-8 weeks, if not sooner, but with an individual account, it can be upwards of 12-16 weeks given Google's strict enforcement of the internal testing requirement.
## Set up the account
**To create the account:**
1. Navigate to: [https://play.google.com/apps/publish/signup](https://play.google.com/apps/publish/signup)
2. Sign into your Google account.
(Or create a Google account if you don't already have one).
3. If prompted, turn on two-step verification for the account (required). If you already have two-step verification set up, move on to the next step.
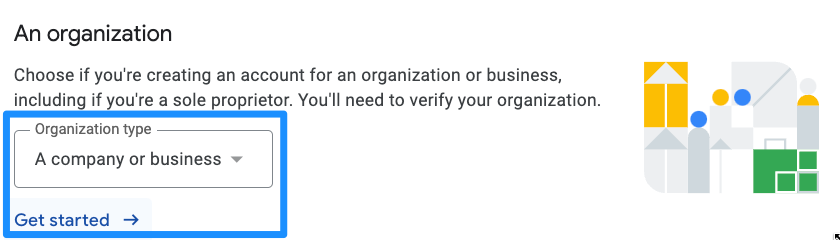
4. For Kajabi to assist with the app build, we require you to create an account for an organization.
5. Click **Get started**:
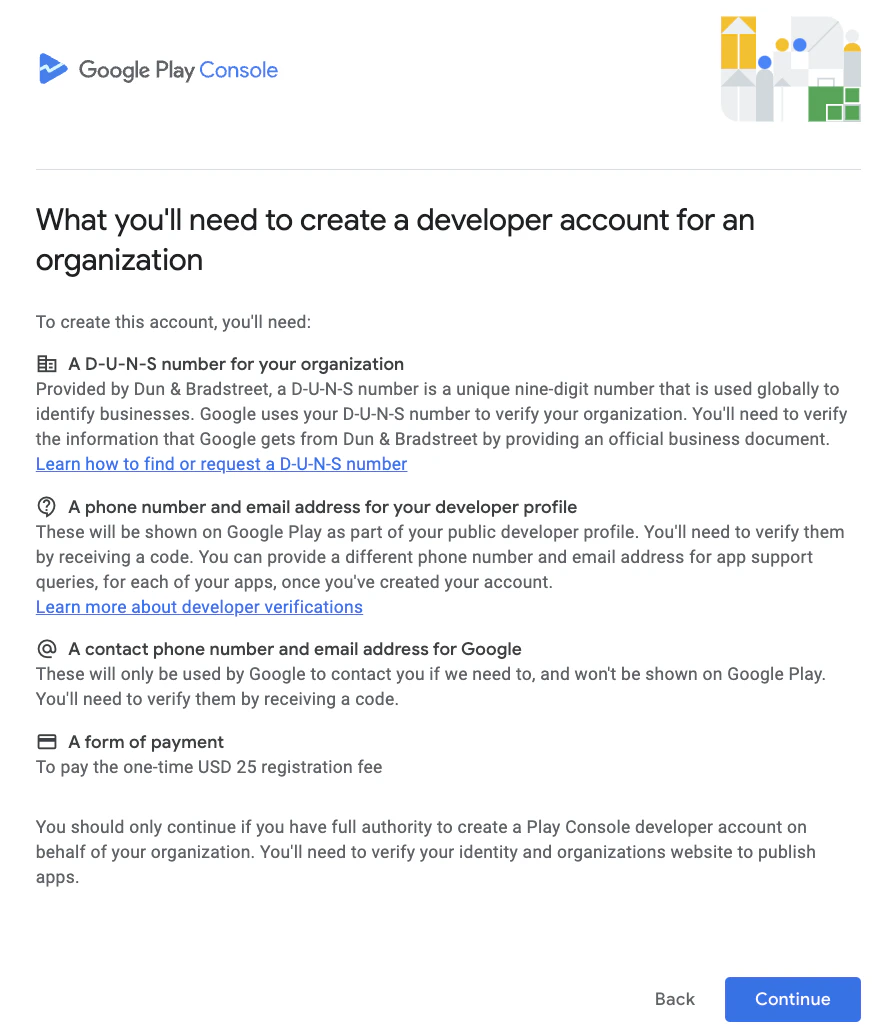
 6. Review the information on the next screen and click **Continue**:
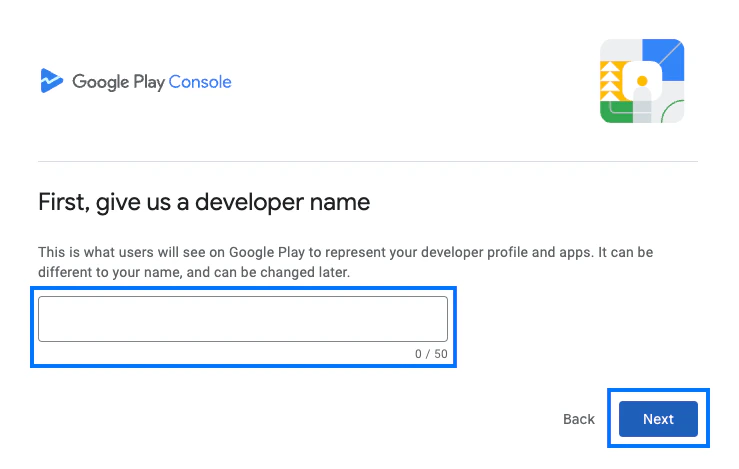
 7. Enter a publicly visible **Developer name**. This can be any name you want. For example, "\[My Business Name] Developer Account."
8. Click **Next**:
7. Enter a publicly visible **Developer name**. This can be any name you want. For example, "\[My Business Name] Developer Account."
8. Click **Next**:
 9. Next, click **Create or select payments profile** to link a Google payments profile to the account:
After creating a Google Developer Account, you must verify your Google Play Console. [Learn more](/articles/mobile-apps/branded-app/additional-verification-for-your-google-play-console).
**Note:**
Before Google approves your app to be published, Google requires closed testing during the build process with at least 20 of your customers. [Learn more](/articles/mobile-apps/branded-app/how-to-publish-your-branded-app-to-the-closed-testing-track-in-the-google-play-store).
9. Next, click **Create or select payments profile** to link a Google payments profile to the account:
After creating a Google Developer Account, you must verify your Google Play Console. [Learn more](/articles/mobile-apps/branded-app/additional-verification-for-your-google-play-console).
**Note:**
Before Google approves your app to be published, Google requires closed testing during the build process with at least 20 of your customers. [Learn more](/articles/mobile-apps/branded-app/how-to-publish-your-branded-app-to-the-closed-testing-track-in-the-google-play-store).