> ## Documentation Index
> Fetch the complete documentation index at: https://help.kajabi.com/llms.txt
> Use this file to discover all available pages before exploring further.
# Set up banking and tax info with Apple
> Configure banking and tax information in App Store Connect to sell in-app purchases through a Branded App on iOS.
To sell in-app purchases through a Branded App on iOS, you must configure **banking and tax information** in App Store Connect. The steps below walk you through accepting the Paid Applications Agreement and connecting a business entity.
**To set up banking and tax info:**
1. Sign in to [The Apple Developer Console](https://developer.apple.com/account) and select **Account**.
2. You may see a notification banner with bold lettering near the top of the screen notifying you of required documents that need to be signed. If so, first sign these documents.
3. Scroll down to the **Program resources** section.
4. Under **App Store Connect**, select **Business**:
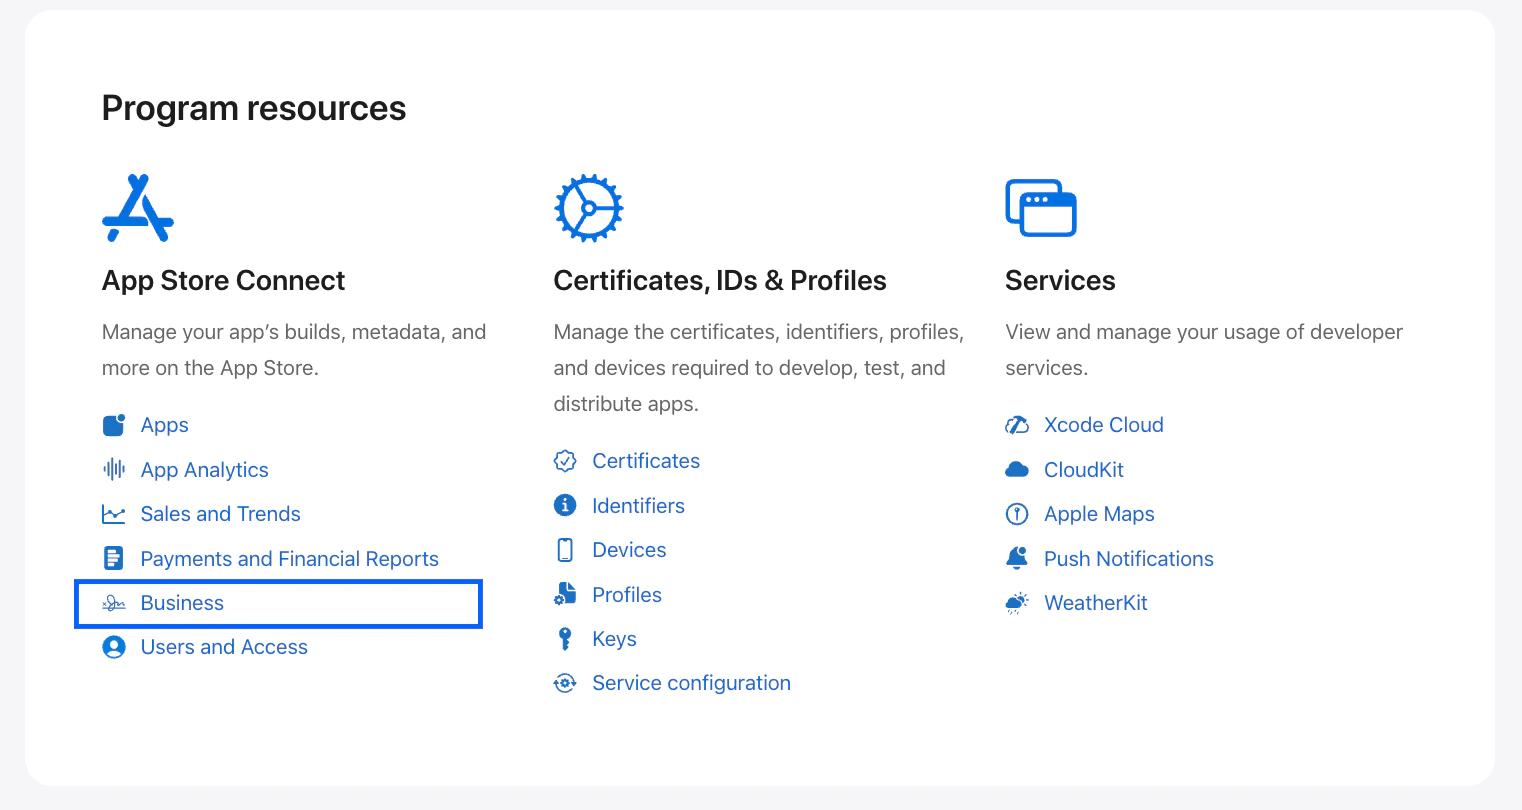 You'll be auto-directed to the **Business** page in [App Store Connect](https://appstoreconnect.apple.com/business).
5. Navigate to **Agreements** and locate the **Paid Applications Agreement**:
You'll be auto-directed to the **Business** page in [App Store Connect](https://appstoreconnect.apple.com/business).
5. Navigate to **Agreements** and locate the **Paid Applications Agreement**:
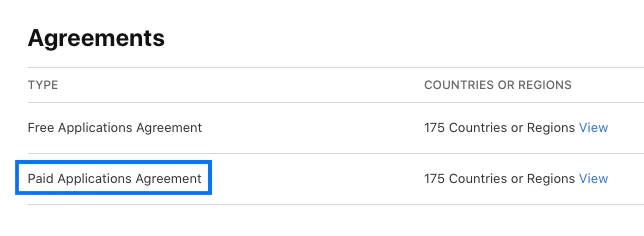 6. Click **View Terms**. (If you don't see a link to view the terms, you may need to update the account information or accept additional agreements first. Check the top of the page for notifications of other outstanding items).
7. Review the terms of the agreement and click **Agree** to accept.
6. Click **View Terms**. (If you don't see a link to view the terms, you may need to update the account information or accept additional agreements first. Check the top of the page for notifications of other outstanding items).
7. Review the terms of the agreement and click **Agree** to accept.