> ## Documentation Index
> Fetch the complete documentation index at: https://help.kajabi.com/llms.txt
> Use this file to discover all available pages before exploring further.
# Embed a calendar in a Course
> Embed a calendar in the main page of a Course to display availability and upcoming events.
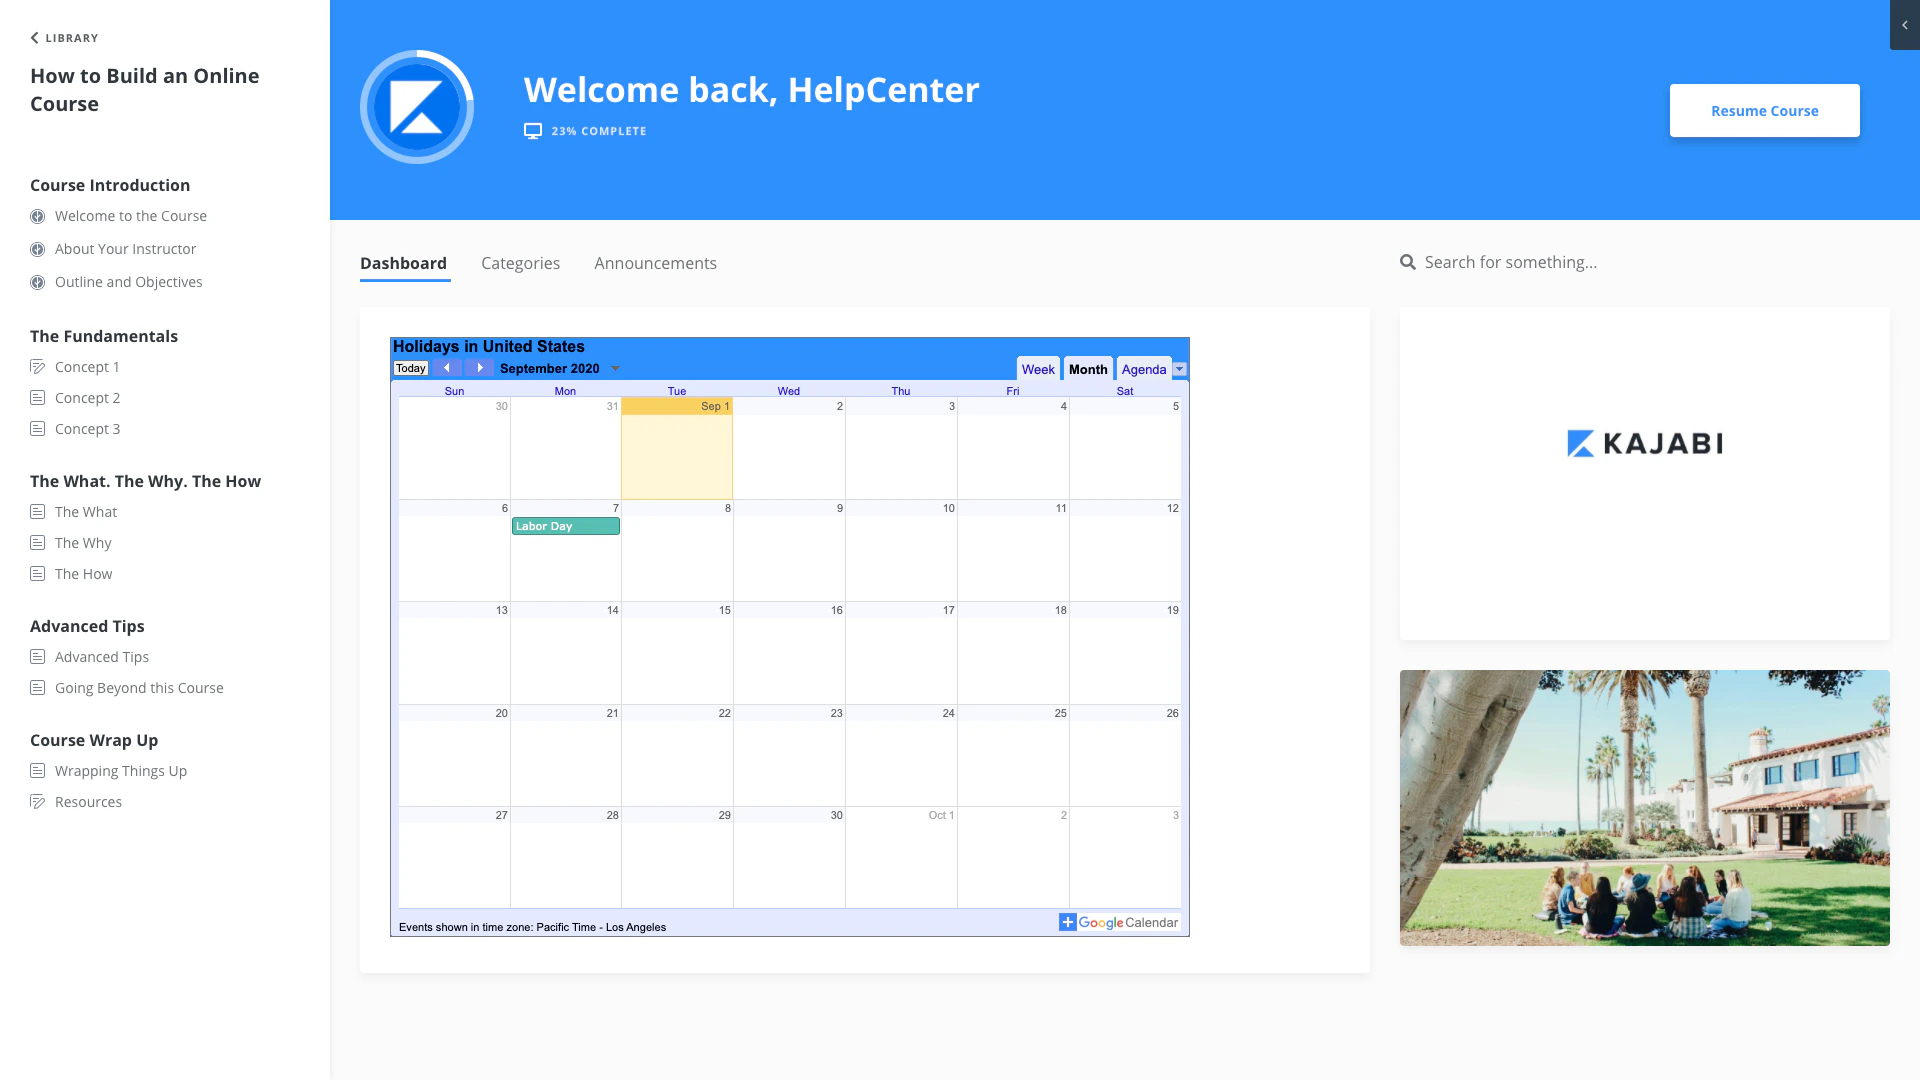
Embedding a **calendar** in a Course is a great way to communicate your events, future lessons, launches, and availability to your customers.
First, choose your preferred calendar (e.g., Google Calendar, Calendly, Acuity, Hubspot, etc.) and copy the embed code.
For the purpose of this guide, we will use Google Calendar to embed a calendar onto our main Course Page:
 ## Copy the calendar embed code
Before embedding a calendar in a Course, create the calendar and configure it to display your desired events.
After your calendar is ready to embed (with all the events you wish to share with your customers) copy the embed code:
## Copy the calendar embed code
Before embedding a calendar in a Course, create the calendar and configure it to display your desired events.
After your calendar is ready to embed (with all the events you wish to share with your customers) copy the embed code:
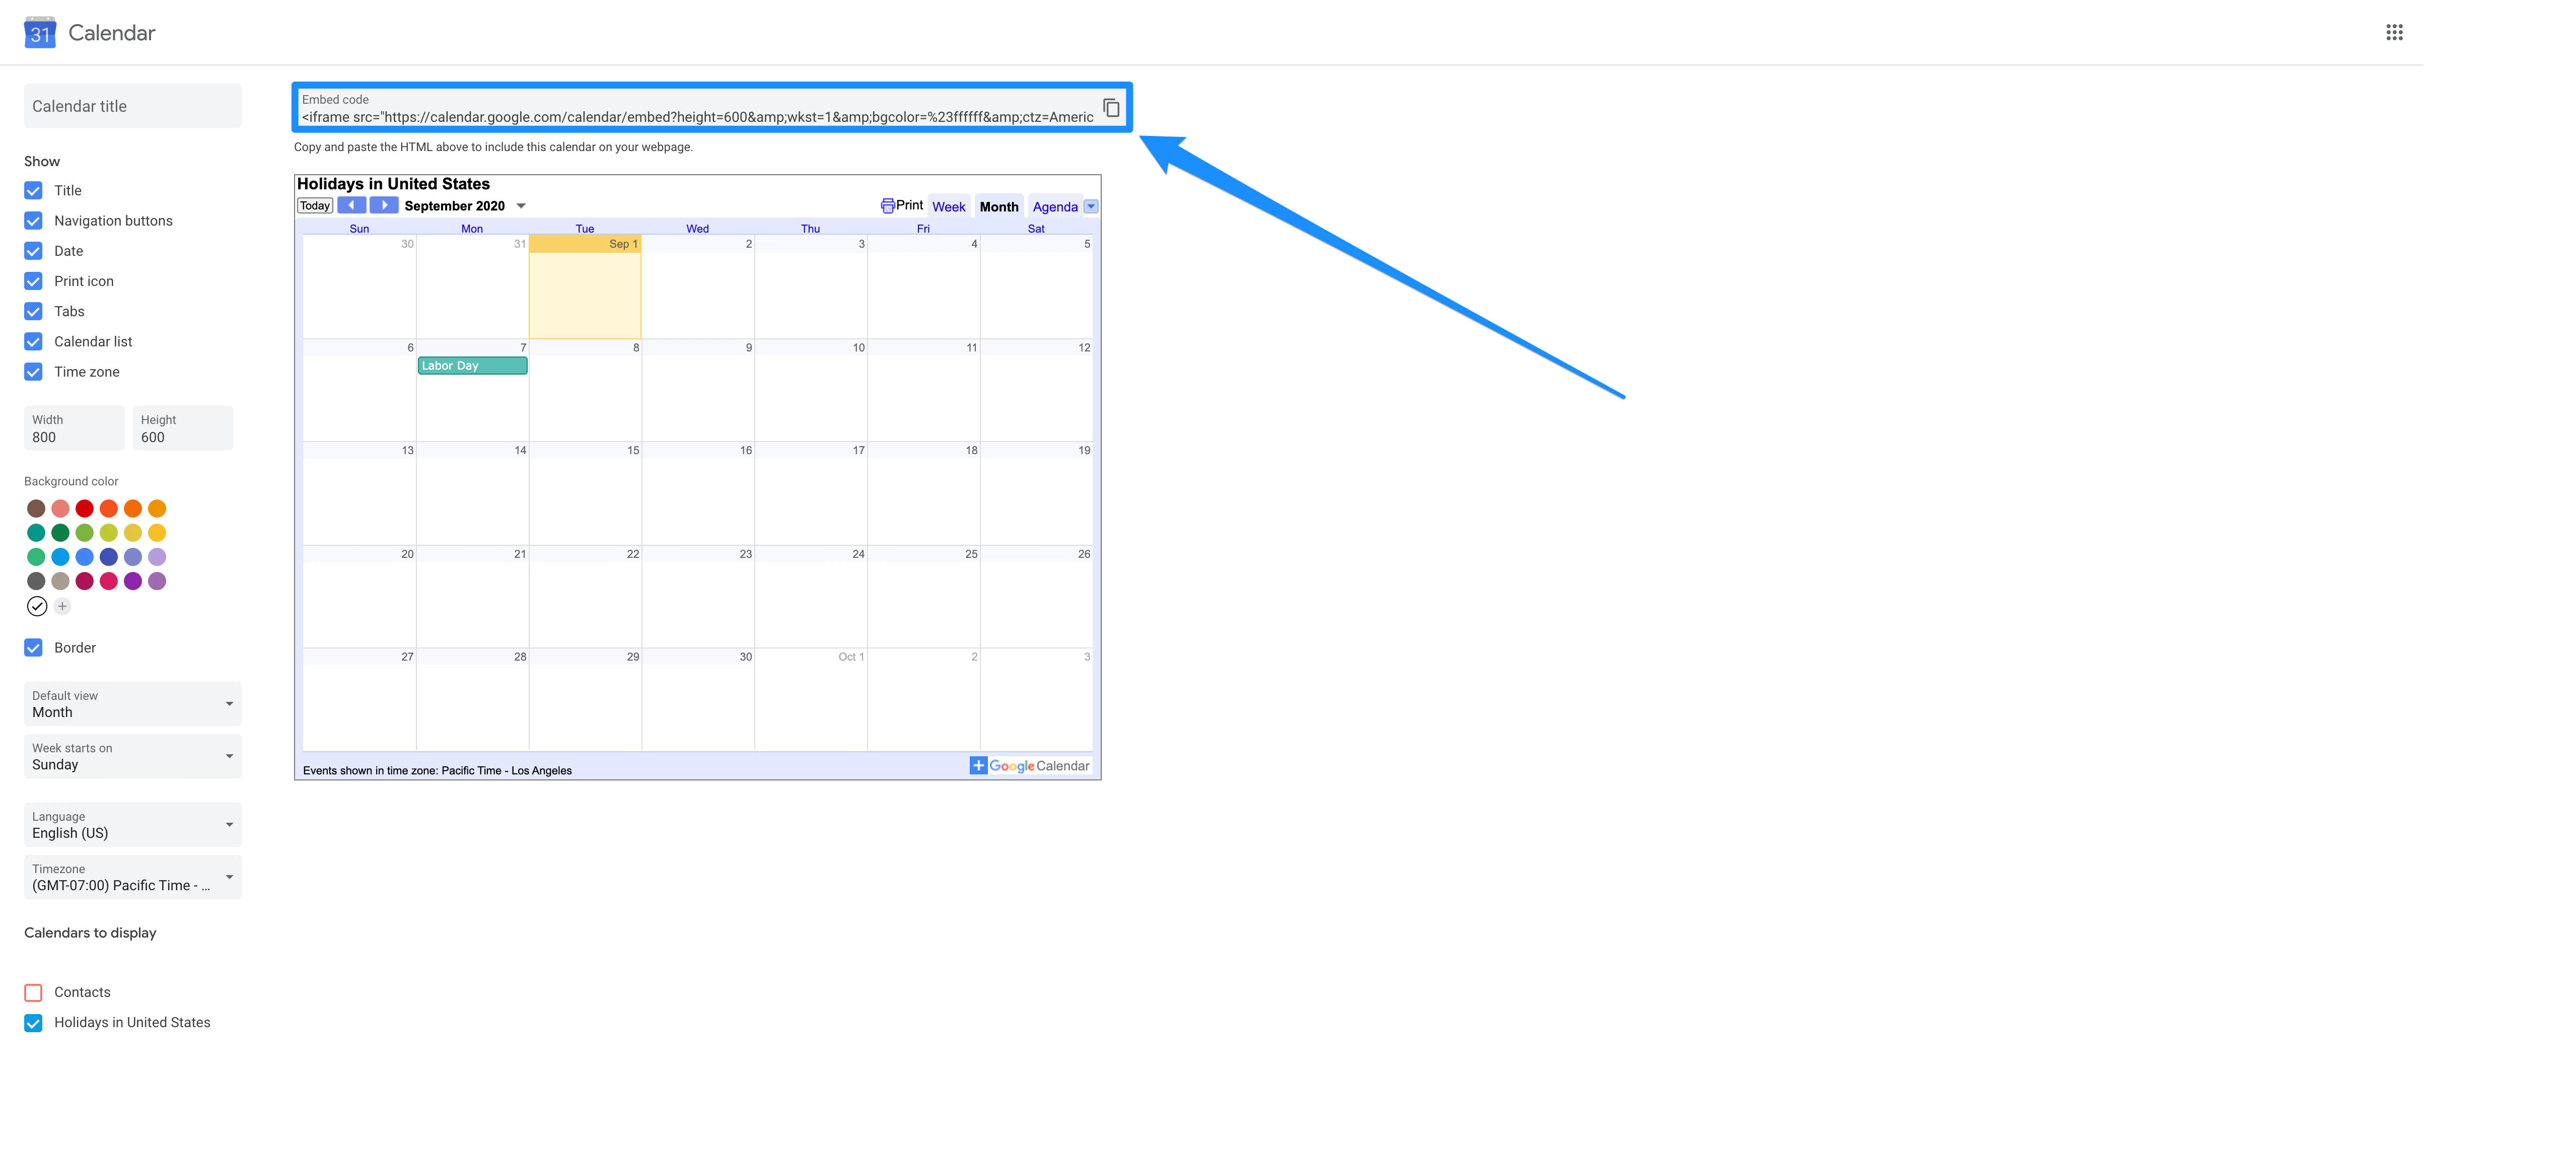 Read [Google's Guide to embedding a Google Calendar](https://support.google.com/calendar/answer/41207?hl=en) to learn how to copy their embed code.
This step will vary depending on the calendar of your choosing. If you are using a different calendar, refer to their support guides to create and copy the embed code.
## Paste the embed code into a Course
After copying your embed code, navigate to your Kajabi account to paste the code into a Course:
1. Open the **Products** tab from the Dashboard.
2. Click into an existing Course or [create a new one](../../products/courses/courses-overview).
3. Select the **Customize** tab.
4. Hover over your Product Template and click **Customize**.
5. In the left sidebar, select the section of your Course where you wish to add the calendar.
6. Click **Add Content**.
7. Select a **Code** block as the content type.
8. Paste the **embed code** into the Code block.
9. Click **Save** to embed your calendar:
Read [Google's Guide to embedding a Google Calendar](https://support.google.com/calendar/answer/41207?hl=en) to learn how to copy their embed code.
This step will vary depending on the calendar of your choosing. If you are using a different calendar, refer to their support guides to create and copy the embed code.
## Paste the embed code into a Course
After copying your embed code, navigate to your Kajabi account to paste the code into a Course:
1. Open the **Products** tab from the Dashboard.
2. Click into an existing Course or [create a new one](../../products/courses/courses-overview).
3. Select the **Customize** tab.
4. Hover over your Product Template and click **Customize**.
5. In the left sidebar, select the section of your Course where you wish to add the calendar.
6. Click **Add Content**.
7. Select a **Code** block as the content type.
8. Paste the **embed code** into the Code block.
9. Click **Save** to embed your calendar: