> ## Documentation Index
> Fetch the complete documentation index at: https://help.kajabi.com/llms.txt
> Use this file to discover all available pages before exploring further.
# Assign a navigation menu
> Apply navigation menus to website pages, checkout pages, and course pages.
After customizing your navigation menus and links, you can assign them to various pages of your site. By default, the **Main Menu** and **Footer** link lists are applied to every page until you assign a different link list.
Using navigation menus to link to various pages of your site streamlines any updates you may implement to your links in the future. If you assign a menu to various pages and later update a link in the navigation menu, all pages with the assigned navigation menu will automatically update.
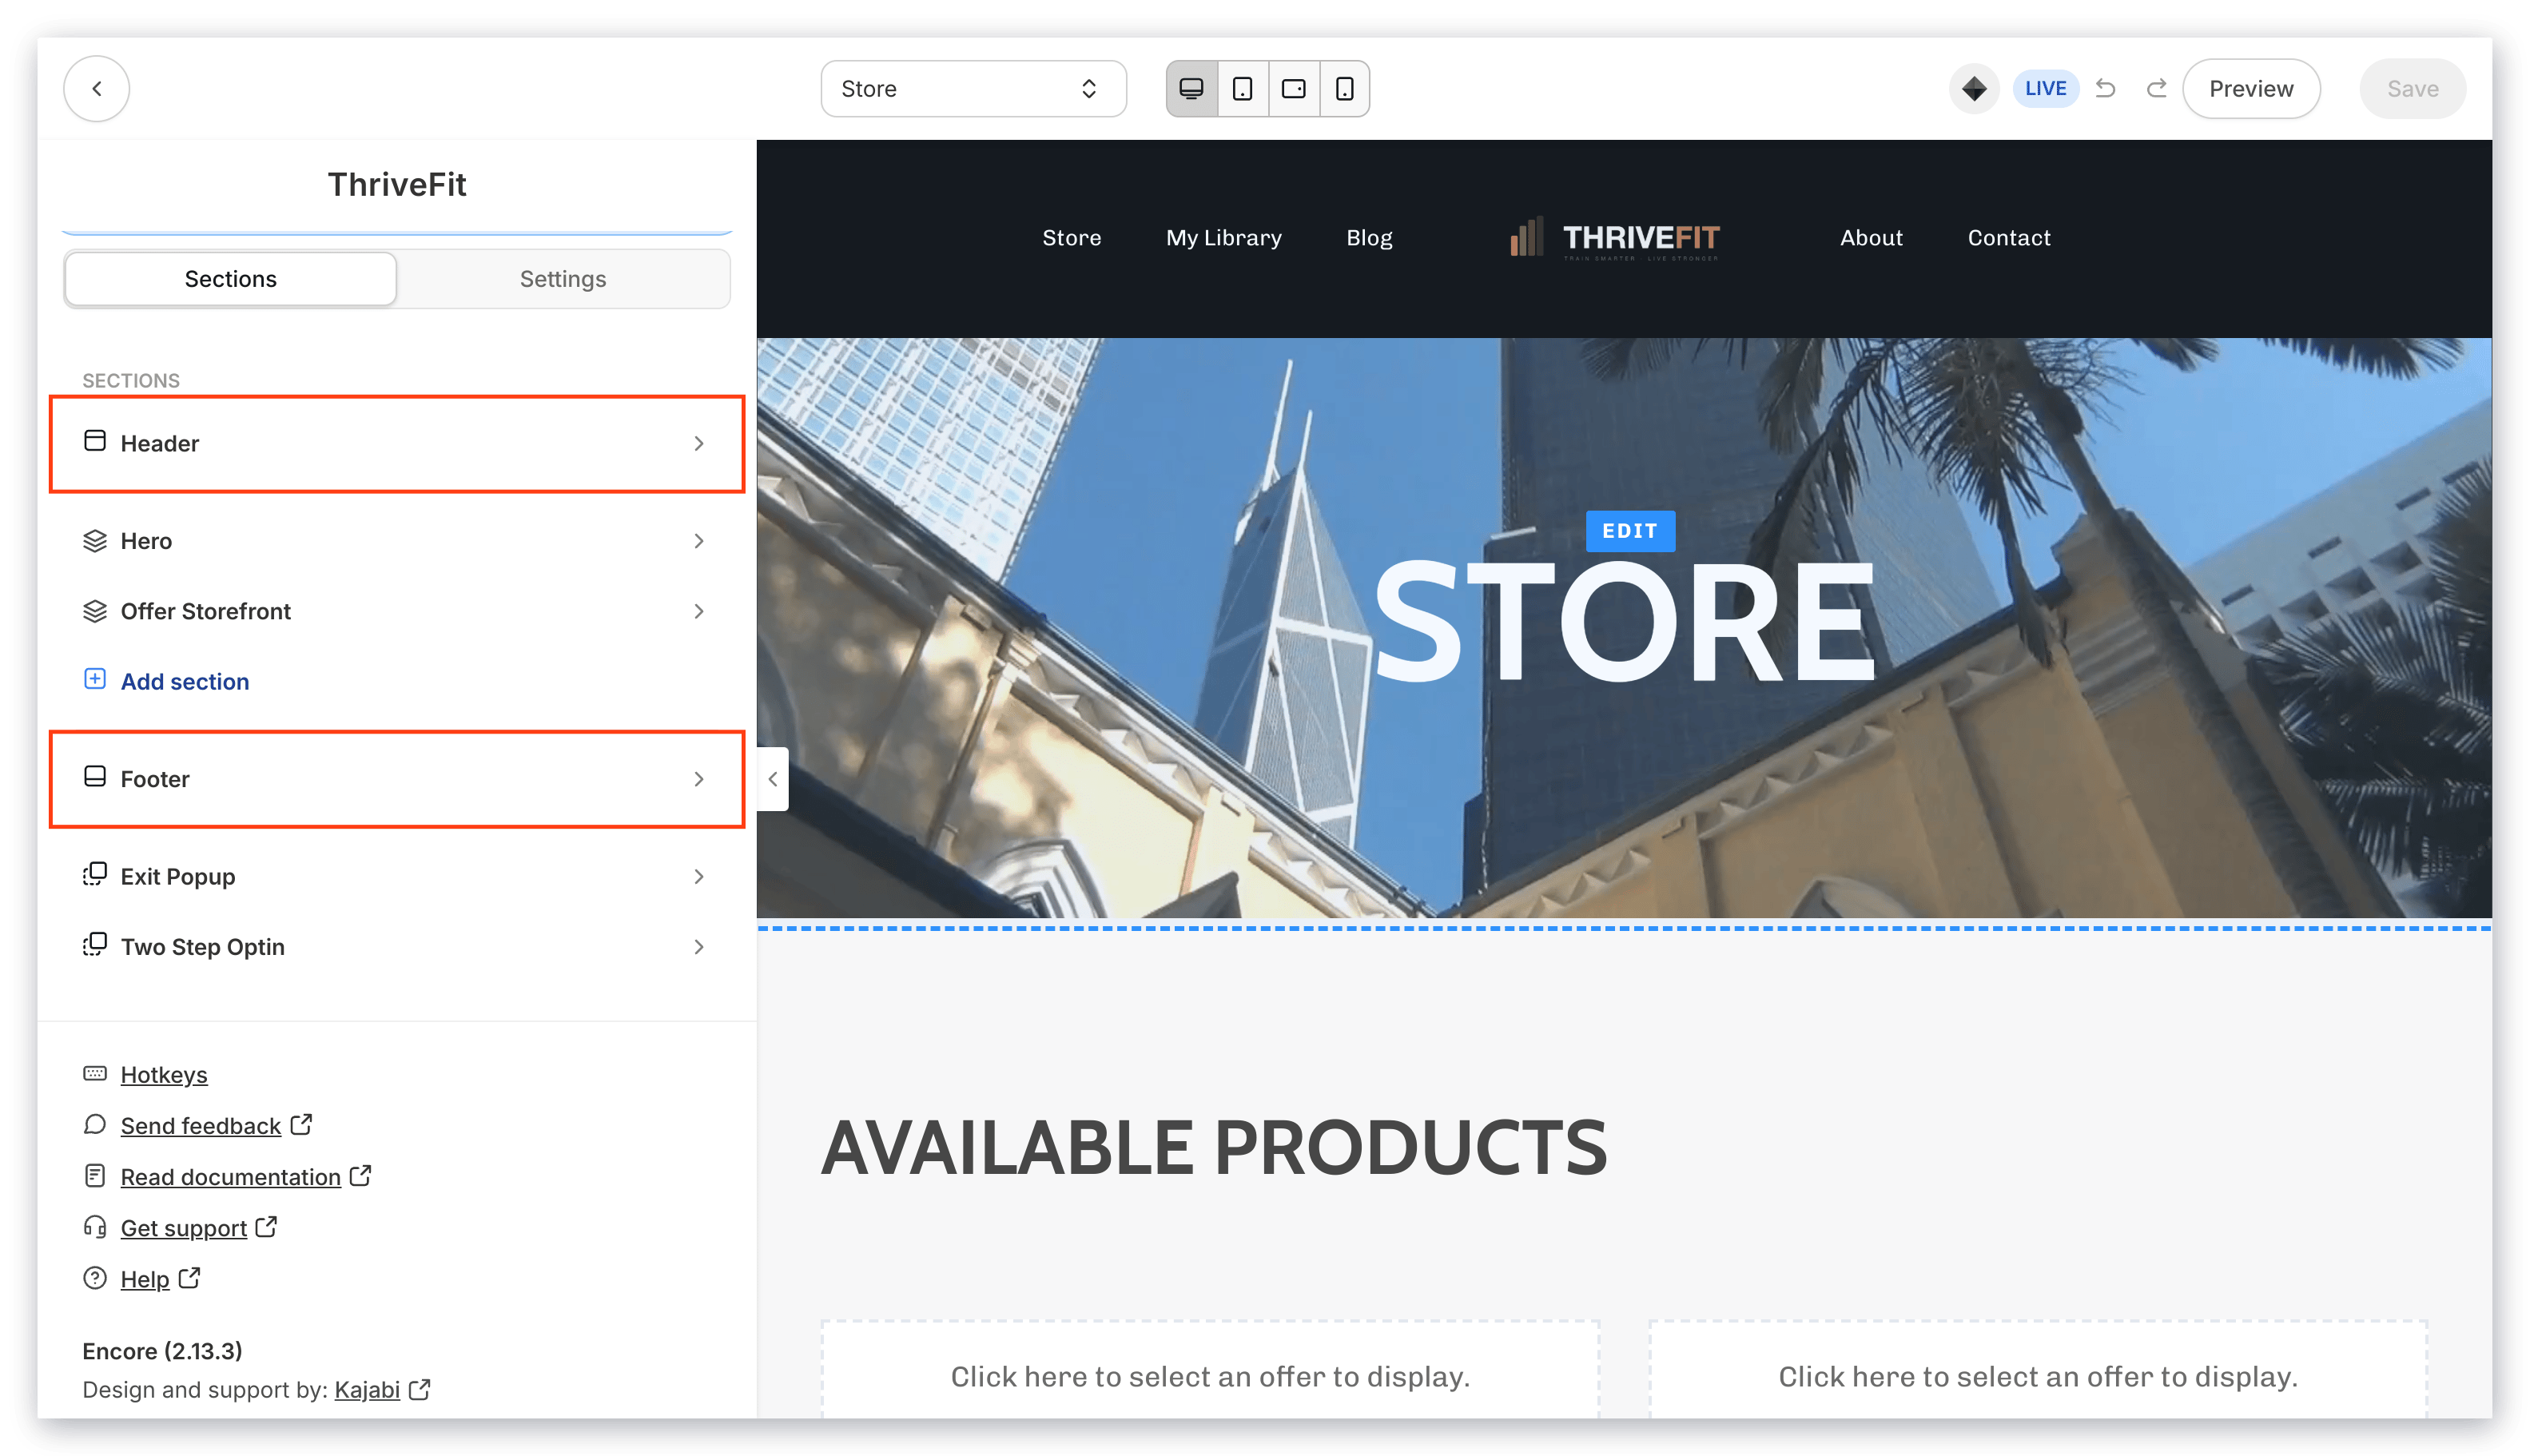
To assign your navigation menu to a page, look for the Header and Footer sections of your pages when customizing the appearance of your:
* Website and landing pages
* Product pages
* Checkout pages
 ## Website and landing pages
Add menus to your header and footer in your website, landing, and funnel pages with the Menu Block:
1. Open the **Website** tab from the Dashboard
2. Click **Pages**
3. Locate the **Page** you wish to customize
4. Click the page title or the color palette icon to **Customize**
5. Open the **Header** or **Footer** section of the Editor
6. Select the **Menu** block or click **Add Content** to add the block
7. Select your desired navigation menu from the dropdown
8. Click **Save** to keep your changes
## Website and landing pages
Add menus to your header and footer in your website, landing, and funnel pages with the Menu Block:
1. Open the **Website** tab from the Dashboard
2. Click **Pages**
3. Locate the **Page** you wish to customize
4. Click the page title or the color palette icon to **Customize**
5. Open the **Header** or **Footer** section of the Editor
6. Select the **Menu** block or click **Add Content** to add the block
7. Select your desired navigation menu from the dropdown
8. Click **Save** to keep your changes
**Tip:** Learn to add [dropdown menus to your header](/articles/website/pages/add-a-dropdown-menu-to-your-header).
**Note:** If you would like to change the color of your navigation menu, you may do so by editing the Header Text Color option inside the Header section.
## Checkout pages
Add a menu to the footer of your checkout page:
1. Open the **Product** tab from your Dashboard
2. Select the **Sales** tab
3. Click **Pricing**
4. Select the offer you wish to edit
5. Click **Edit Checkout**
6. Navigate to **Footer** and select your desired menu from the Select navbar dropdown
7. Click **Save** to keep your changes
## Course pages
Add a menu to the header or footer of your course pages:
1. Open the **Products** tab from your Dashboard
2. Select **Courses**
3. Select the course you wish to customize
4. Click the **Customize** tab
5. Hover over the Template Preview and click **Customize**
6. Open the **Header** or **Footer** section in the Editor
7. Navigate to the **Menu** section
8. Select your desired navigation menu from the Menu dropdown
9. Click **Save** to keep your changes