> ## Documentation Index
> Fetch the complete documentation index at: https://help.kajabi.com/llms.txt
> Use this file to discover all available pages before exploring further.
# Add pricing cards to a page
> Learn to add a Pricing Block to showcase your Products, Services, Pricing Options, and more.
**Note:** This guide refers to the latest page editor available with the Website Builder and Kajabi Pages. If you are using the Premier Legacy Templates, please refer to the guide [here](/articles/website/pages/how-to-add-pricing-options-to-your-page-with-premier).
***
## What is a pricing card?
A Pricing Card is an excellent way to present an Offer by displaying all the features of your Product while encouraging your visitors to purchase with a Call to Action button.
You can use multiple Pricing Cards together in a section to showcase multiple Offers you may have for one Product, such as pricing plans, bundles, and more.
Learn to use multiple Pricing Cards with the [Pricing Card Section](/articles/website/pages/how-to-add-offers-pricing-sections#pricing-cards).
***
## Adding a pricing card block
* Open the **Website** tab from the Dashboard.
* Select the **Pages** tab.
* Open the page editor for your Page. [Learn more](/articles/website/pages/how-to-get-to-the-page-editor)
* Click the Section you want to edit or [create a new Section](/articles/website/pages/add-sections-to-your-pages).
* In the sidebar, click **Add Content**.
* From the list, select **Pricing Card**.
* Your newly created Pricing Card Block will generate at the bottom of the Section.
* Click **Save** to keep your changes:
***
## Customizing your pricing card block
In a Pricing Card Block customize the:
* [Block Width](/articles/website/pages/how-to-customize-the-block-width)
* Image
* Image Alt Attribute
* Name
* Price
* Price Caption
* Text
* List Icon
* Pricing Card Block Settings
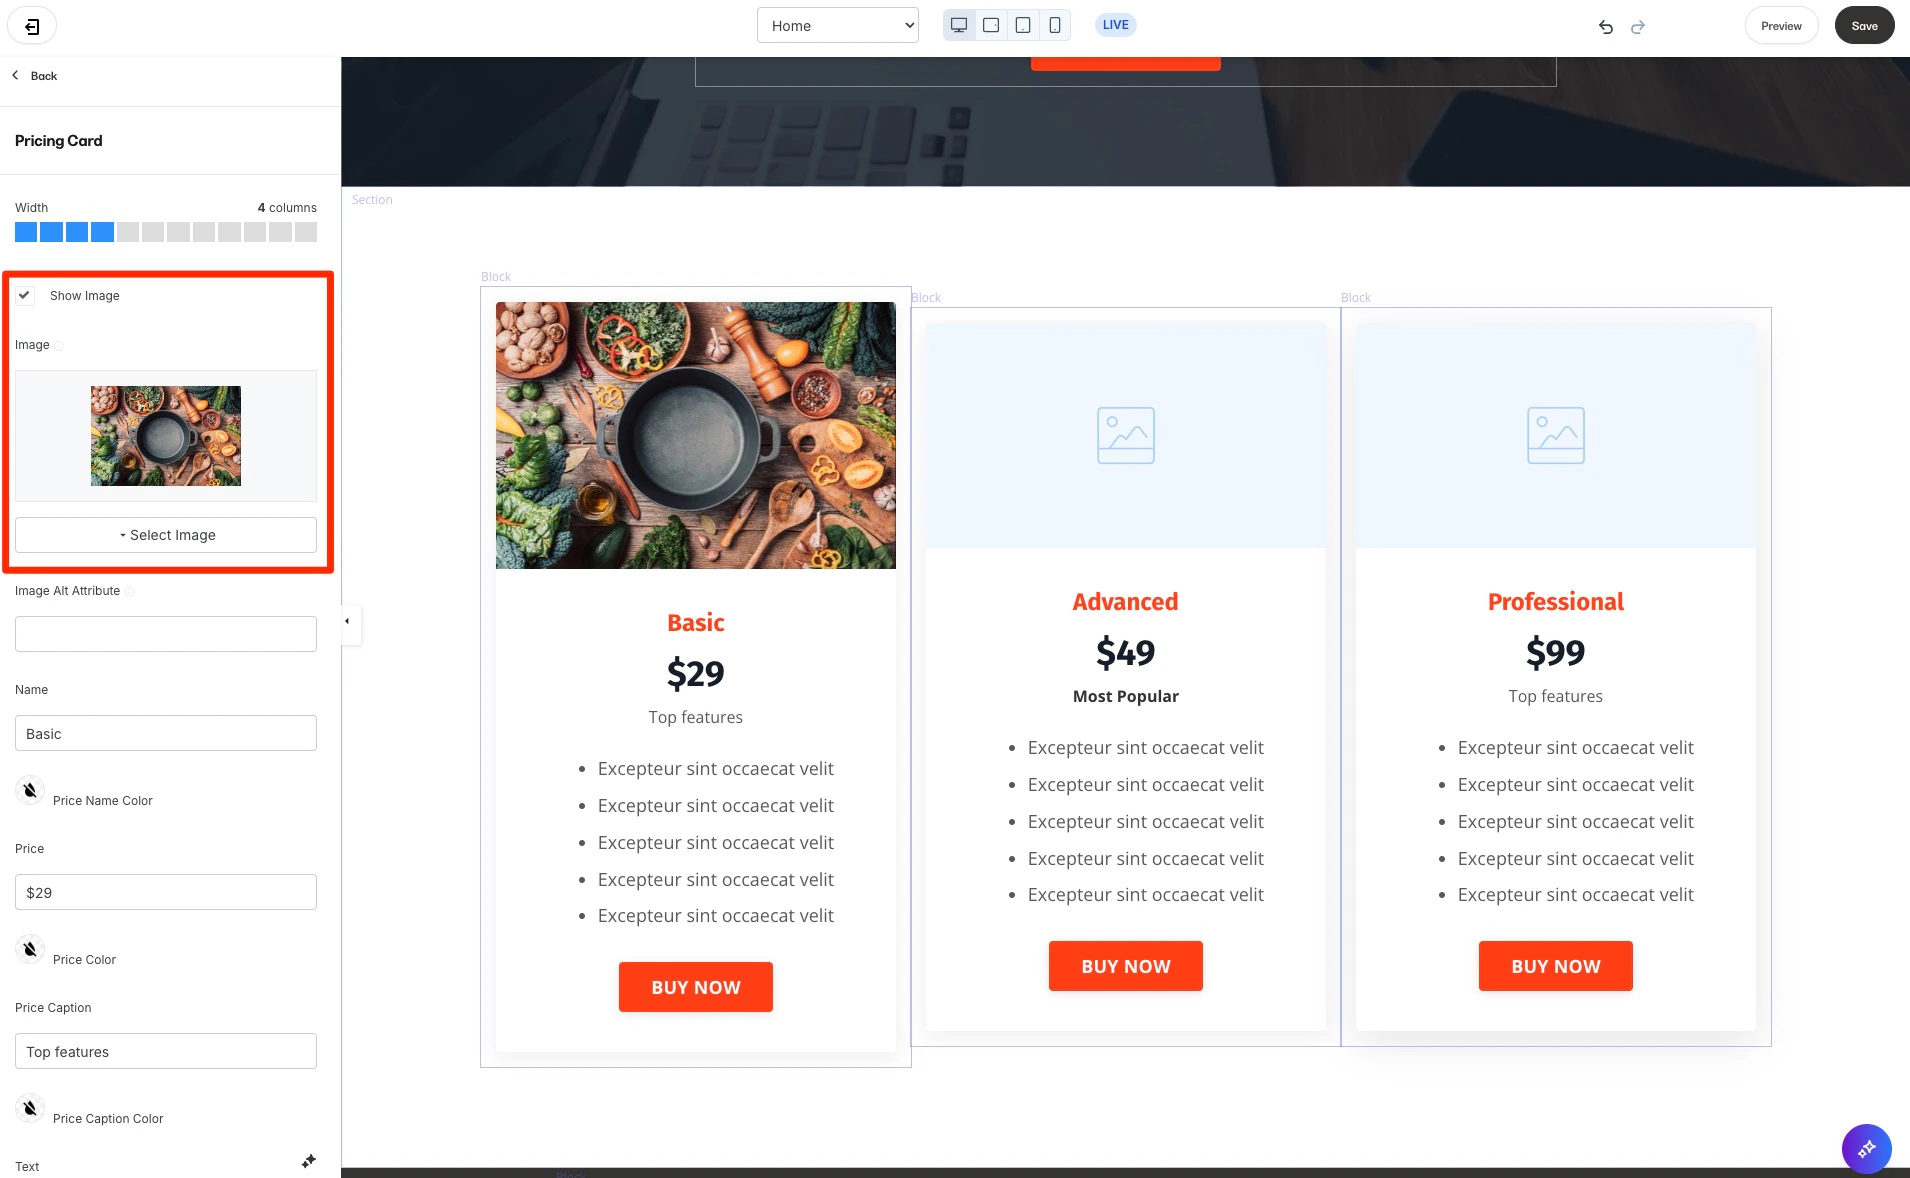
### Image
Customize the image that appears in the Pricing Card and whether or not to display the image:
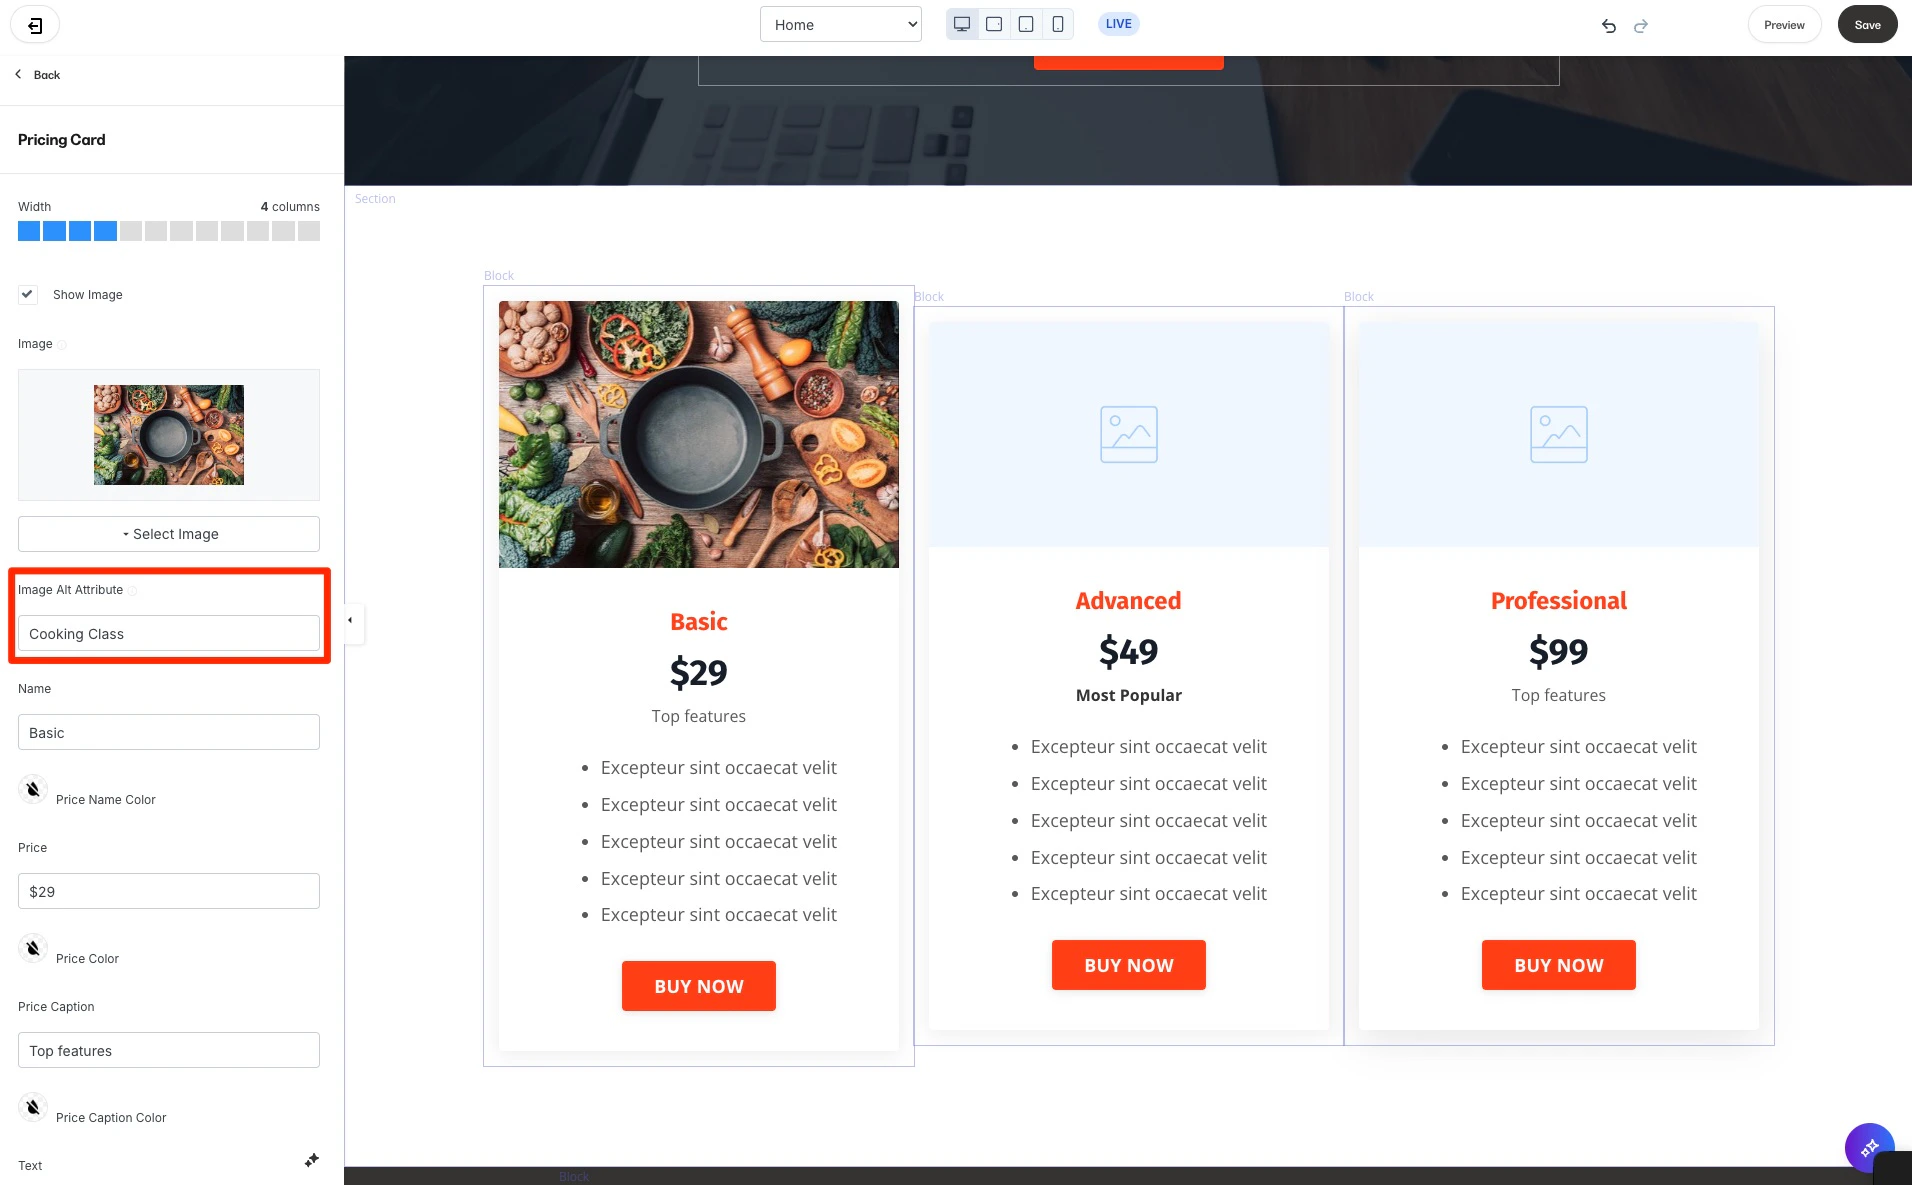
 ### Image alt attribute
Customize the image alt attribute for SEO and toggle if the image will be displayed or not:
### Image alt attribute
Customize the image alt attribute for SEO and toggle if the image will be displayed or not:
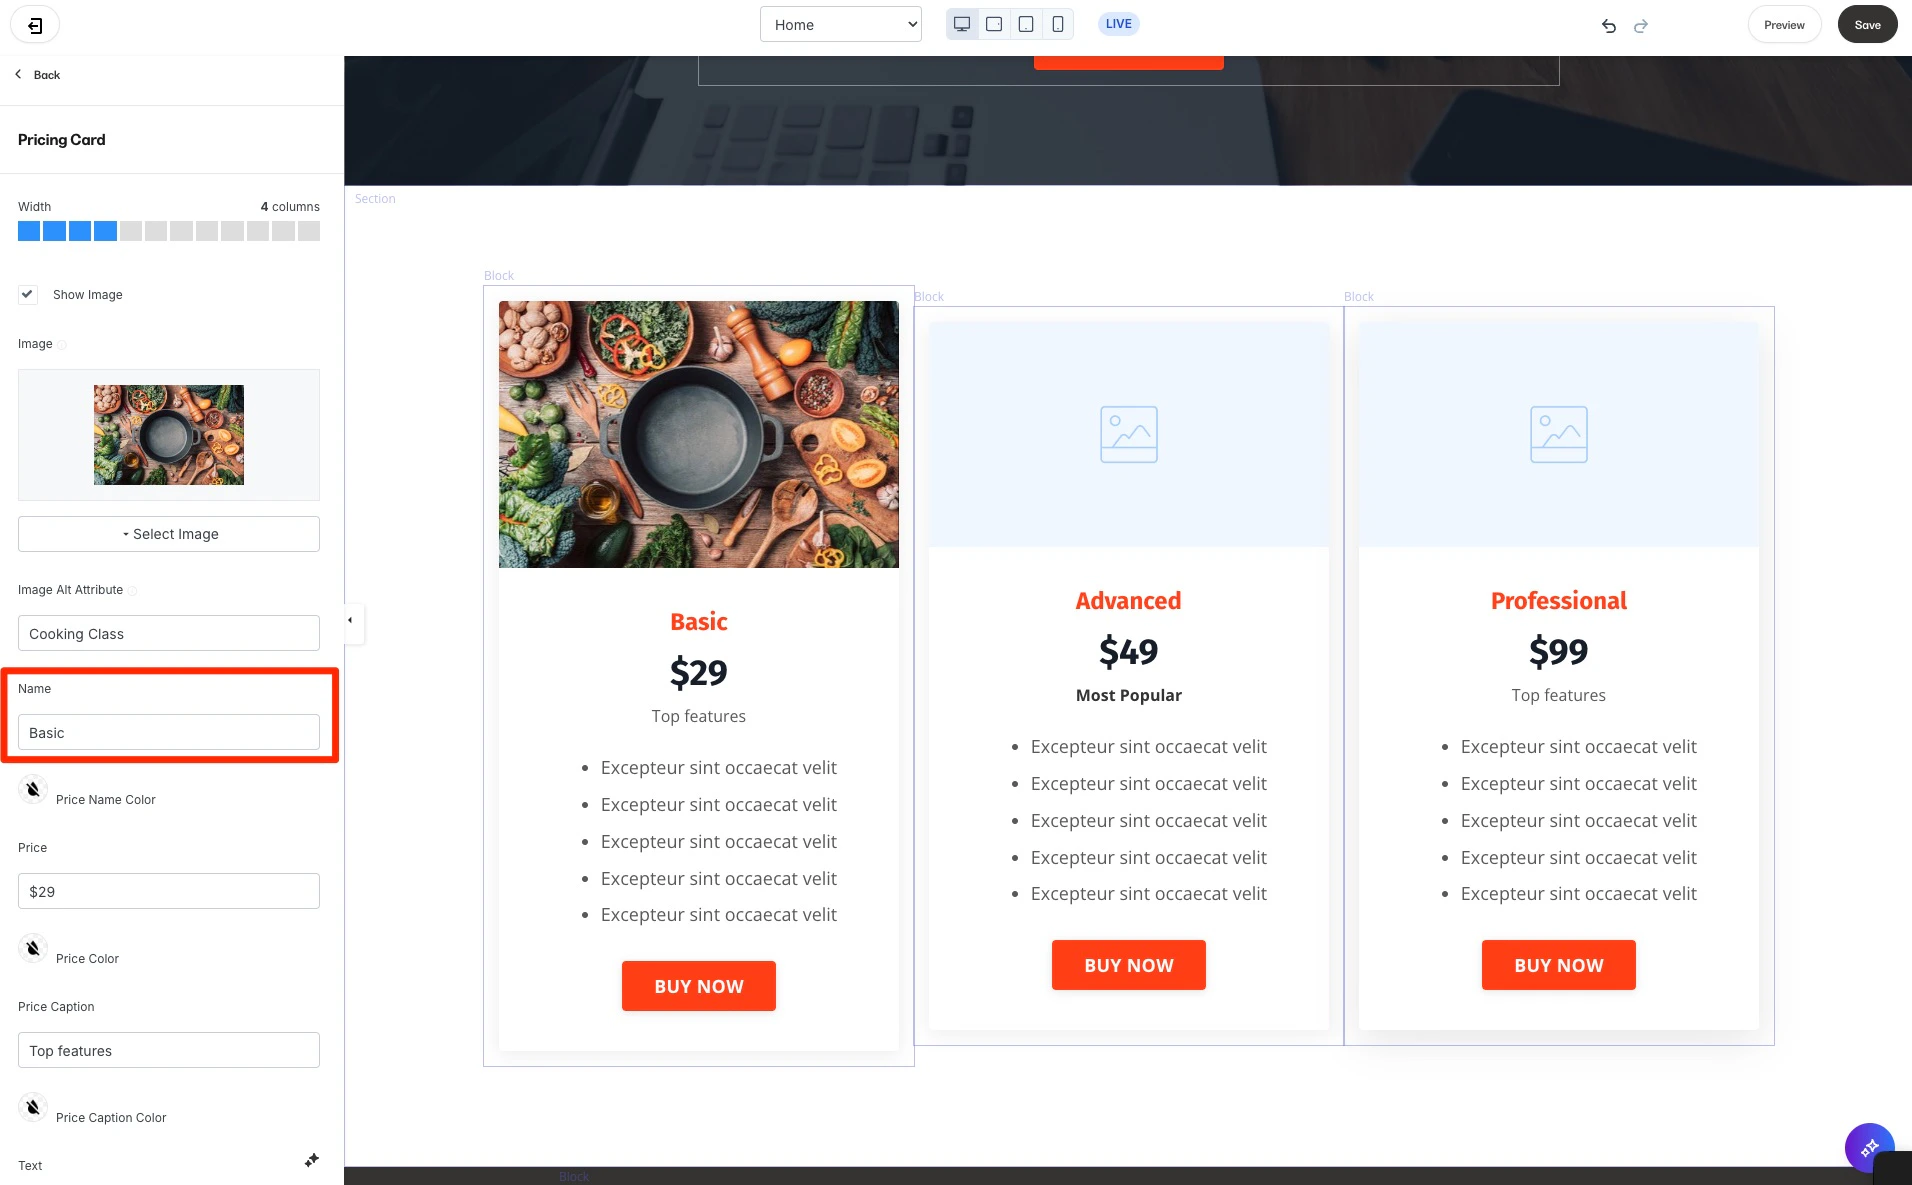
 ### Name
Customize the text and color displaying the name of your Pricing Option:
### Name
Customize the text and color displaying the name of your Pricing Option:
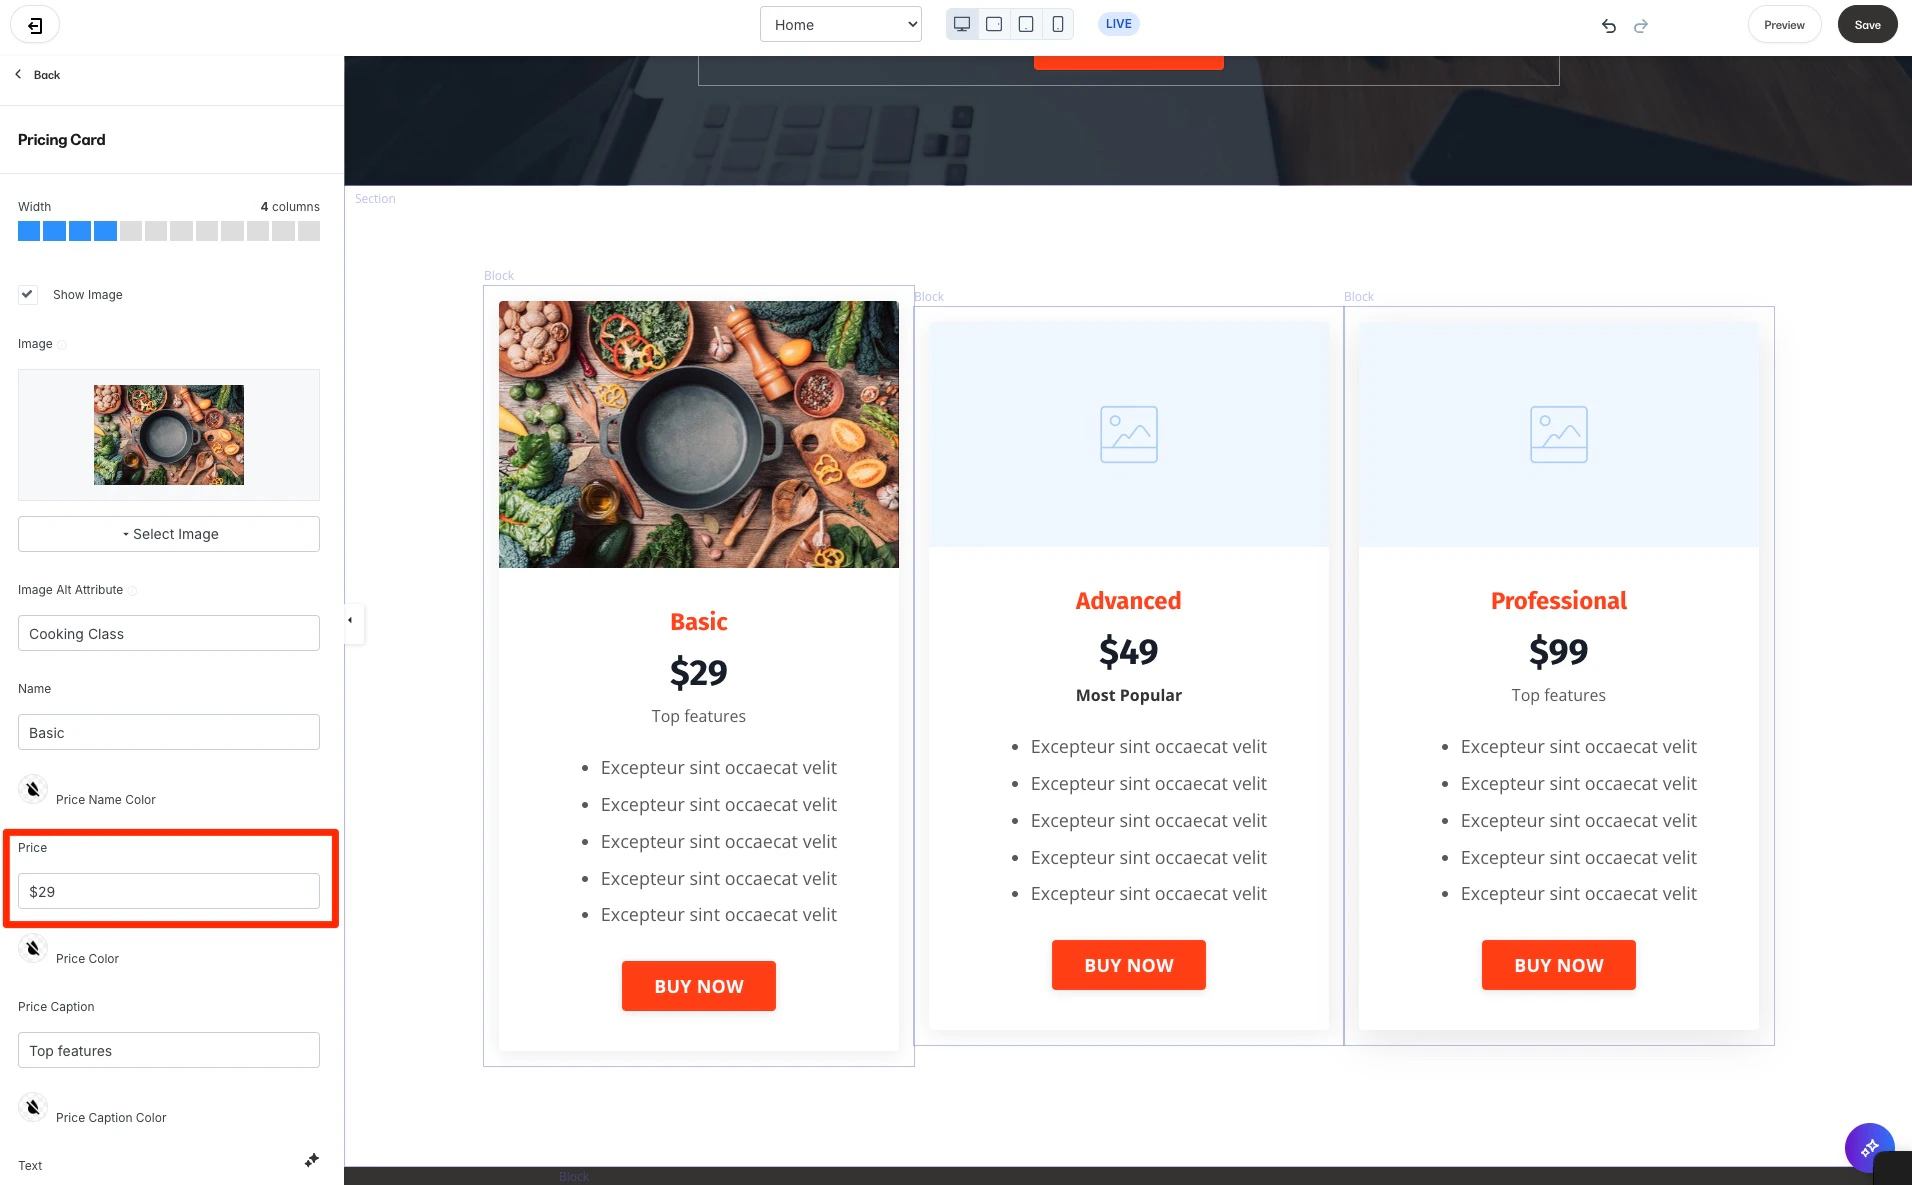
 ### Price
Specify the text and color commonly used to display the Price of the specific Pricing Option:
### Price
Specify the text and color commonly used to display the Price of the specific Pricing Option:
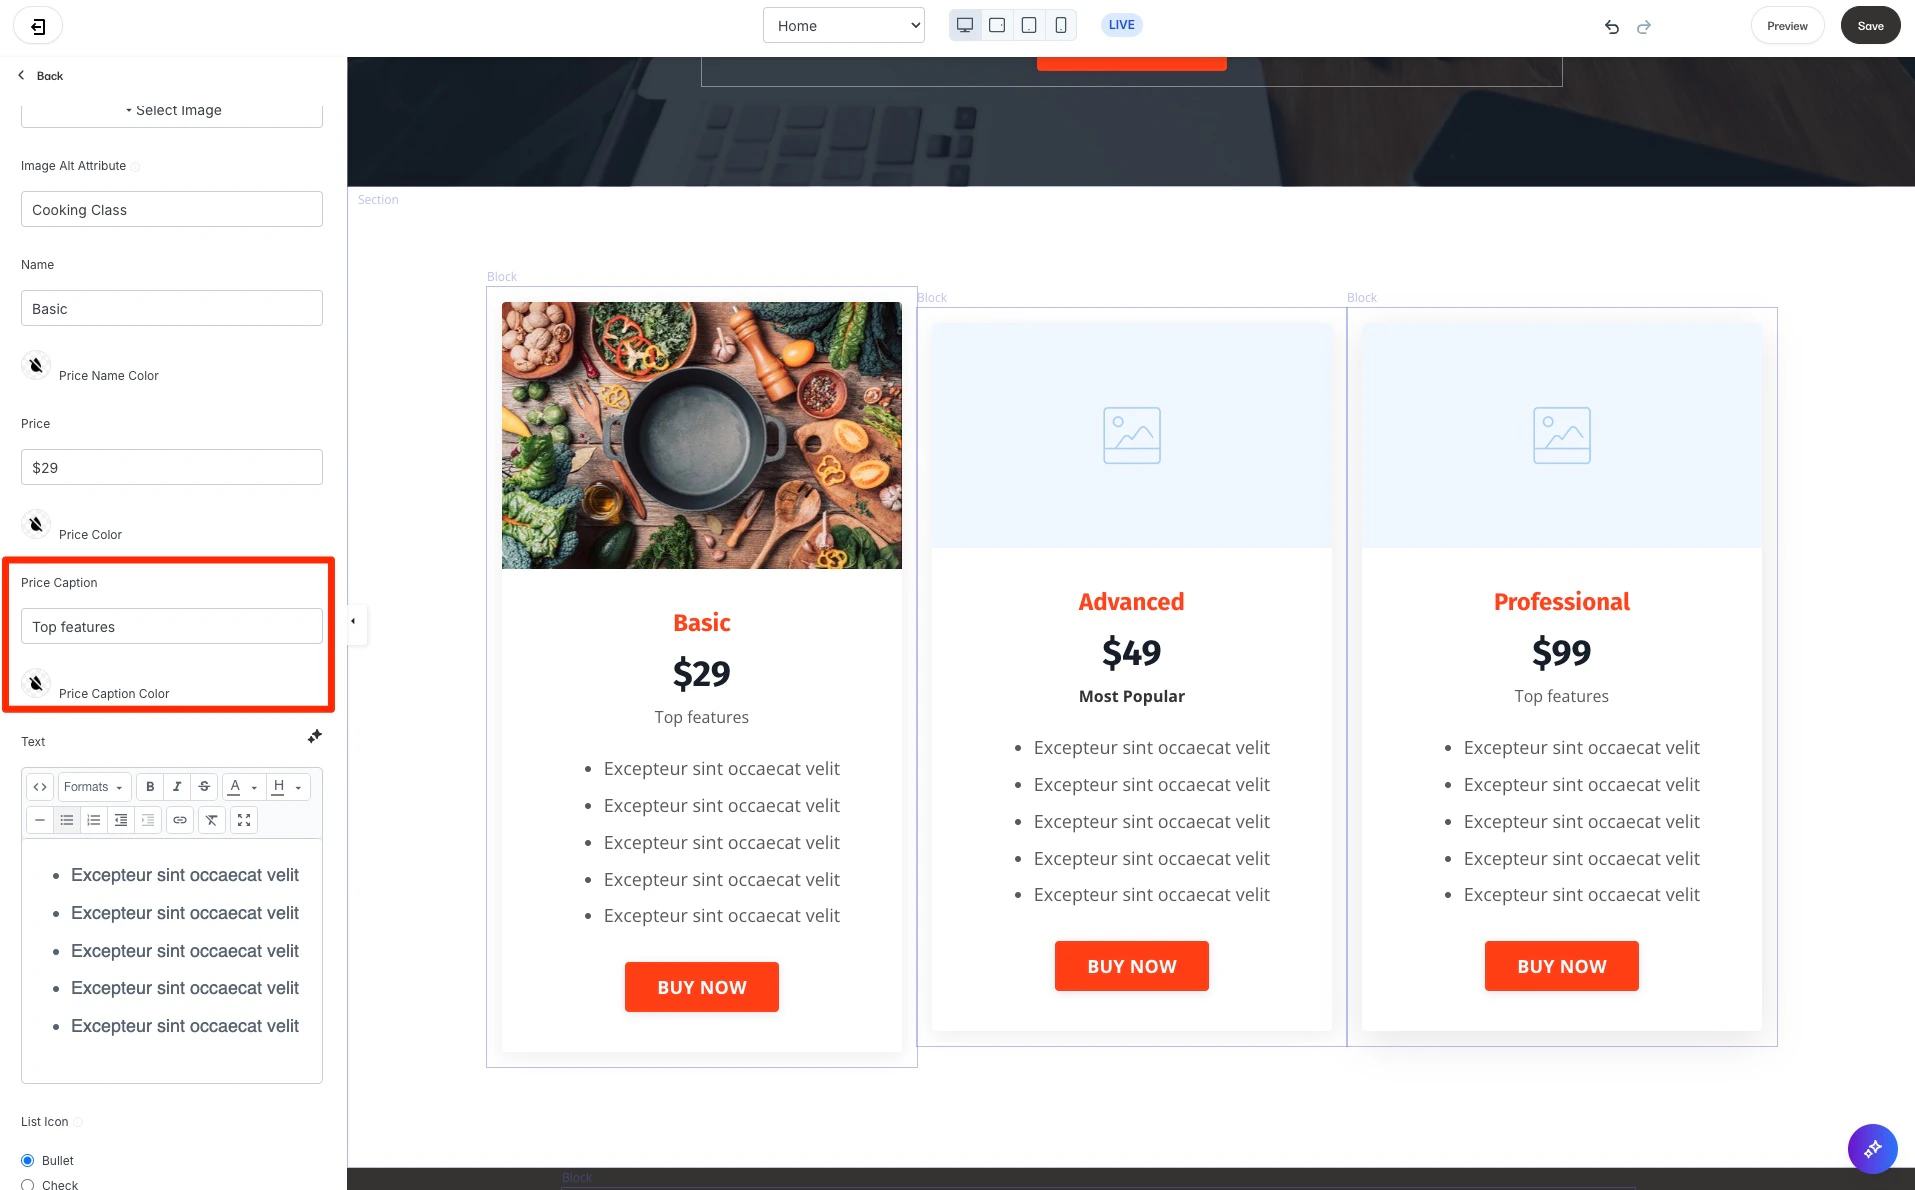
 ### Price caption
Customize the caption text and caption color directly below the Price:
### Price caption
Customize the caption text and caption color directly below the Price:
 ### Text
Customize the messaging displaying the Features included with your Offer:
### Text
Customize the messaging displaying the Features included with your Offer:
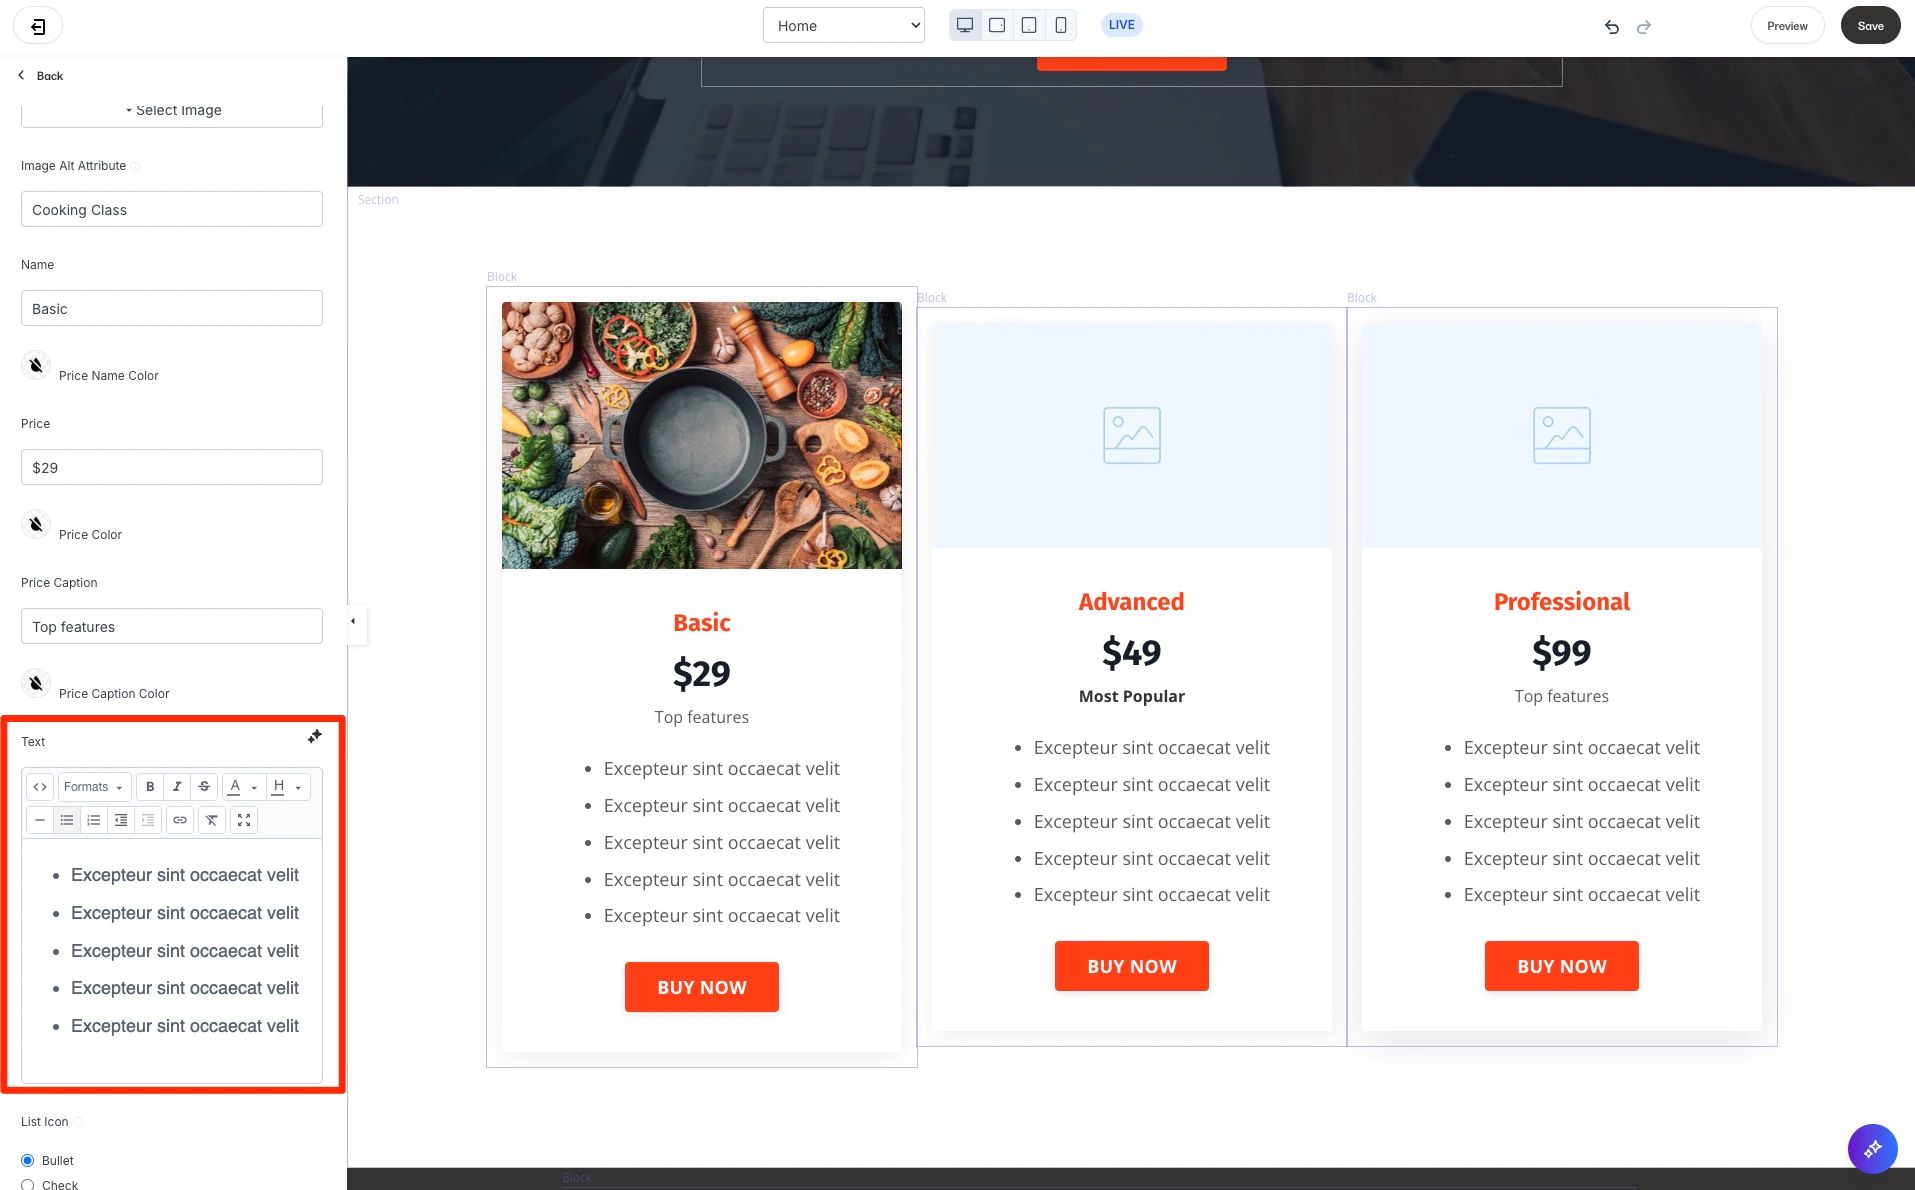 **Tip:** [Utilize the Text Editor](../../marketing/email-campaigns/can-i-make-the-text-box-larger-when-editing) to easily add your text content to your Feature Block.
### List icon and icon color
Customize the appearance of the List describing the Features by changing the icon to:
* Bullet
* Check
* Plus
* Star
and by selecting a color for the icon.
Clicking **List icon color** will open your site color palette.
If you prefer to use a custom color, click the color wheel and then either enter your RGB color code or use the sliders to choose your color.
* The **vertical bar** allows you to select the hue.
* The **square box** allows you to adjust the saturation and brightness of your color.
* The **horizontal bar** allows you to select the transparency of your color.
***
## Block settings
To adjust the look and feel of the Block, configure your Block Settings by customizing the:
* Call to Action
* [Background](/articles/website/pages/customizing-block-background-settings)
* [Desktop and Mobile Layout](/articles/website/pages/customizing-block-layout-settings)
* [Animations](/articles/website/pages/customizing-block-animations)
* [Time Reveal](/articles/website/pages/customizing-time-reveal-settings)
### Call to action
Add and customize the action and appearance of a Call to Action button.
The Call to Action (CTA) button can be used to:
* Lead a visitor to a custom Landing Page
* Lead to a sale by going to a Checkout Page
* Encourage your audience to download a file
* Lead to any website page with a URL link
* Open a Two-Step Optin Popup
* Act as an anchor link to lead to a section of the page
Learn more about customizing the [Call to Action Block Settings](/articles/website/pages/how-to-add-a-call-to-action-block-to-your-website-page-and-landing-page#customizing-your-call-to-action-block).
**Tip:** [Utilize the Text Editor](../../marketing/email-campaigns/can-i-make-the-text-box-larger-when-editing) to easily add your text content to your Feature Block.
### List icon and icon color
Customize the appearance of the List describing the Features by changing the icon to:
* Bullet
* Check
* Plus
* Star
and by selecting a color for the icon.
Clicking **List icon color** will open your site color palette.
If you prefer to use a custom color, click the color wheel and then either enter your RGB color code or use the sliders to choose your color.
* The **vertical bar** allows you to select the hue.
* The **square box** allows you to adjust the saturation and brightness of your color.
* The **horizontal bar** allows you to select the transparency of your color.
***
## Block settings
To adjust the look and feel of the Block, configure your Block Settings by customizing the:
* Call to Action
* [Background](/articles/website/pages/customizing-block-background-settings)
* [Desktop and Mobile Layout](/articles/website/pages/customizing-block-layout-settings)
* [Animations](/articles/website/pages/customizing-block-animations)
* [Time Reveal](/articles/website/pages/customizing-time-reveal-settings)
### Call to action
Add and customize the action and appearance of a Call to Action button.
The Call to Action (CTA) button can be used to:
* Lead a visitor to a custom Landing Page
* Lead to a sale by going to a Checkout Page
* Encourage your audience to download a file
* Lead to any website page with a URL link
* Open a Two-Step Optin Popup
* Act as an anchor link to lead to a section of the page
Learn more about customizing the [Call to Action Block Settings](/articles/website/pages/how-to-add-a-call-to-action-block-to-your-website-page-and-landing-page#customizing-your-call-to-action-block).