> ## Documentation Index
> Fetch the complete documentation index at: https://help.kajabi.com/llms.txt
> Use this file to discover all available pages before exploring further.
# Build a login page
> Learn to customize the login page for your customers.
Learn to customize the login page for your customers.
***
## What is the login page?
For your customers to access their Products in their [Library page](/articles/website/pages/customizing-your-library-page), they must first go through the Login page with their specific login credentials:
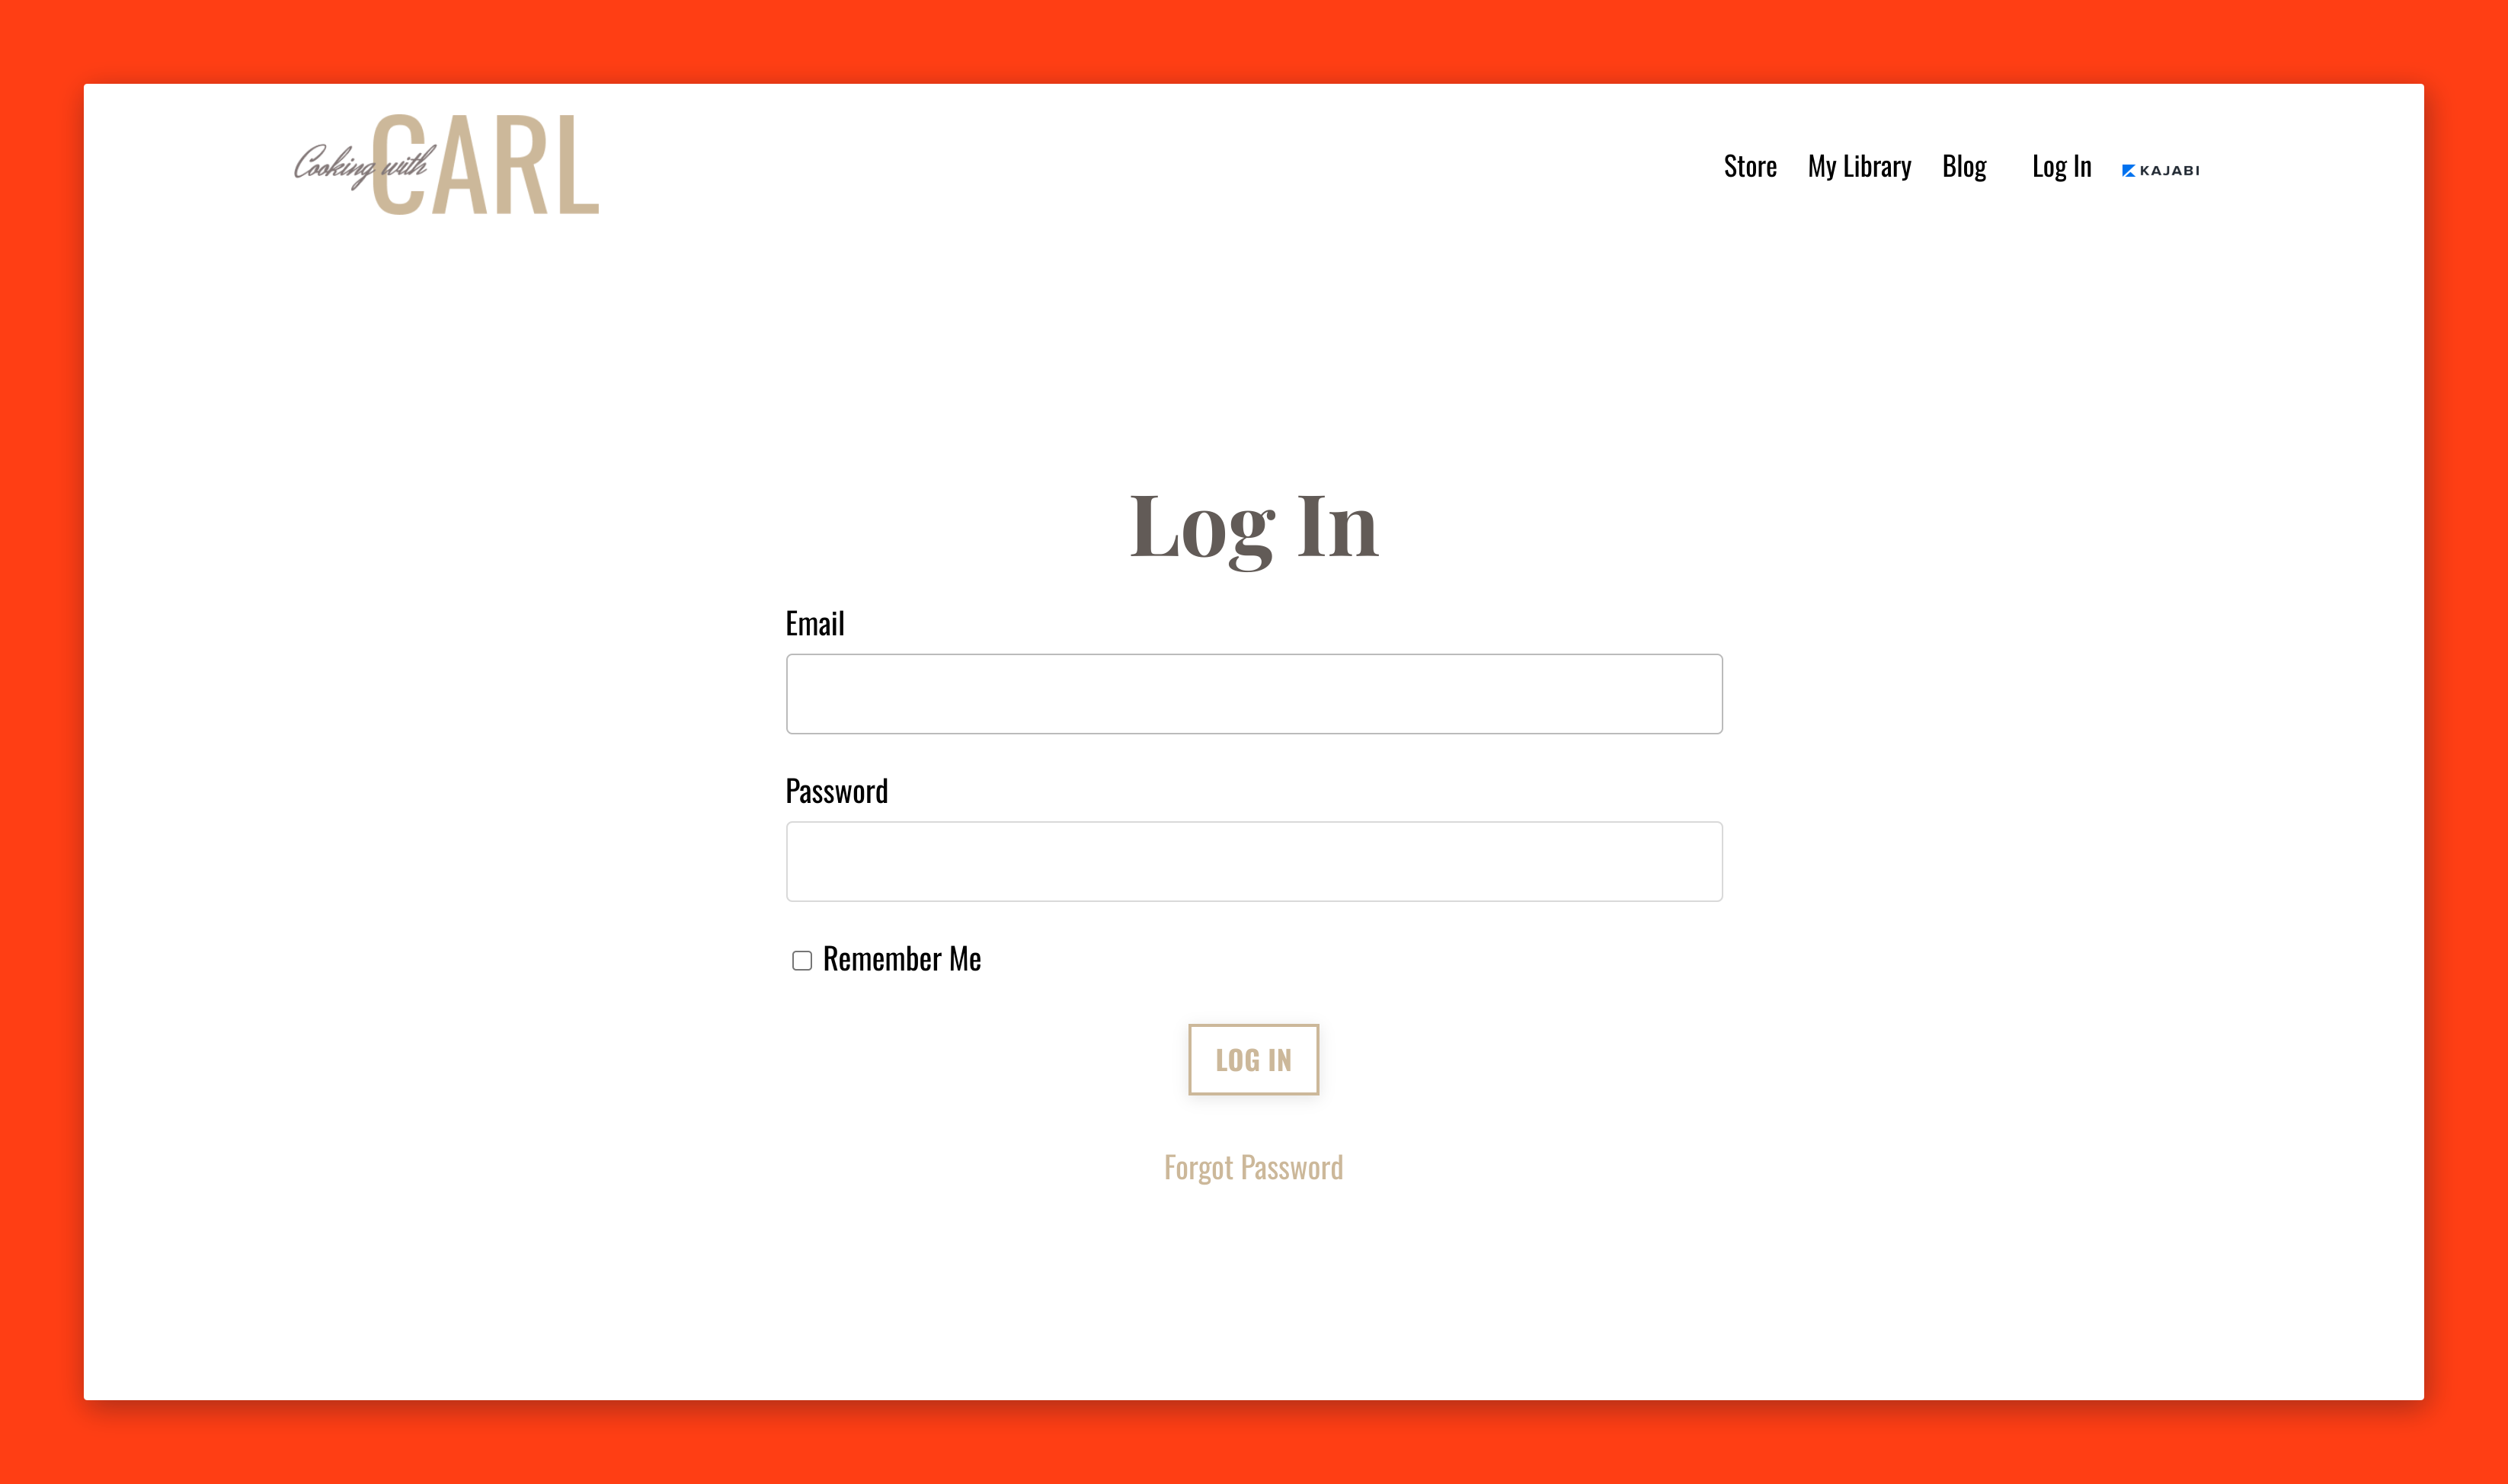 Looking to share the link to your login page? [Click here to learn how](/articles/website/pages/what-is-the-link-to-my-login-page).
**Note:** Your customers will be prompted to create their login credentials when they purchase an Offer on your site to access their Products. [Learn more](../../sales/offers/what-happens-when-a-customer-purchases-my-offer)
***
## Customizing your login page
Creating a site on Kajabi generates an empty, default theme to help you get started with your content.
If you have just started with Kajabi, your Login page will display the default, site theme. This theme is not customizable.
Design your Login and website pages by selecting a site template that best fits your brand. [Learn to customize your website.](/articles/website/pages/customizing-your-website-pages-with-the-website-builder)
**Note:** Selecting a customizable site template will allow you to design your site according to your brand. However, you will not be able to revert to the empty, default site theme after selecting your customizable site template.
### To customize the login page:
* Open the **Website** tab from the Dashboard.
* Click **Pages**.
* Select **Login** from your list of Website Pages to begin customizing:
Looking to share the link to your login page? [Click here to learn how](/articles/website/pages/what-is-the-link-to-my-login-page).
**Note:** Your customers will be prompted to create their login credentials when they purchase an Offer on your site to access their Products. [Learn more](../../sales/offers/what-happens-when-a-customer-purchases-my-offer)
***
## Customizing your login page
Creating a site on Kajabi generates an empty, default theme to help you get started with your content.
If you have just started with Kajabi, your Login page will display the default, site theme. This theme is not customizable.
Design your Login and website pages by selecting a site template that best fits your brand. [Learn to customize your website.](/articles/website/pages/customizing-your-website-pages-with-the-website-builder)
**Note:** Selecting a customizable site template will allow you to design your site according to your brand. However, you will not be able to revert to the empty, default site theme after selecting your customizable site template.
### To customize the login page:
* Open the **Website** tab from the Dashboard.
* Click **Pages**.
* Select **Login** from your list of Website Pages to begin customizing:
After selecting **Login**, you will be redirected to the Login page to edit. Here, you will find only a few actions to customize to make this step quick and easy.
The main changes you can make to your Login page include:
* **Header**: Choose to hide or display your Header and customize the Menu links, your logo, and include hello bar banners to share any announcements directly from the Login page. [Learn more](/articles/website/pages/customizing-your-header)
* **Login Section**: Unique to the Login Page, your Login Section can be customized to include an image and used to design the button, background, and language for the Login.
* **Footer**: Choose to hide or display your Footer and customize its visual appearance to change the copyright, add your own social media links, and adjust the color of the Footer background. [Learn more](/articles/website/pages/customizing-your-footer)
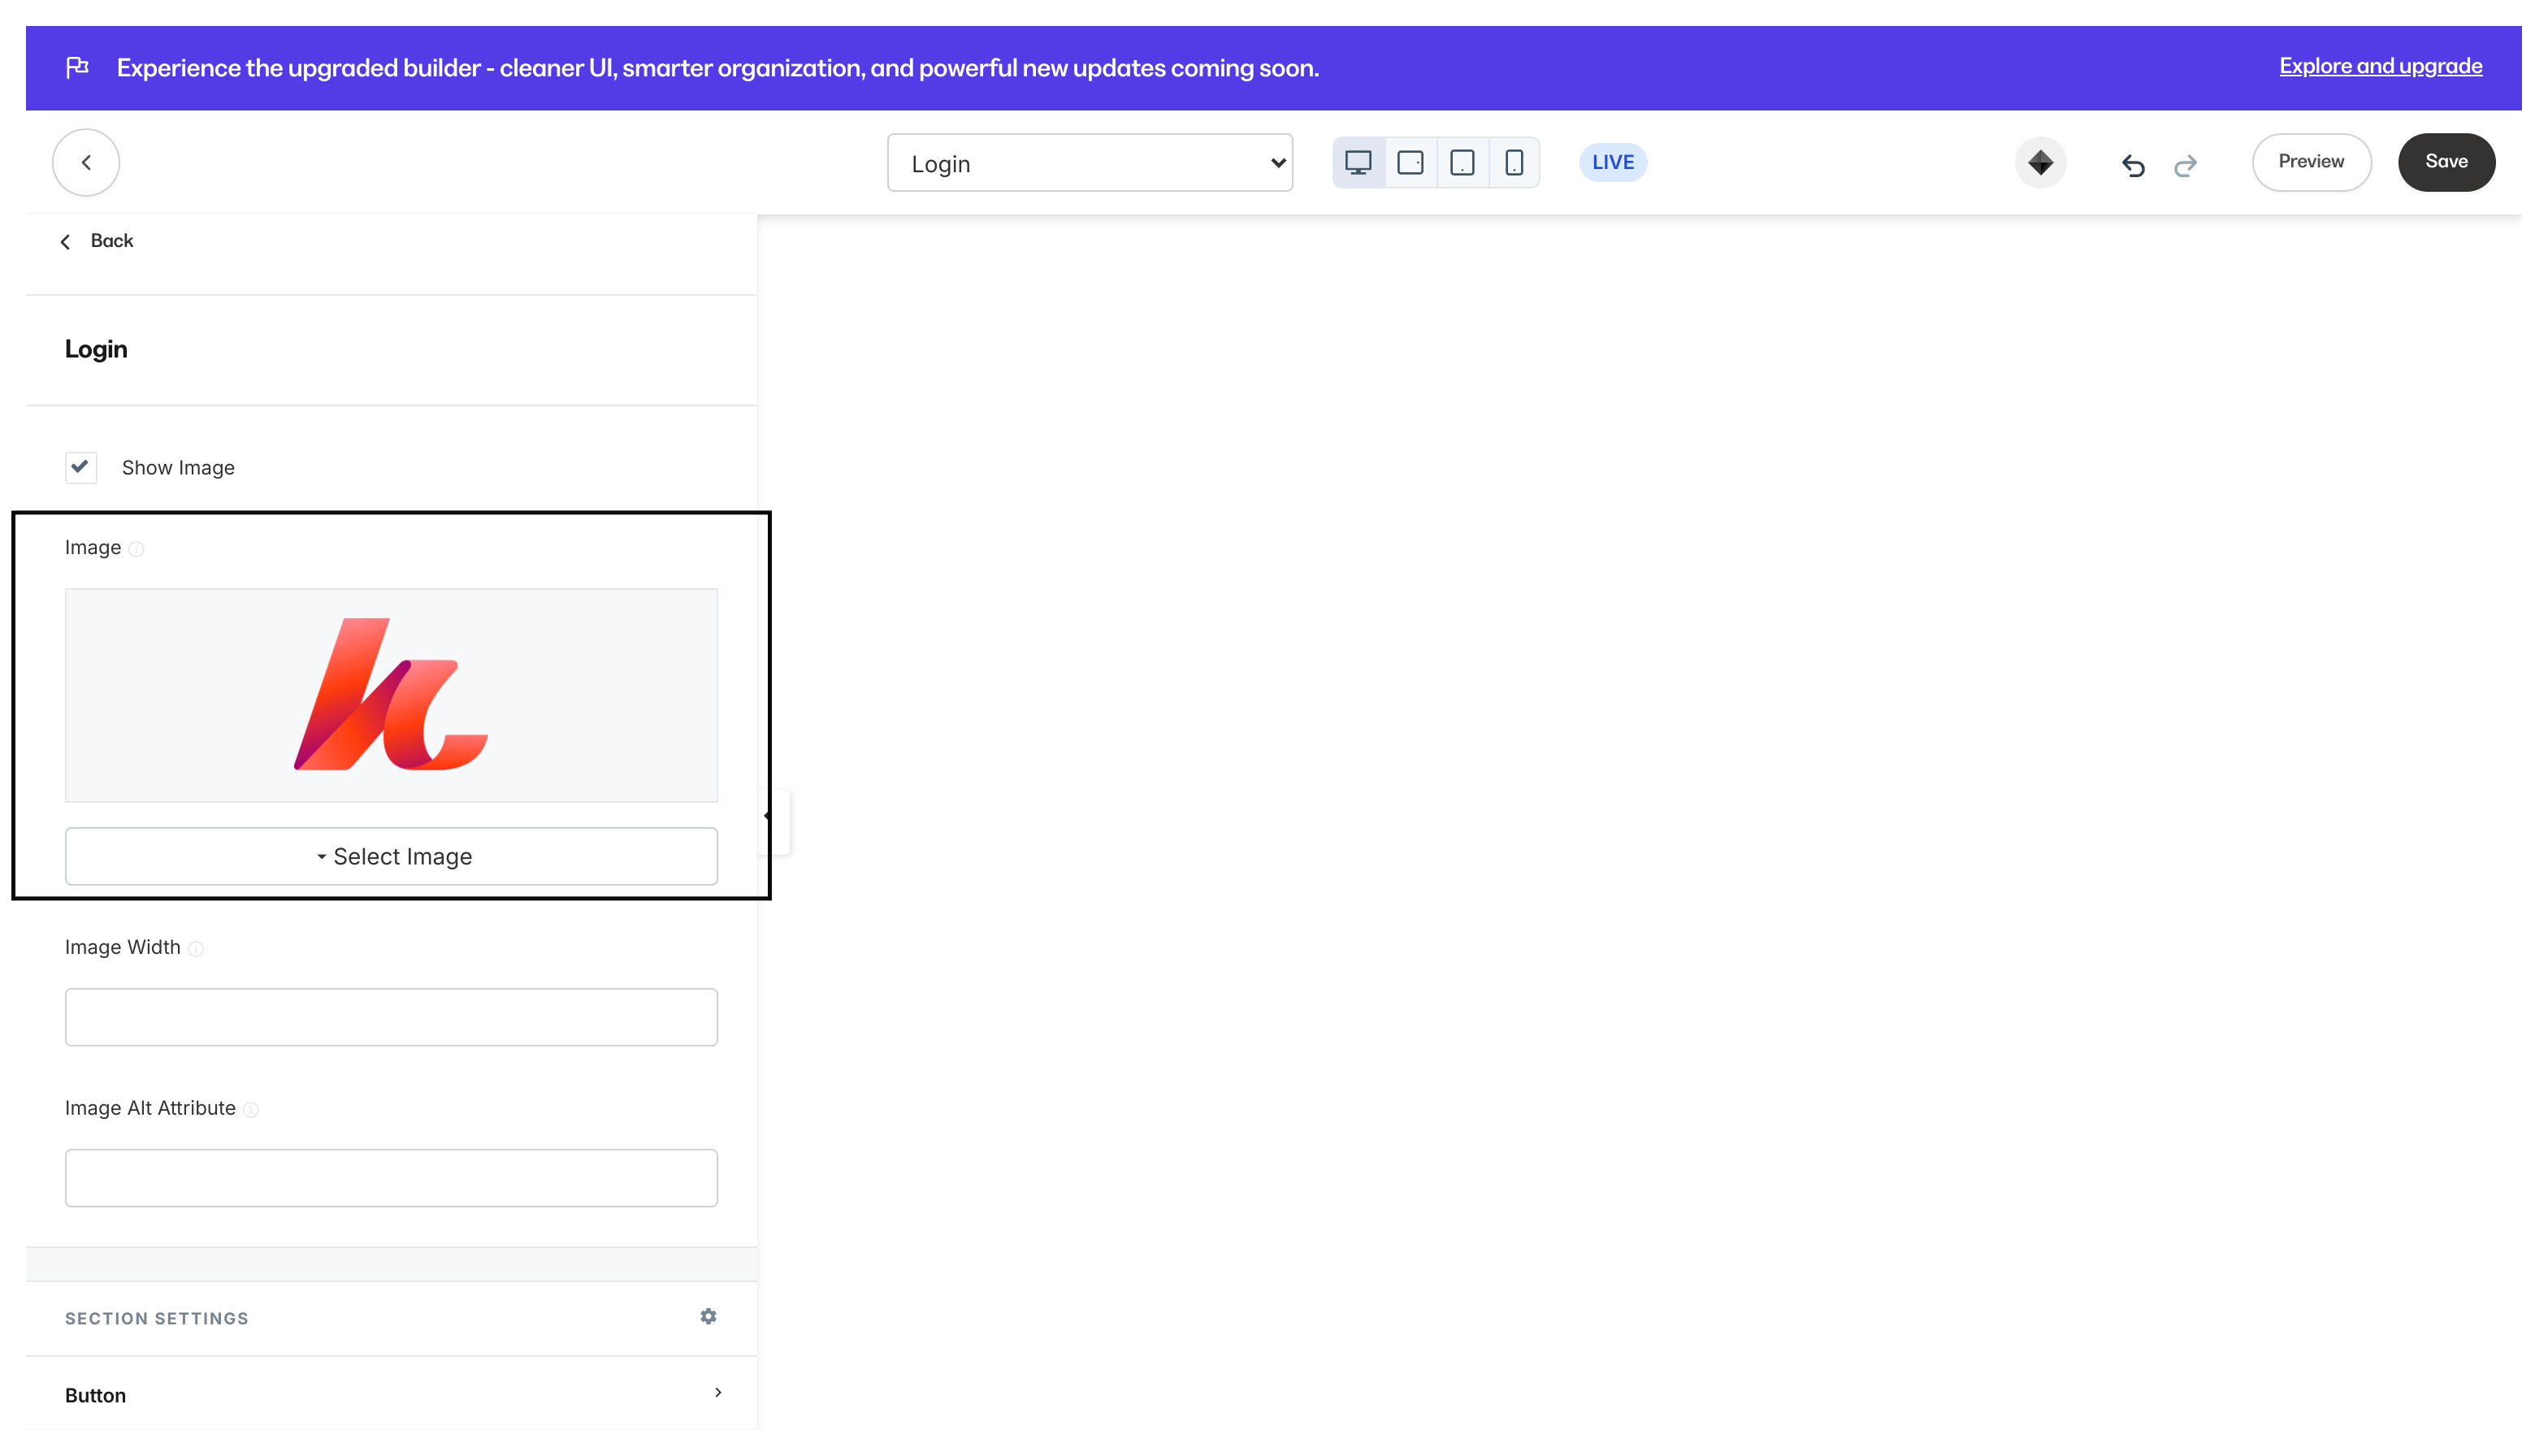
To edit the Login section of your page, click the **Login** tab from the sidebar panel and you will be presented with your customizing options.
**Tip:** If you add an image, but you do not see it in your Login page, be sure to check the **Show Image** box and click **Save** to keep and view your changes!
***
## Customizing your login section
Unique to the Login Page, your Login Section takes up the majority of the page. With the Login Section you can customize change the appearance with the addition of images, branding of buttons, and adjust the language used on the page.
### Login
Choose to display an image directly above the login fields:
 ### Image width
If you choose to display an image, customize the Image Width to change the size of the image on your page.
Customize the width of the Image within the Block by entering a value (e.g., 10px or 10) into the Image Width field:
### Image width
If you choose to display an image, customize the Image Width to change the size of the image on your page.
Customize the width of the Image within the Block by entering a value (e.g., 10px or 10) into the Image Width field:
**Note:** You may use the format 10px or simply 10
### Image alt attribute
Add an image alt attribute for SEO purposes and if the image cannot be displayed.
***
## Section settings
### Button text
Enter your custom text to display on your CTA button. Use this opportunity to communicate to your users what the button will do.
### Button background color
Click the **Button background color** to select a color from your site color palette.
If you prefer to use a custom color, click the color wheel and then either enter your RGB color code or use the sliders to choose your color.
* The **vertical bar** allows you to select the hue.
* The **square box** allows you to select the brightness.
* The **horizontal bar** allows you to select the opacity of your color.
### Button text color
Complement your Button Background Color with a different Button Text Color.
**Note:** The Button Text Color is for [solid buttons](/articles/website/pages/how-to-add-a-call-to-action-block-to-your-website-page-and-landing-page) only.
Click the **Button Text Color** to select a color from your site color palette.
If you prefer to use a custom color, click the color wheel and then either enter your RGB color code or use the sliders to choose your color.
* The **vertical bar** allows you to select the hue.
* The **square box** allows you to select the brightness and saturation.
* The **horizontal bar** allows you to select the opacity of your color.
### Button width
Adjust the width of your Button:
* Full: fill the width of the button area
* Auto: automatically adjust the width to fit the text
### Button style
Change the style of the Button to display a:
* Solid colored button
* Outline of your Button Background Color
### Button size
Adjust the size of your Call to Action Button to:
* Small
* Medium
* Large
Changing the size of your Call to Action will change both the button background and text size.
### Border radius
Customize your Call to Action Border to appear more rounded or squared.
If you are customizing a call to action block in your standard website page, enter your desired value up to 50 to customize the individual buttons appearance.
### Background
Customize the background appearance for your Login page by:
* uploading an image or video as the Section Background,
* adjusting the position of your image,
* selecting the image behavior to stay fixed on scroll when viewed on a Desktop,
* and/or selecting a background color.
[Click here to learn more about the Background section settings](/articles/website/pages/how-to-customize-your-section-background-settings).
### Language
Customize your Language Settings to change the language used to display the:
* Log In Text
* Email Text
* Password Text
* Remember Me Text
* Forgot Password Text