> ## Documentation Index
> Fetch the complete documentation index at: https://help.kajabi.com/llms.txt
> Use this file to discover all available pages before exploring further.
# Set up a Help Center template
> Customize your Help Center landing page template to align with your brand and meet the needs of your audience.
Your Help Center is a critical resource for your customers, providing essential support and information. Customizing your Help Center landing page template ensures it aligns with your brand and meets the needs of your audience. Follow this guide to personalize your Help Center landing page in Kajabi.
***
## Customizing your Help Center landing page template

### Step 1. Access your Dashboard
* From your Kajabi Dashboard, navigate to **Website** > **Landing Pages**.
### Step 2. Create a landing page
* Click on New Landing Page to start building a customized Help Center page.
 ### Step 3. Select the Help Center template

* Click View All (15) to browse templates, then scroll down to select **KHL Help Center.**
* Click **Get started** to begin customization.
### Step 3. Select the Help Center template
* Click View All (15) to browse templates, then scroll down to select **KHL Help Center.**
* Click **Get started** to begin customization.
 ### Step 4. Name your Help Center page
* Enter a name for your page (e.g., "Help Center") and click **Create** to proceed.
### Step 5. Add a form to collect visitor information
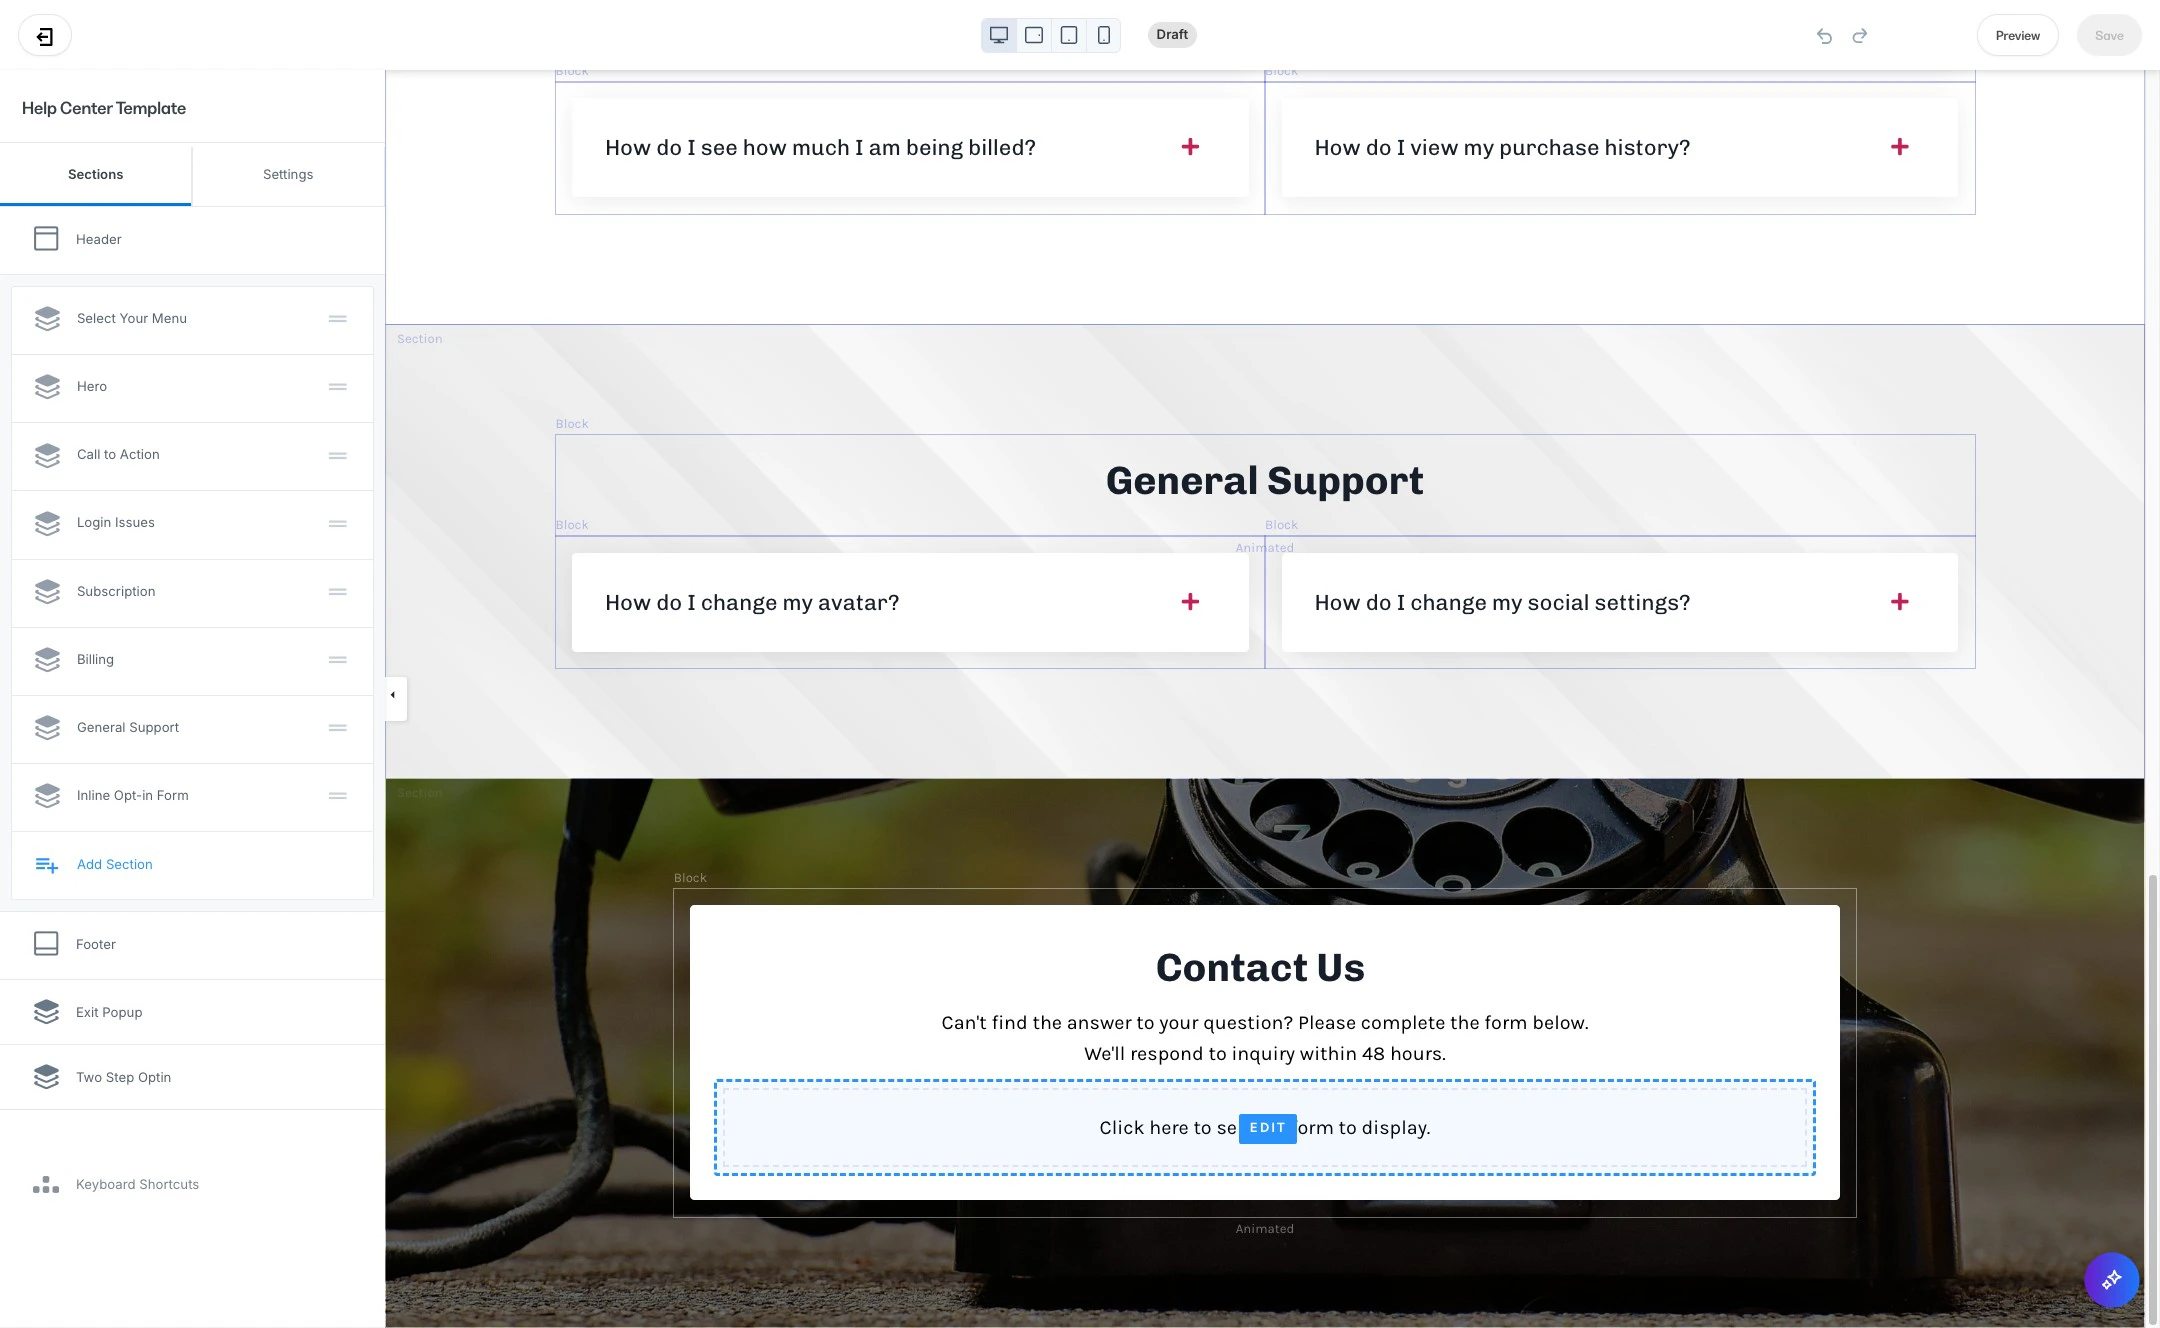
* At the bottom of your Help Center template, click **Click here** to select a form to display.
* **Select a Form:** Choose a form that collects Name, Email, and Message fields to help you capture user inquiries effectively.
### Step 4. Name your Help Center page
* Enter a name for your page (e.g., "Help Center") and click **Create** to proceed.
### Step 5. Add a form to collect visitor information
* At the bottom of your Help Center template, click **Click here** to select a form to display.
* **Select a Form:** Choose a form that collects Name, Email, and Message fields to help you capture user inquiries effectively.
 ### Step 6. Create a form (optional)
* If you need to create a form for your Help Center submissions, click **Edit your forms > New form.**
* Enter a title for your form, then click **Save**.
### Step 7. Customize form fields

* Click **Add Form Field** > Create a New Field
* Select "Text" under type
* Add a "Title" for your form field (we recommend "*How can we help you*?")
* Finally, click "Make this field required"
### Step 6. Create a form (optional)
* If you need to create a form for your Help Center submissions, click **Edit your forms > New form.**
* Enter a title for your form, then click **Save**.
### Step 7. Customize form fields
* Click **Add Form Field** > Create a New Field
* Select "Text" under type
* Add a "Title" for your form field (we recommend "*How can we help you*?")
* Finally, click "Make this field required"
 ### Step 8. Set a custom thank you page
* To redirect users after they submit a form, choose Send the contact to a custom [thank you page](../../marketing/forms/how-to-redirect-your-form-submitters-to-a-custom-thank-you-page) and save your settings.
### Step 9. Review and save your page
* Once you're satisfied with your Help Center layout and content, click Save to publish your customized Help Center page.
***
Customizing your Help Center landing page creates a cohesive, user-friendly support hub for your customers. Following these steps ensures your Help Center is both functional and reflective of your brand.
### Step 8. Set a custom thank you page
* To redirect users after they submit a form, choose Send the contact to a custom [thank you page](../../marketing/forms/how-to-redirect-your-form-submitters-to-a-custom-thank-you-page) and save your settings.
### Step 9. Review and save your page
* Once you're satisfied with your Help Center layout and content, click Save to publish your customized Help Center page.
***
Customizing your Help Center landing page creates a cohesive, user-friendly support hub for your customers. Following these steps ensures your Help Center is both functional and reflective of your brand.