

After a customer completes your course, you can automatically send them a certificate. This certificate can be downloaded and shared with others.Documentation Index
Fetch the complete documentation index at: https://help.kajabi.com/llms.txt
Use this file to discover all available pages before exploring further.
Note: You can also send a certificates of completion with Accredible, Google Slides using Zapier, or Kajabi Automations.
Create a certificate
- Go to Products > Courses and click on your course
- Click Certificates
- Enable Provide certificates for this course
- Check the following boxes to include them on your certificate:
- Logo
- Certificate title
- Recipient subtitle
- This will display above the recipient’s name
- Show student’s name
- Course subtitle
- This will display above your course name
- Include course title’s name
- Include completion date
- Include unique certificate serial number
- Include expiration date
- You can set this certificate to expire X days, months, or years after completion
- You can’t choose a specific date
- Custom field
- This will appear as fine print on the bottom of the certificate
- Certificate background
- Upload a background image
- Optionally, check Include overlay. This will include a semi-transparent white overlay over your background image
- An automatic email containing a link to the certificate will be sent to your customer. You can customize this email by going to Settings > Email templates > Course Completion Certificate. Choose one of the following options:
- Send certificate upon 100% completion
- Send as an automation
- Send the certificate email when a specific assessment or lesson is completed, or when a quiz is completed, passed, or failed
- Click Save
Resend a certificate
- Go to Analytics > Product progress
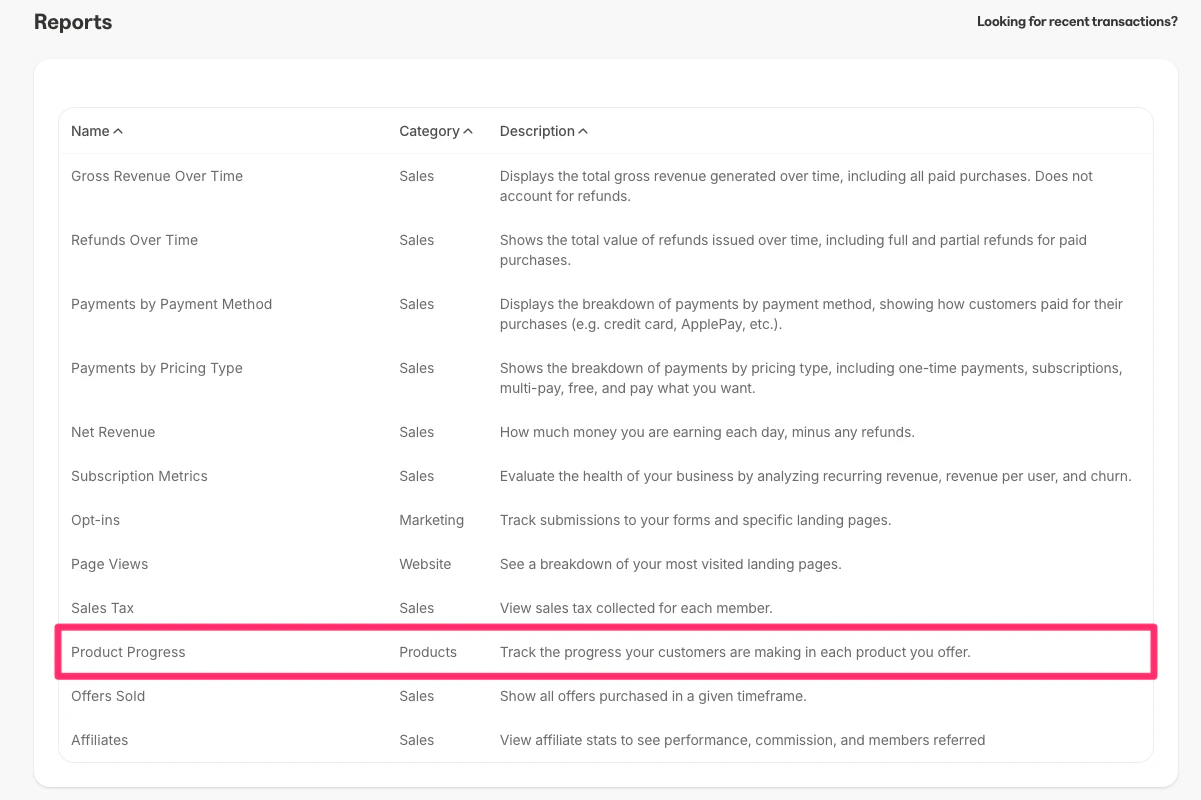
- Select your course and click Confirm
- Select the customer you want to send the certificate to
- Click Resend certificate
- This will resend the email to your customer containing a link to their certificate
How certificates look to customers
On the certificate page, your customers can click Download certificate to download a PDF version of the certificate. They can also copy the certificate URL and share their certificate on social media sites.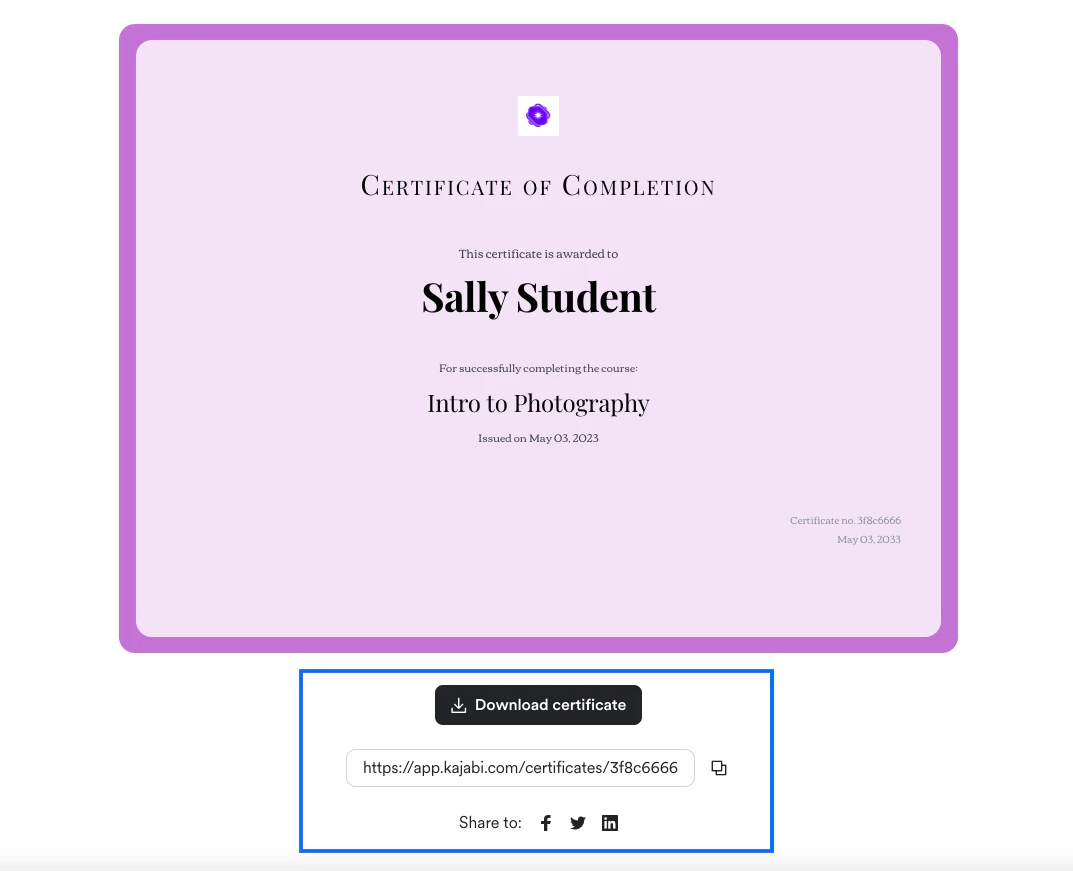
Download a customer’s certificate
- Go to Products > Courses and click on your course
- Click Customers
- Next to your customer’s name, click the Download certificate button to download a PDF version
- Note: It may take some time for a certificate to populate here
Edit a certificate
- Go to Products > Courses and click on your course
- Click Certificates
- Customize your certificate or update when the certificate is sent
- Click Save
Preview a certificate
- Go to Products > Courses and click on your course
- Click Certificates
- Click Preview
Disable a certificate
- Go to Products > Courses and click on your course
- Click Certificates
- Toggle off Provide certificates for this course
- Click Save
FAQs
What happens if more content is added to a course that a customer previously completed and received a certificate for?
If more content is added to a course after a certificate has been sent, the certificate will be resent if:- The optional expiration date on the certificate has passed
- It has been 3 months since they last completed the content and received the certificate