

Note: Kajabi Payments is currently available to Kajabi Heroes whose businesses are registered in the United States, Canada, Australia, the United Arab Emirates, the United Kingdom, and select European countries.
Set up Kajabi Payments
To set up Kajabi Payments for your site:- Navigate to your Payment settings
- Select Payment setup
- Click Get Started
- Choose the country where your business is registered from the drop-down menu
- Select your business structure. Learn more
- Review and accept the Kajabi Payments Terms and Conditions
- You’ll be redirected to a Stripe-hosted page where you’ll need to enter your business information, including your address, phone number, website information, etc.
- Fill out your business details by providing a short description of your business
- Once you’ve filled everything out, click Agree and submit
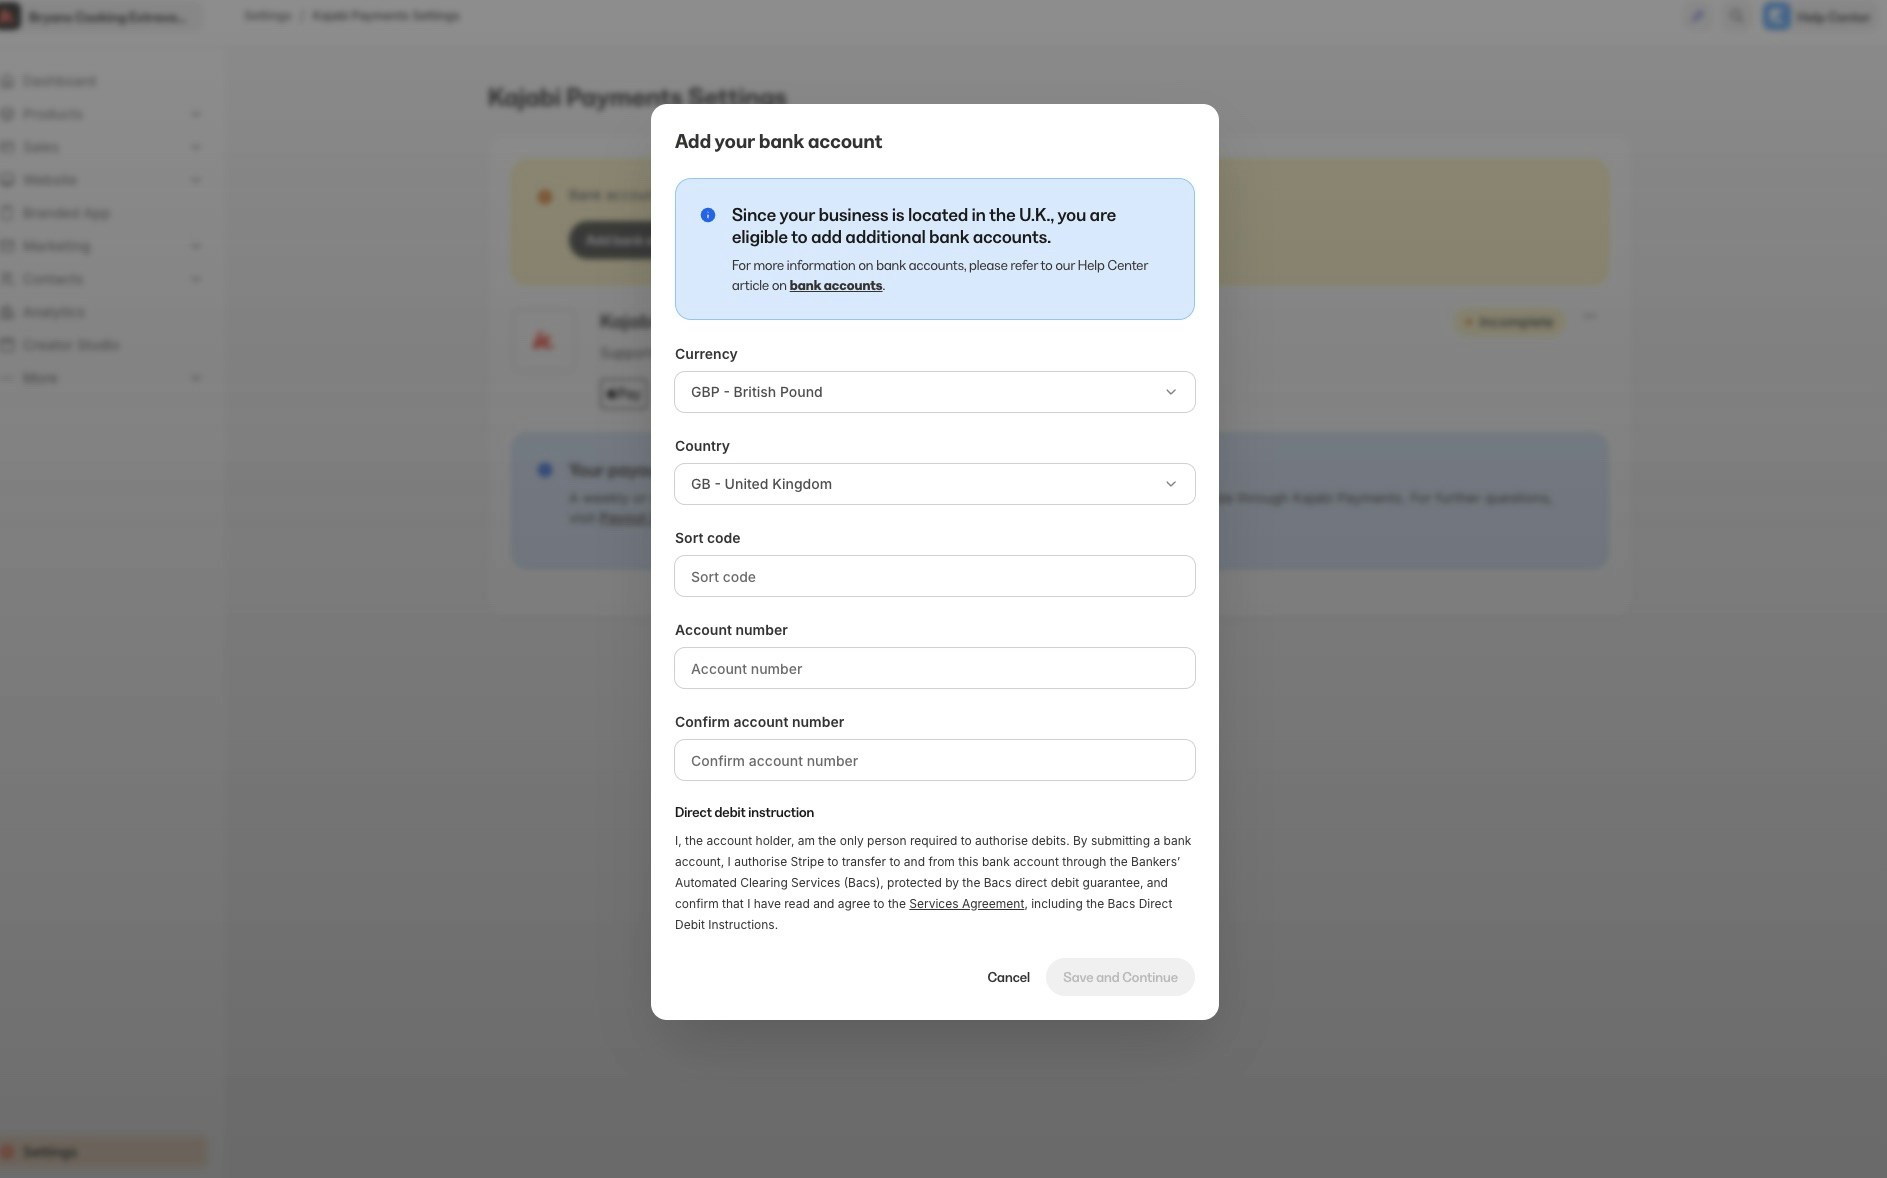
Multiple bank accounts
As a Hero in the UK, you can add up to 7 bank accounts, each corresponding to a different currency. You can replace a bank account at any time if needed. The bank accounts you link will determine how your payments are processed, where payouts are sent, and when currency conversions occur. For example, if you only add a GBP bank account, all transactions will be deposited into your GBP balance, and any non-GBP transactions will be converted to GBP. By adding a USD bank account in addition to your GBP account, USD transactions will be directly deposited into your USD balance, avoiding conversion to GBP. Your default payout currency is determined by the first currency-specific bank account you link. For example, if you link a USD bank account first, followed by a GBP account, any transactions other than GBP transactions will be processed and converted to USD. For example, if you receive a transaction in EUR and your default currency is USD, the Euros will be converted to USD. Transactions in the secondary currencies will only be processed in that currency if the payment matches it. Supported Kajabi Payments bank account currencies include:- GBP (British Pound Sterling)
- USD (United States Dollar)
- EUR (Euros)
- CHF (Swiss Franc)
- DKK (Danish Krone)
- NOK (Norwegian Krone)
- SEK (Swedish Krona)
Business type and structure
During onboarding, you’ll need to provide information about your Business Type and Business Structure.- If you’ve filed documents to register your business with a government agency, your Business Type is likely “Company”
- If you haven’t registered your business, your Business Type is likely “Individual”
- If your business is a registered nonprofit or charity, your Business Type will likely be “Nonprofit Organization”
Company structures
If you select “Company” as your Business Type, you’ll need to choose from the following structures:- Incorporated Partnership: A legally separate entity (such as a Limited Liability Partnership) where members are taxed on profits as personal income
- Unincorporated Partnership: A partnership where two or more individuals share ownership and responsibility for the business without separate legal status
- Public Corporation: A company that trades its shares on public stock exchanges and is subject to strict financial and reporting regulations
- Private Corporation: A company owned by a small group of individuals with no public trading of shares
Note: The content in this article is provided for general education and informational purposes only and should not be construed as legal or tax advice. Kajabi does not warrant or guarantee the accuracy, completeness, adequacy, or currency of the information in the article. You should seek the advice of a competent attorney or accountant licensed to practice in your jurisdiction for advice on your particular situation.
Enable Kajabi Payments on offers
To set up Kajabi Payments for your site, start by navigating to your Site Settings and selecting the Payment Integrations page.- Click Get Started to begin the process
- Choose the country where your business is registered from the drop-down menu
- Select your business structure
- Review and accept the Kajabi Payments Terms and Conditions
- You’ll be redirected to a Stripe-hosted page where you’ll need to enter your business information, including your address, phone number, website information, etc.
- Once you’ve filled everything out, click Agree and submit
- You’ll be prompted to add a bank account to start receiving payouts. Learn more about Payouts
- Once you’ve successfully onboarded to Kajabi Payments, you and all users on your account will be required to enroll in MFA. This protects your account from takeovers and other issues. Learn more about MFA requirements
Note: When you convert any existing offer to Kajabi Payments, ongoing subscriptions or payment plans will remain on the original payment processor (i.e., Stripe or PayPal), and any subscriptions or payment plans will be processed through Kajabi Payments.Most of your customers won’t notice a difference. Some returning customers may need to re-enter their payment information when they make their first purchase with Kajabi Payments. Cards that have been stored via Stripe will not be carried over to Kajabi Payments.
- From your Kajabi dashboard, select Sales
- Navigate to Pricing
- Click +New Offer to enter the Offer Creation Flow
- Once inside the Offer Creation Wizard, enter an Offer Title and choose the Product(s) to sell with this offer
- Set up your offer’s pricing structure and under the drop-down menu for Select payment providers, select Kajabi Payments
- Choose the additional payment methods that you would like to enable on your offer
- Select Save and Finish to complete creating your offer with Kajabi Payments
Accepted payment methods in the United Kingdom
Below is a list of all the accepted payment methods available to you once registered to Kajabi Payments in the United Kingdom. Cards- Visa
- Mastercard
- Maestro
- American Express
- Discover
- JCB
- Diners Club
- UnionPay
- Apple Pay
- Google Pay
- Clearpay
- Klarna