

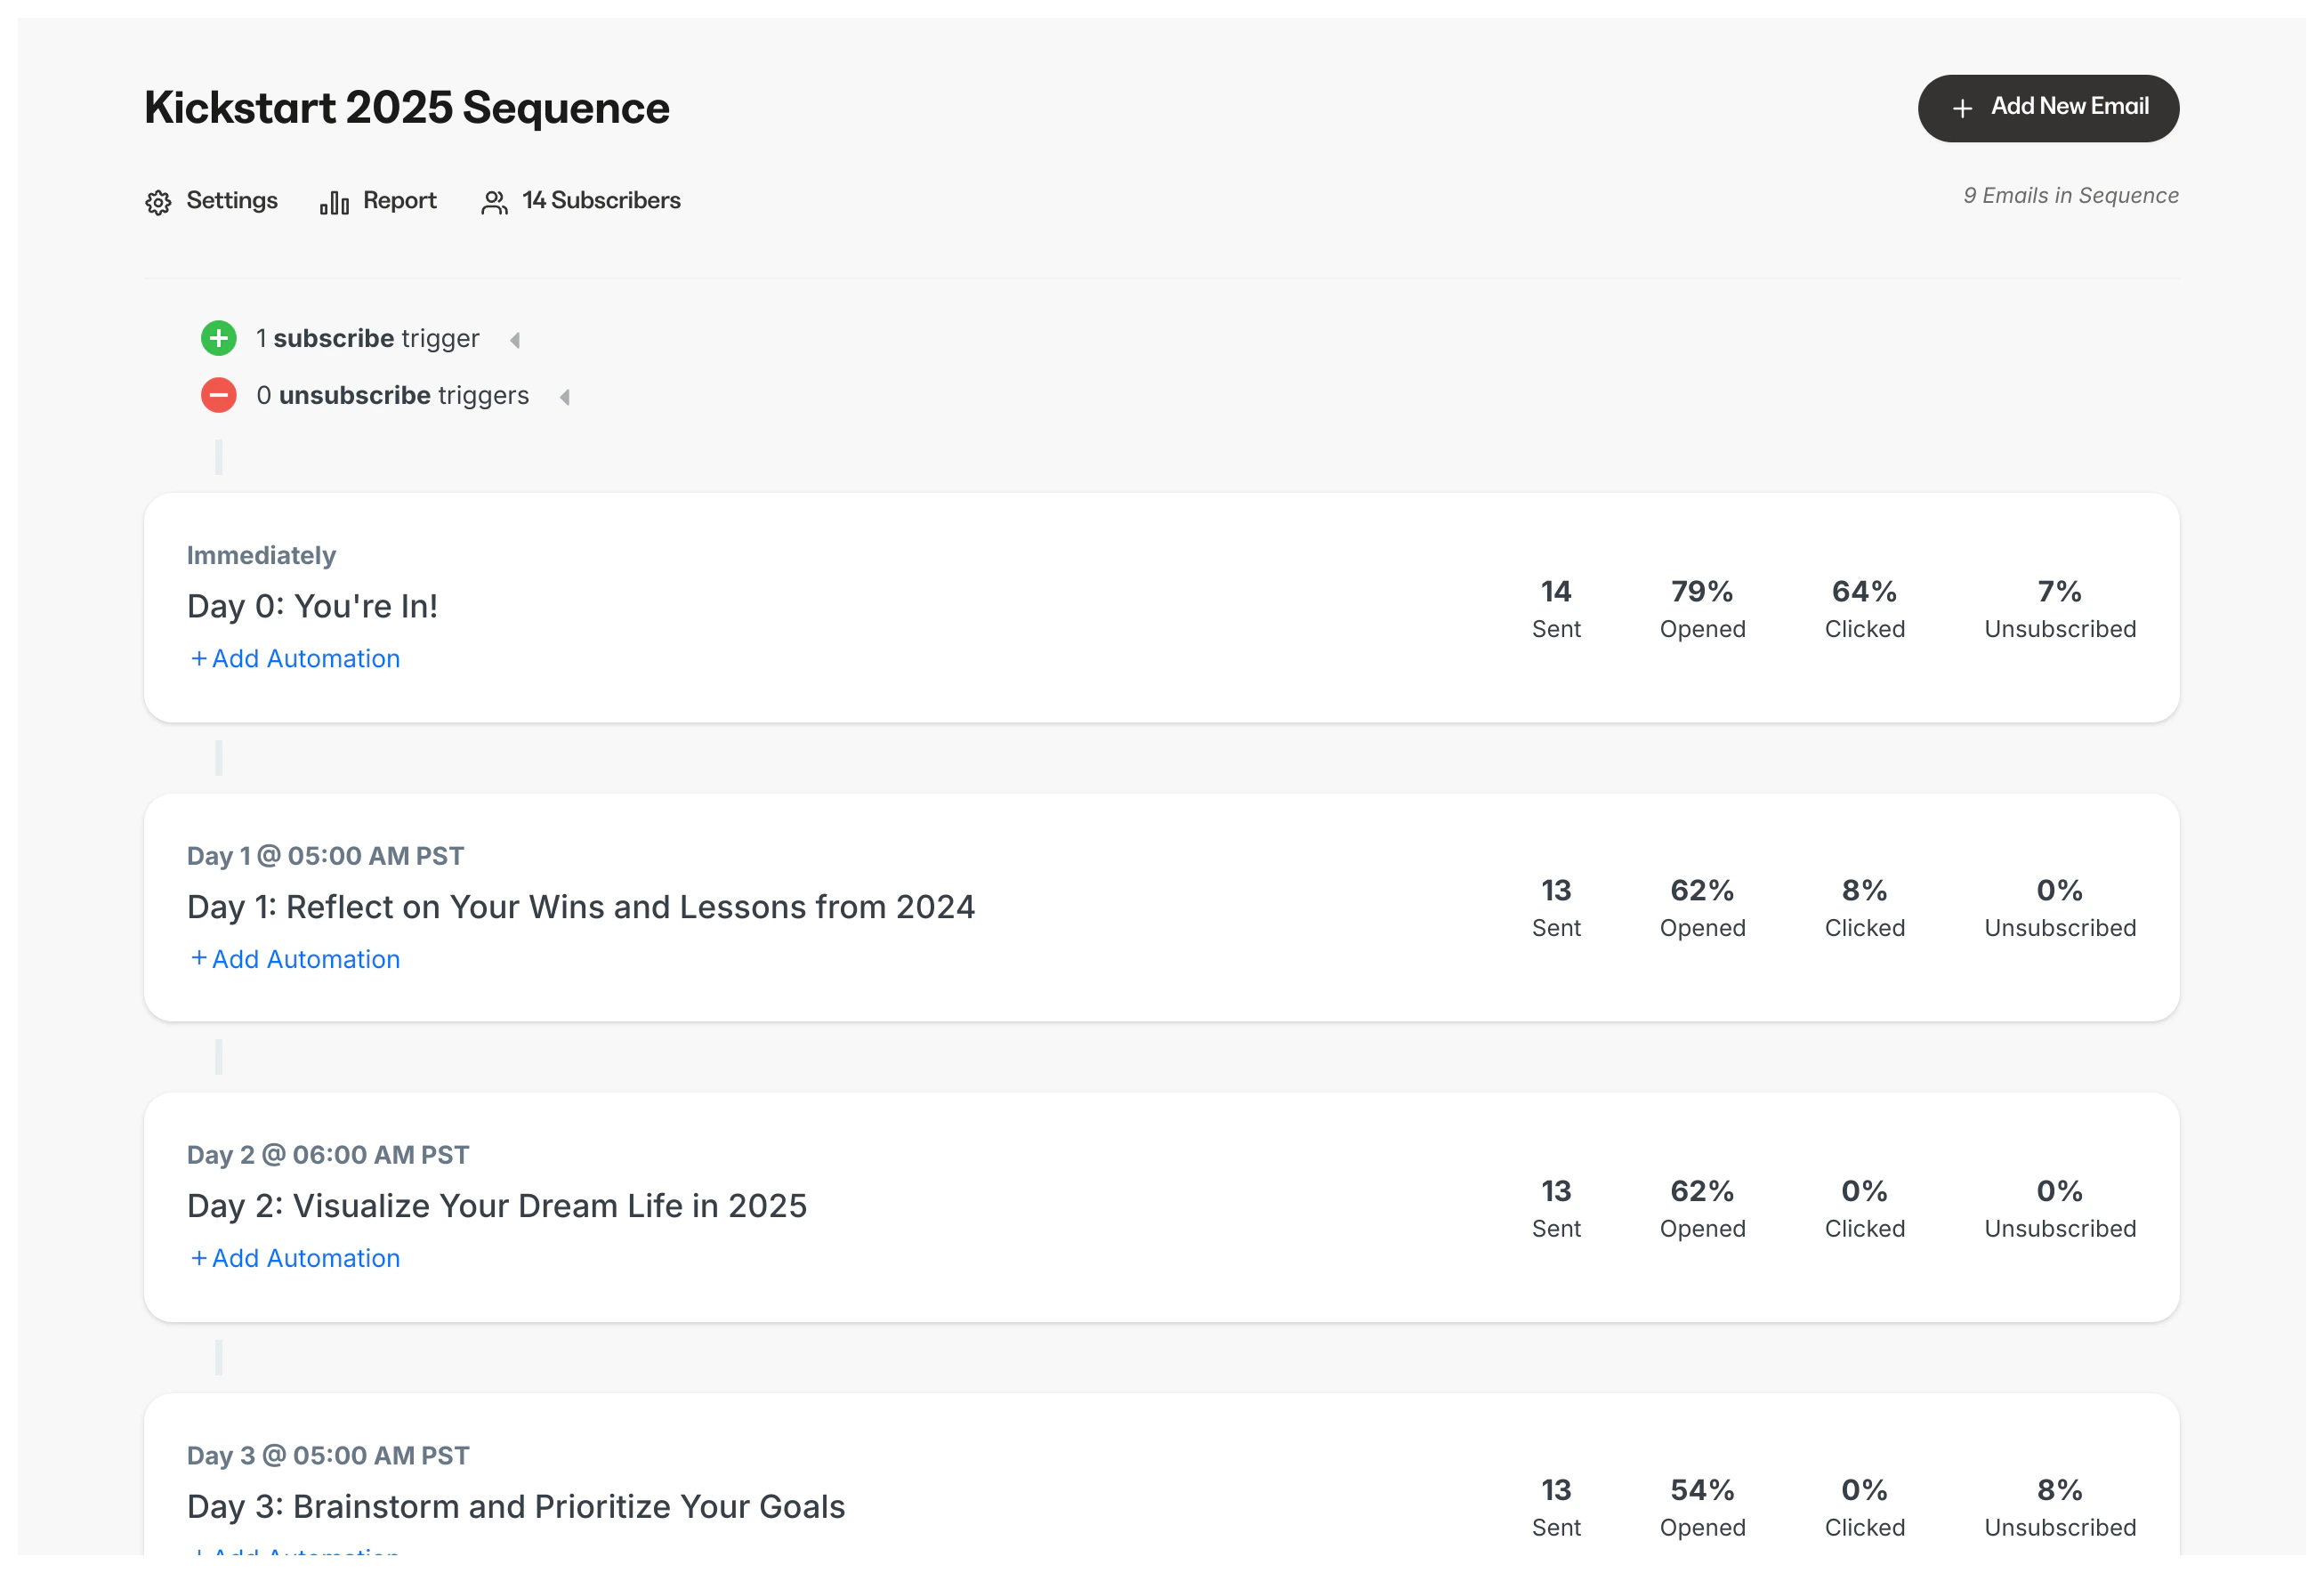
An Email Sequence is a series of emails sent with pre-set time intervals to contacts after they are subscribed to the sequence via trigger-based automations.Documentation Index
Fetch the complete documentation index at: https://help.kajabi.com/llms.txt
Use this file to discover all available pages before exploring further.
Create an Email Sequence
- Open the Marketing tab from the Dashboard.
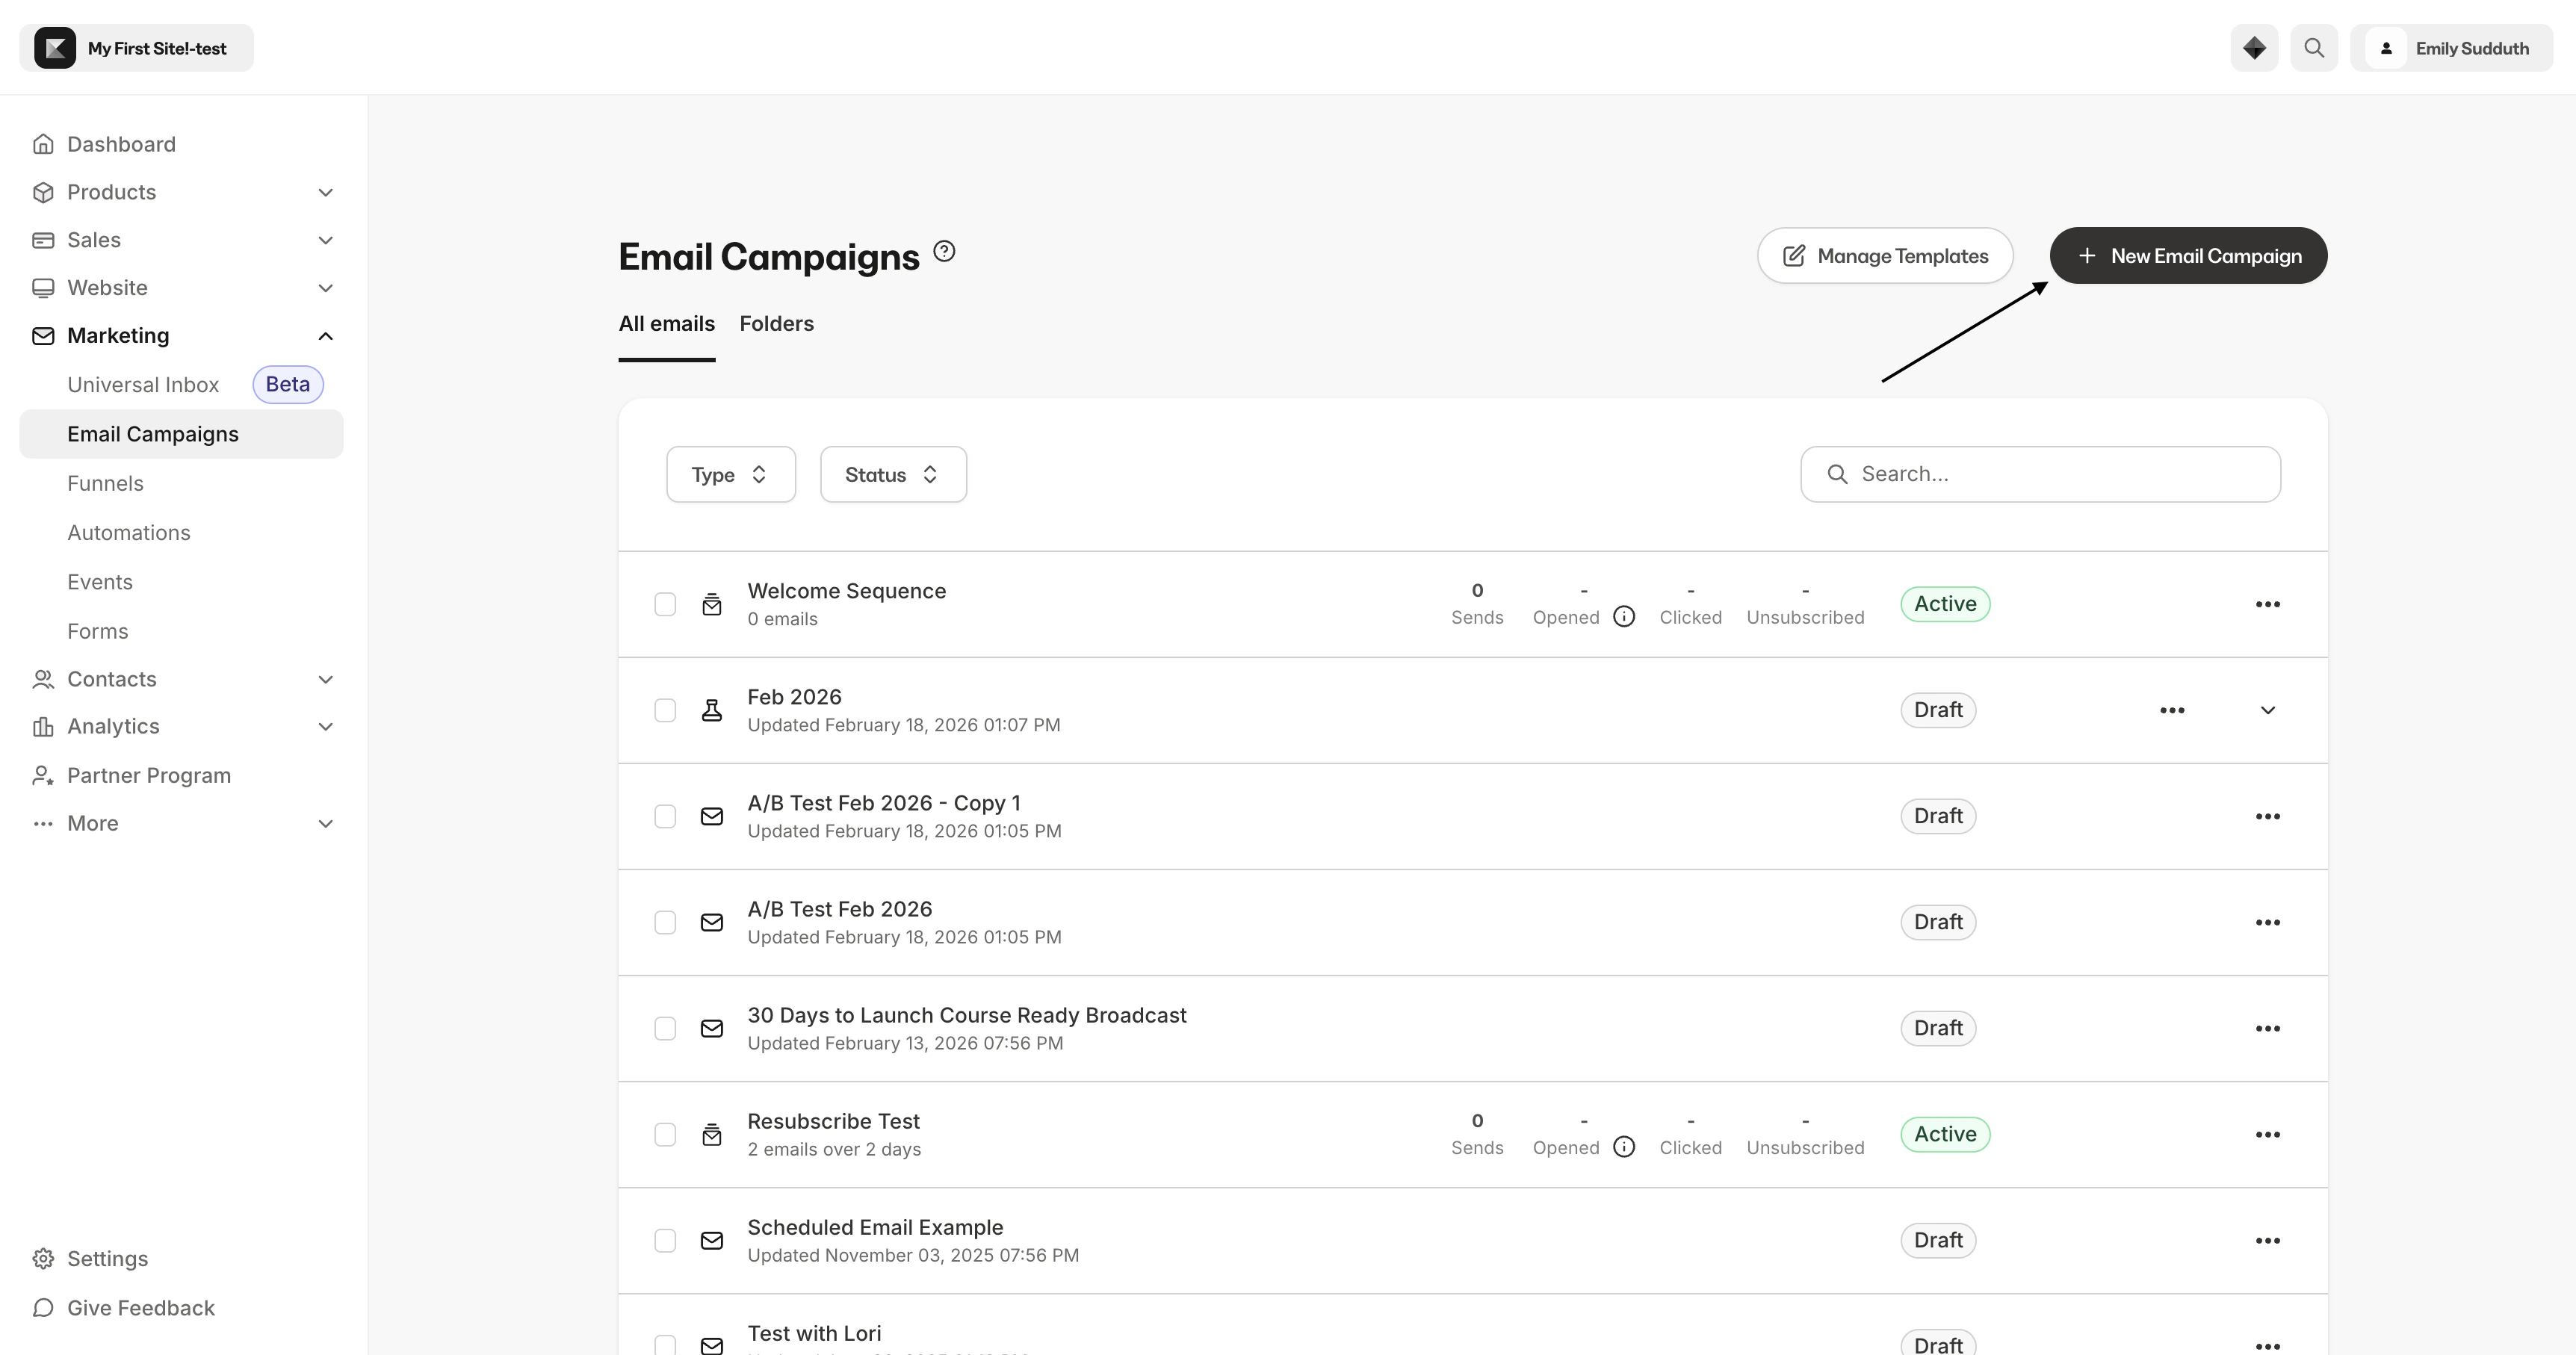
- Click Email Campaigns.
- Then, click + New Email Campaign on the Email Campaigns dashboard:
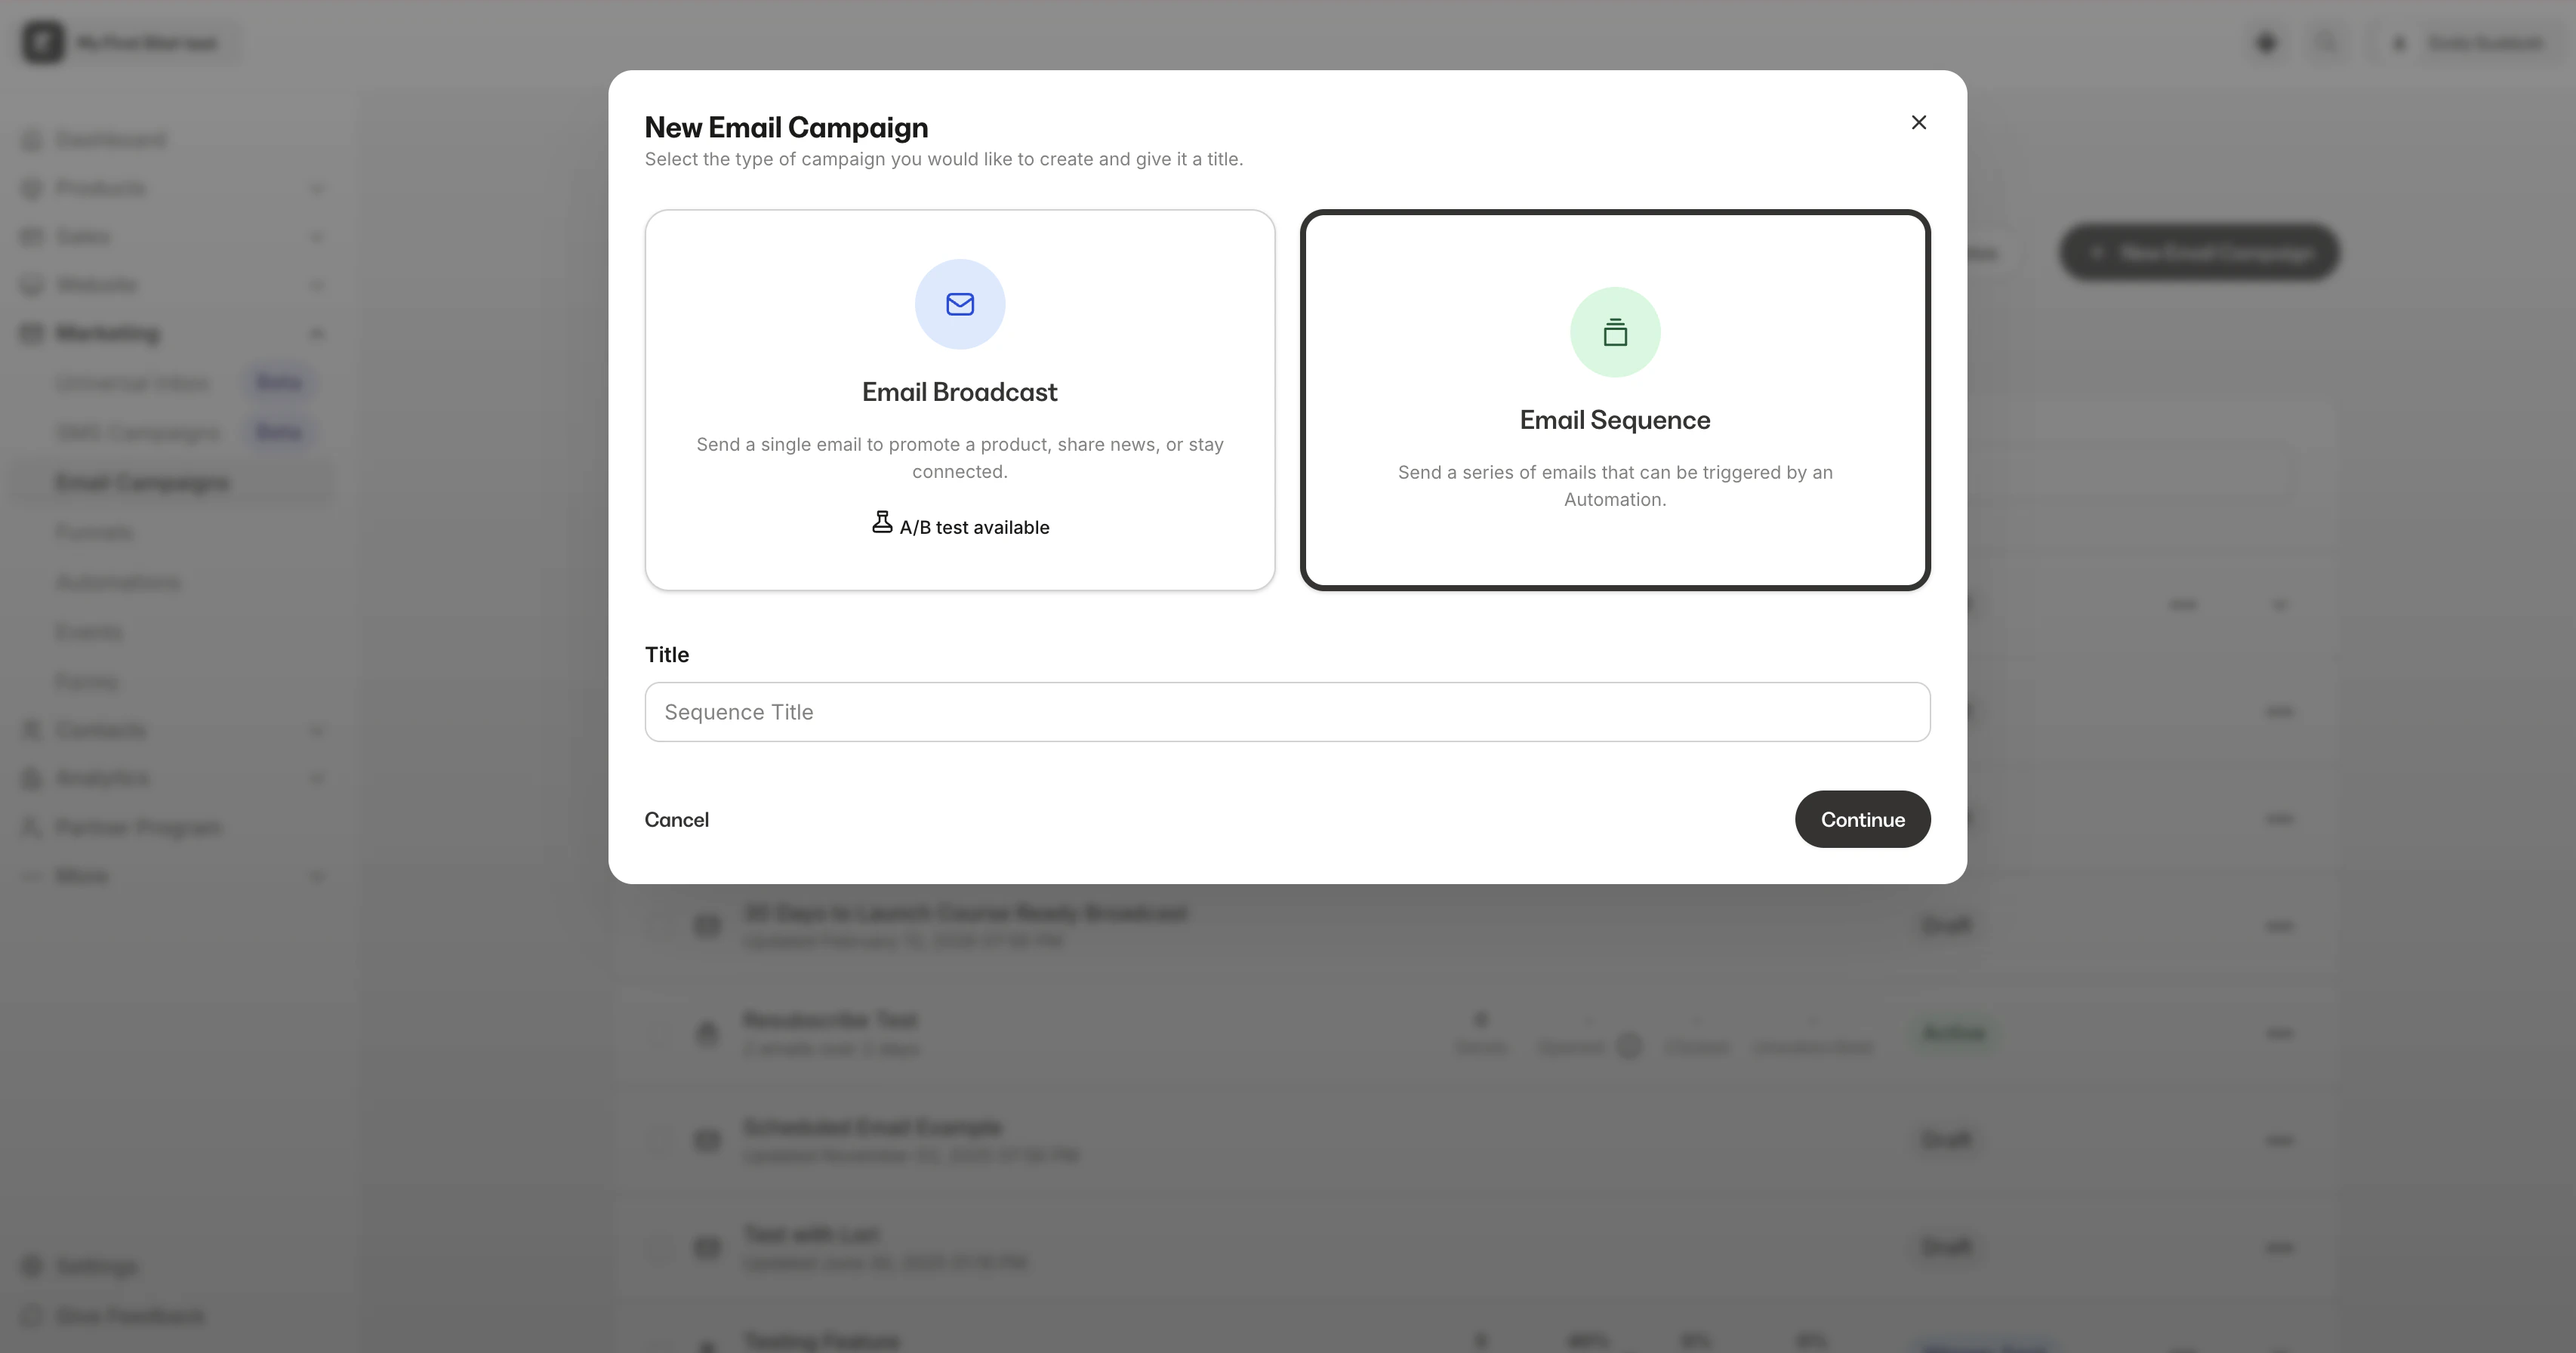
- Select Email Sequence and enter your Internal Title in the text box.
- Click Continue:
- Select your email template or select the classic editor to begin building and designing the first email in your sequence.
- Click Get Started.
- Enter the internal title for the email in your Email Sequence.
- Click Create.
Note: If a contact is not subscribed to receive marketing emails, they will not receive emails in an Email Sequence. Learn more about Subscribers for details.
If your subscribers are not receiving your sequence, your emails may be getting marked as spam. Learn how to improve your sender reputation and improve your email deliverability.
Edit emails in an Email Sequence
After creating an Email Sequence, edit the emails in that sequence according to your brand and language preferences.In the Email Editor
- Determine the number of Day(s) after a contact subscribes to receive the email in the sequence.
- Set the Time you want the email sent to sequence subscribers.
- Enter an Internal Title to help you differentiate between the emails in your Email Sequence.
Edit an email
- Open the Marketing tab from the dashboard.
- Click Email Campaigns.
- Select the Email Sequence you wish to edit.
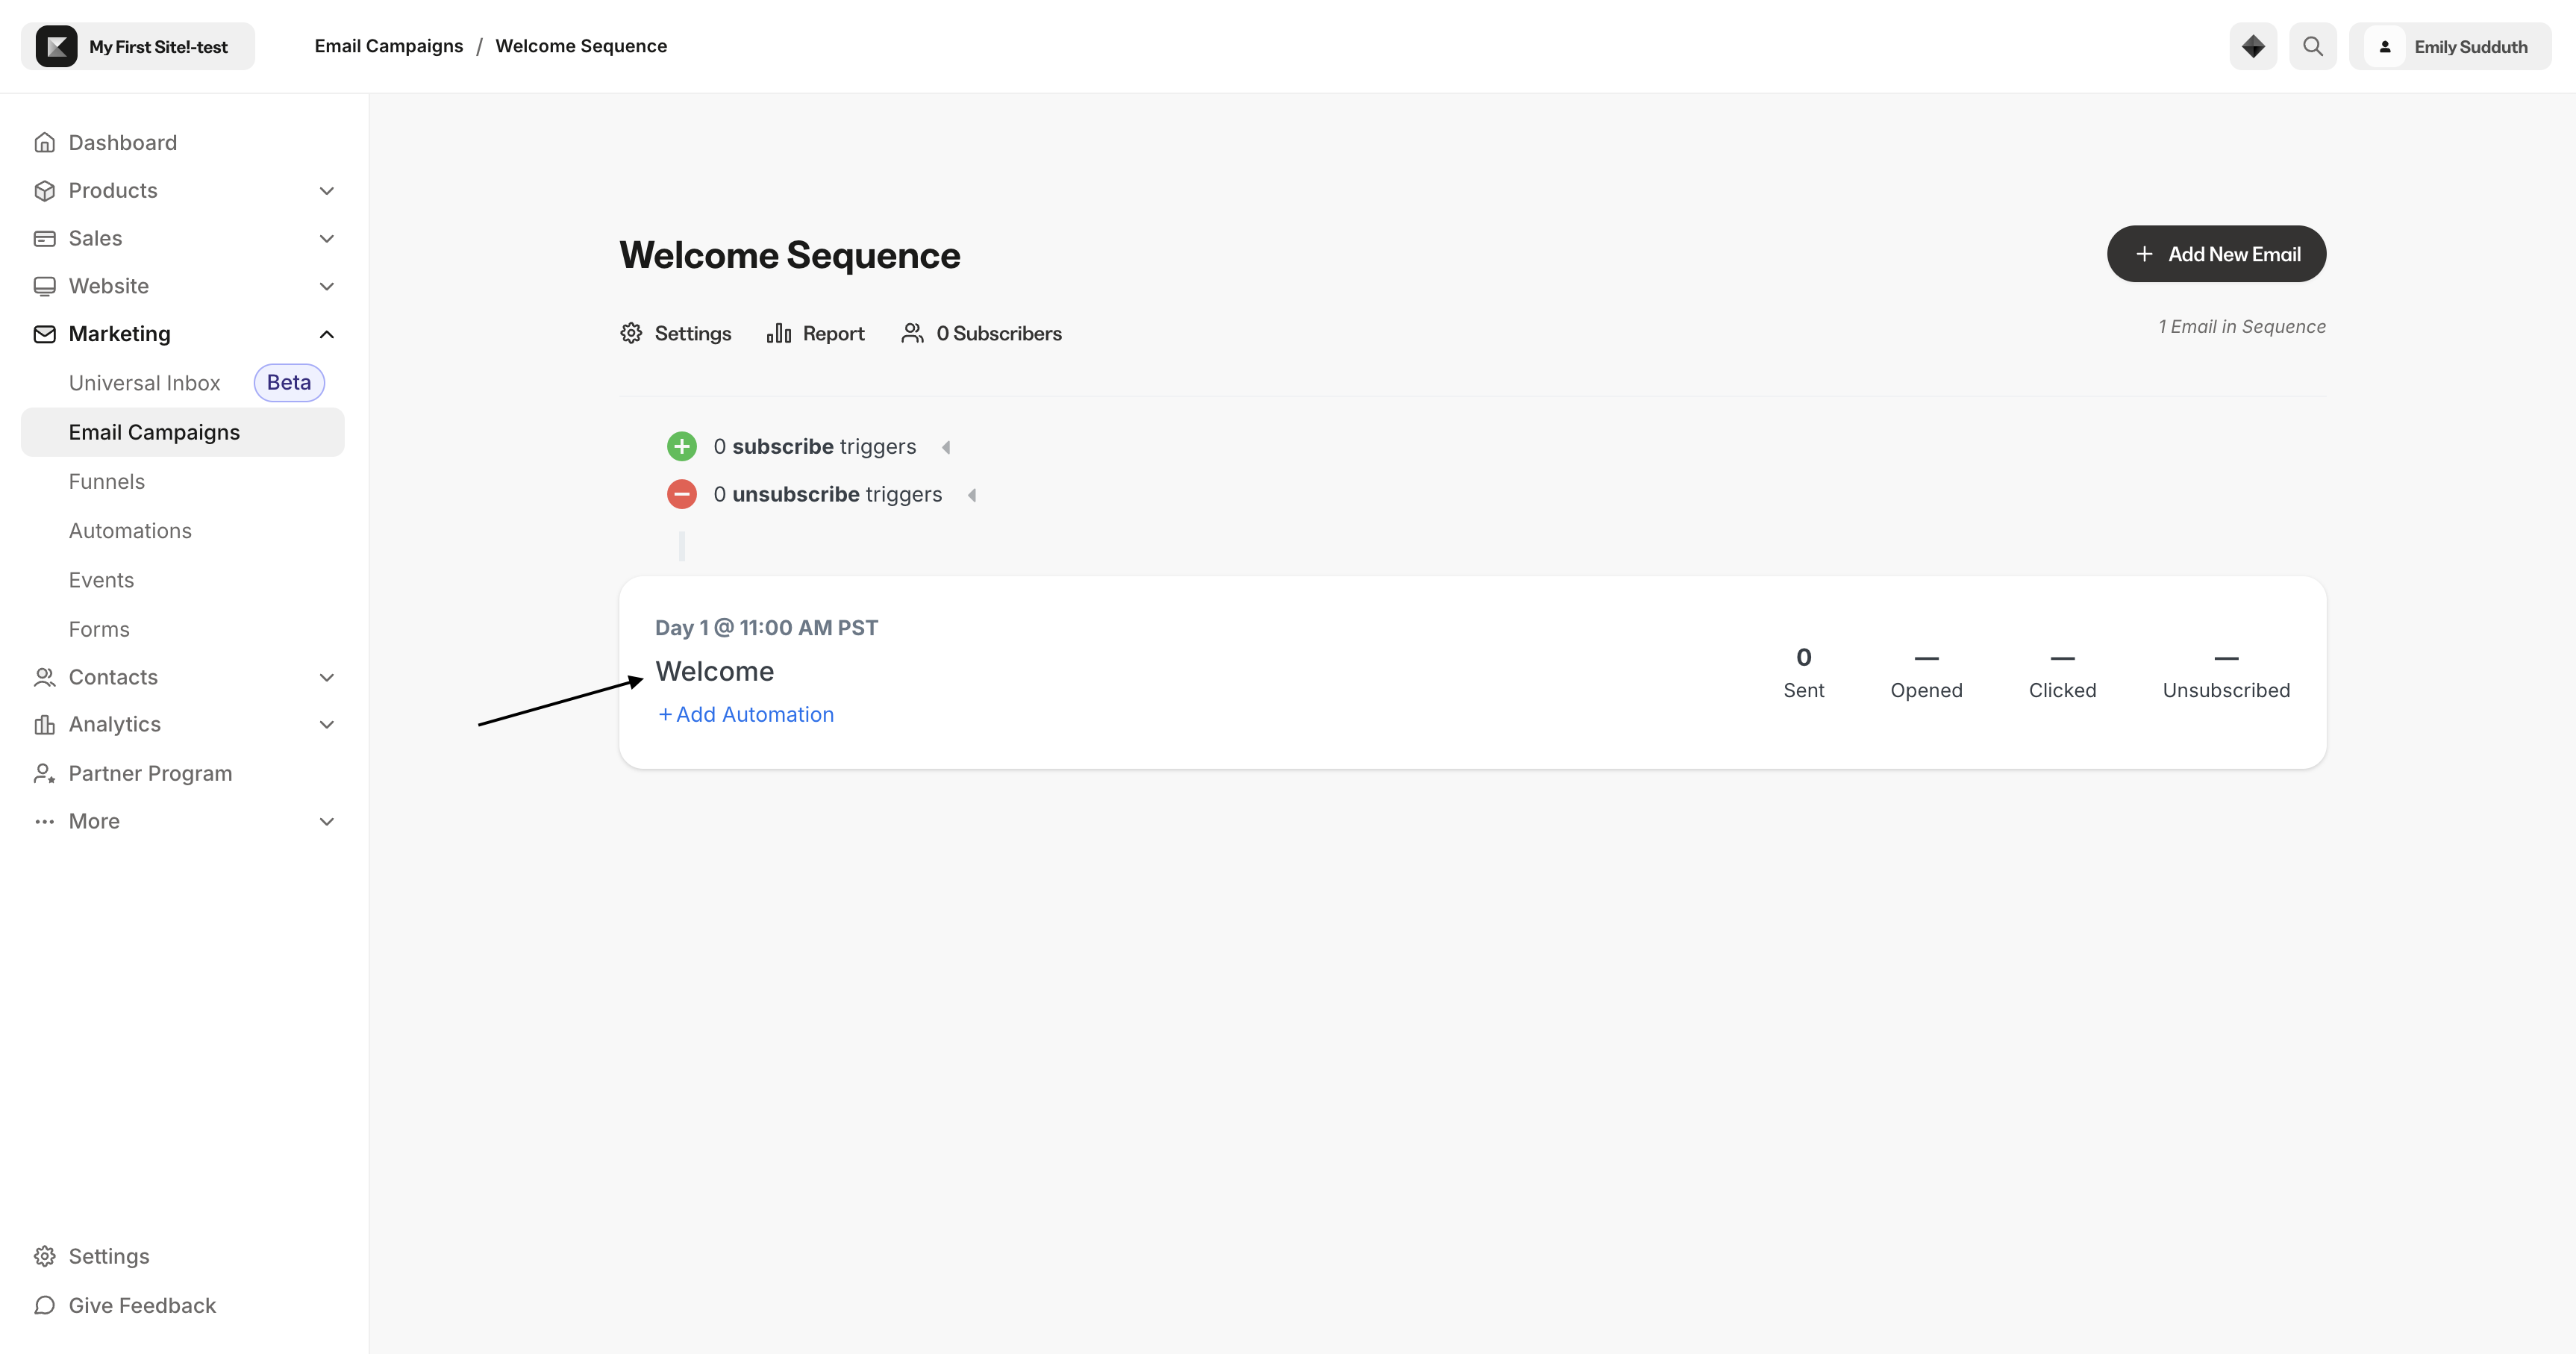
- Click the Email Title to edit:
Add emails to an existing Email Sequence
- Open the Marketing tab from the Dashboard.
- Click Email Campaigns.
- Select an existing Email Sequence.
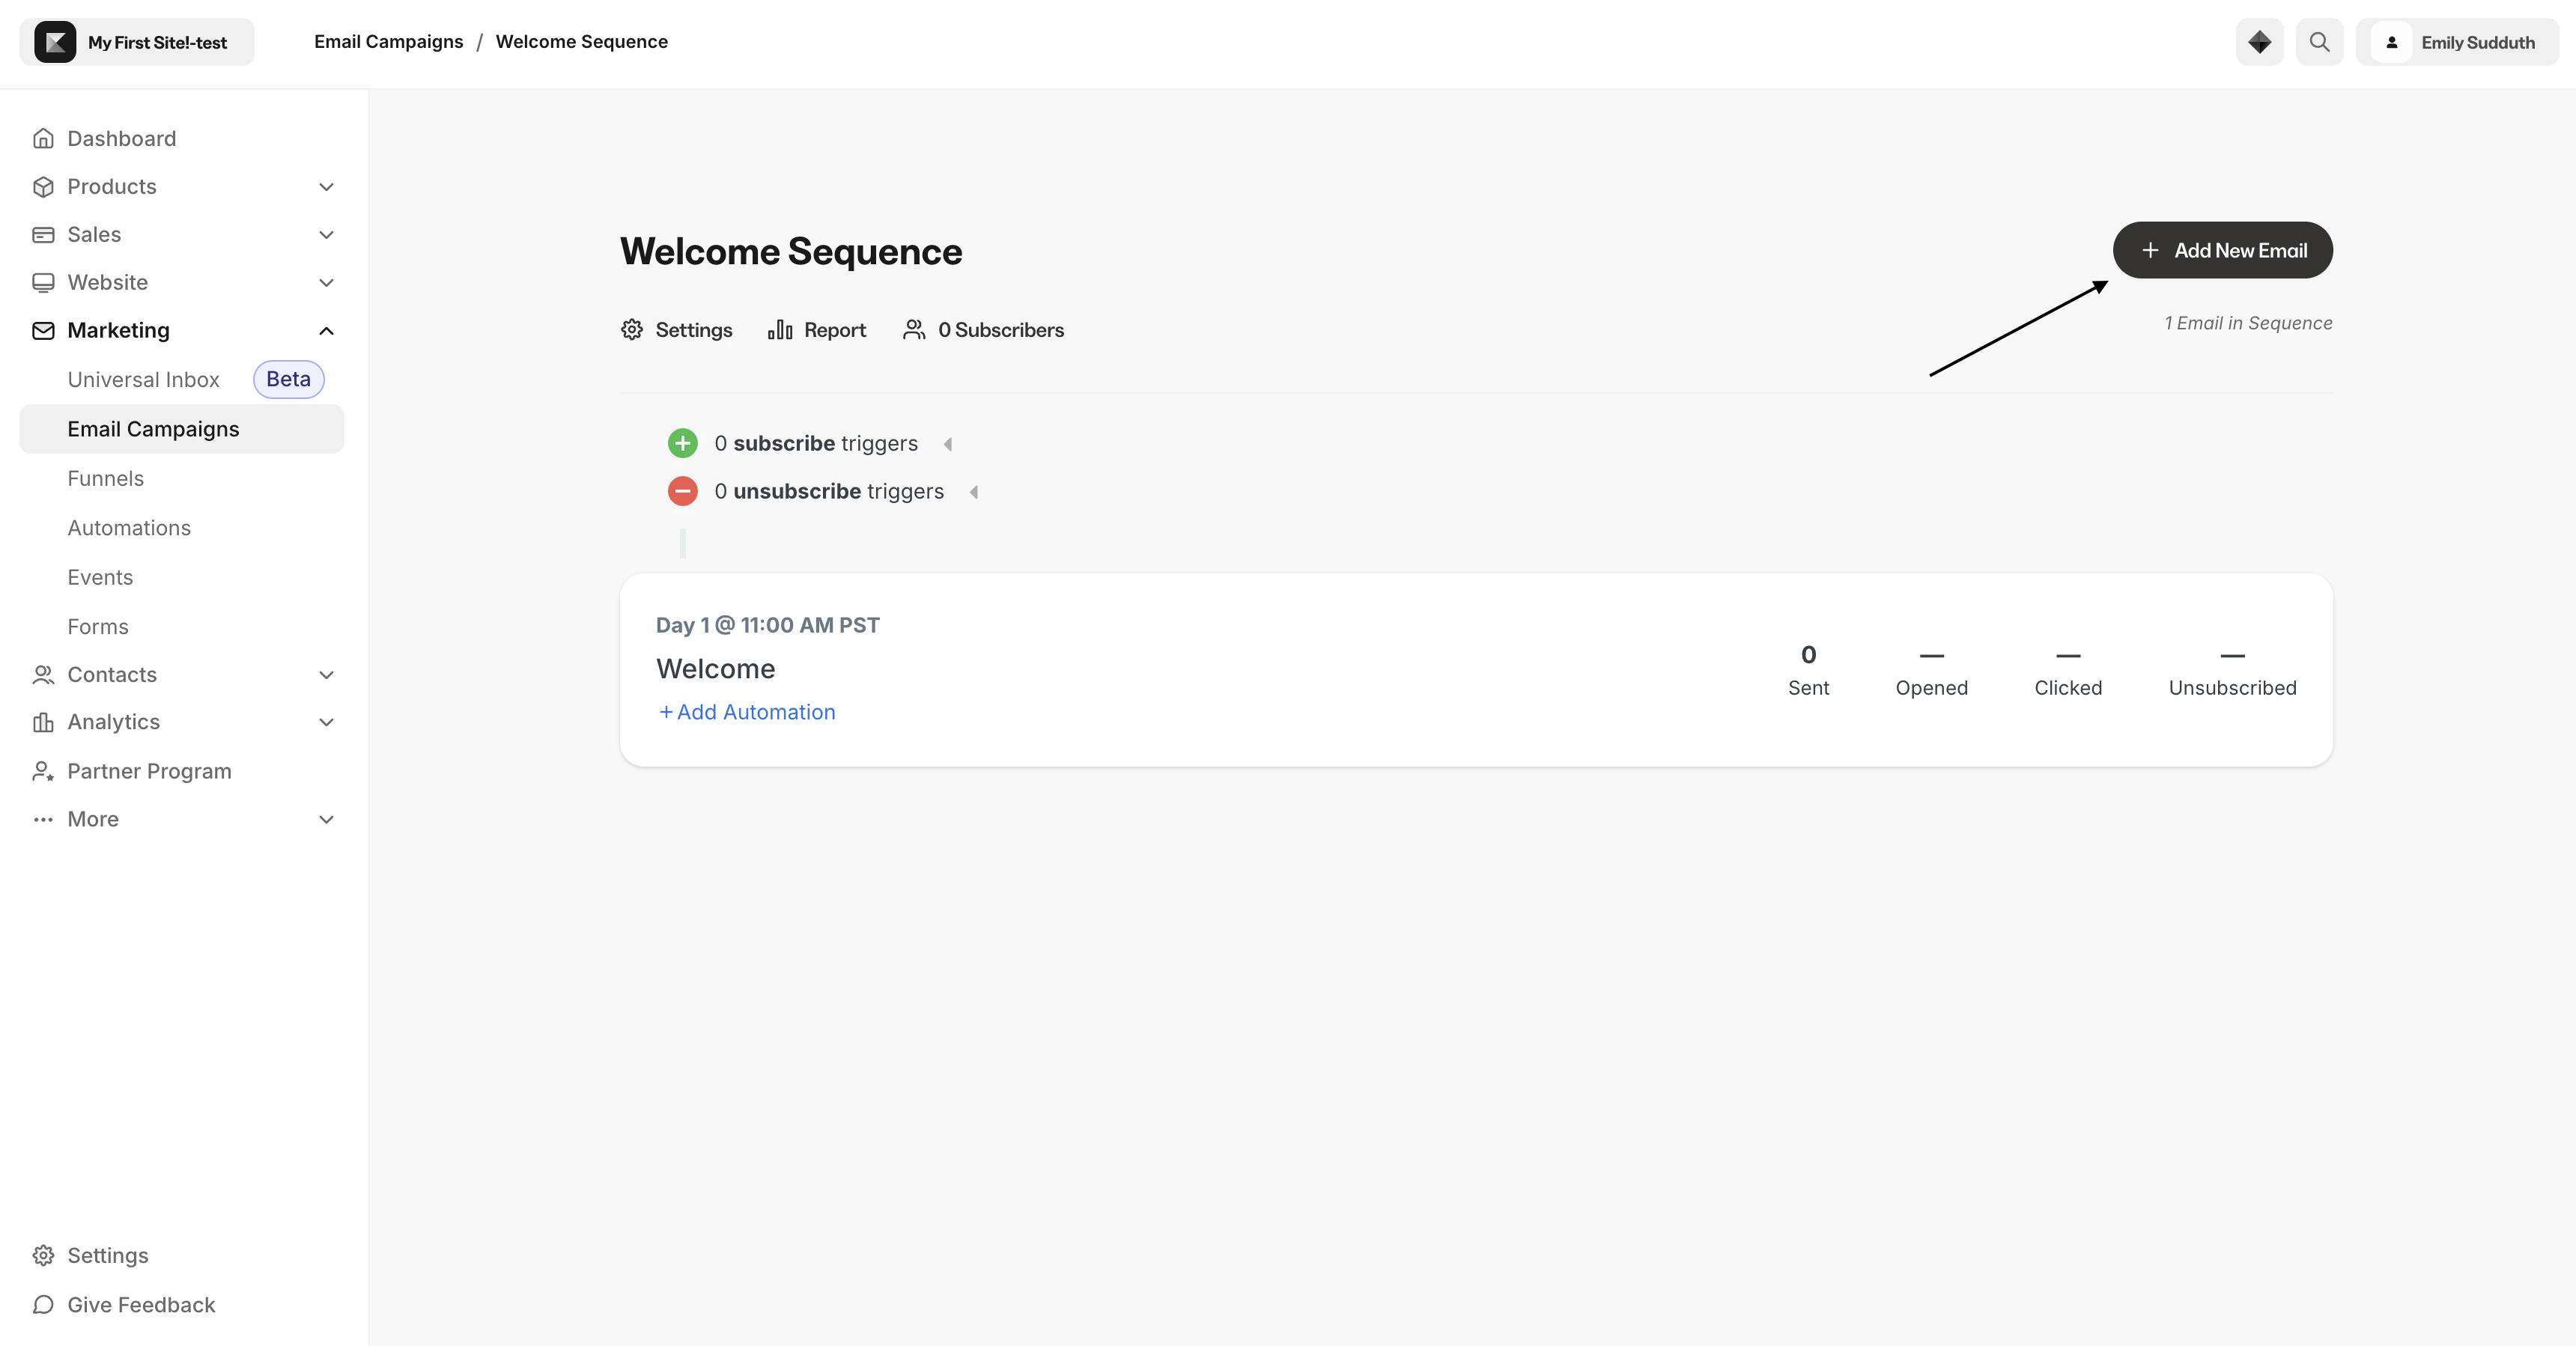
- Click + Add New Email:
- Select a template.
- Click Get Started.
- Enter a Title for your Email.
- Click Create.
Note: Avoid adding emails to a sequence retroactively. If you created an Email Sequence with three emails sent on days 3, 5, and 7, and you wanted to add an email to be sent on day 6 of the sequence, that email will not be sent to subscribers who have already passed day 6 in the sequence.
Send multiple emails per day
You can send up to two emails per day to Email Sequence subscribers. This is a powerful way to leverage Email Sequences for various campaigns. For example, you may have an Offer deadline approaching that you want to encourage your recipients to participate in. With multiple emails, you can send up to two emails on the last day of your sequence. Set up multiple emails to be sent on the same day in your sequence by selecting the same Day (e.g., Day 1, Day 2, etc.) when creating two emails.Note: Email Sequences cannot send multiple emails set to send on Day 0 (i.e., immediately). If you wish to send multiple emails on the same day, you will need to set your send time for a future date.
Customize an Email Sequence
Design an Email Sequence for your unique business:- Stylize emails with the Visual Editor.
- Create subscribe trigger(s) with Automations.
- Add emails to an Email Sequence.
- Customize Email Sequence Settings.
- Personalize emails in the sequence to your recipients.
- Use Segments to design personalized marketing content.
Note: Adding emails to an active sequence retroactively will result in an inconsistent experience across your Email Sequence subscribers. If you created an Email Sequence with three emails sent on days 3, 5, and 7, and you wanted to add an email to be sent on day 6 of the sequence, that email will not be sent to subscribers who have already passed day 6 in the sequence.