Note: Webhooks on Kajabi are exclusively accessible for Heroes on the Growth and Pro subscription plans. Learn how to upgrade your Kajabi subscription plan here.
Connect Kajabi to Zapier apps (outbound)
Send data to a third-party application when an action occurs on your Kajabi site by creating an Outbound integration with Zapier. For example, send contact information when a Form is submitted on Kajabi to a third-party application.Prep for outbound integration
Before integration, be sure to have at least one purchase, form submission, or completed assessment on your site depending on the connection you wish to create with Kajabi and Zapier. This will enable Zapier to pull sample data from your site to test the connection. To make a test purchase, submit a form, or complete an assessment:- Copy the link to the page containing your Offer, Form, or Assessment. Learn more.
- Then, open a different browser or an incognito window and paste the link.
- Complete the action (e.g., purchase the Offer, submit the Form, complete the Assessment) as your visitors would.
Connect Kajabi to Zapier apps
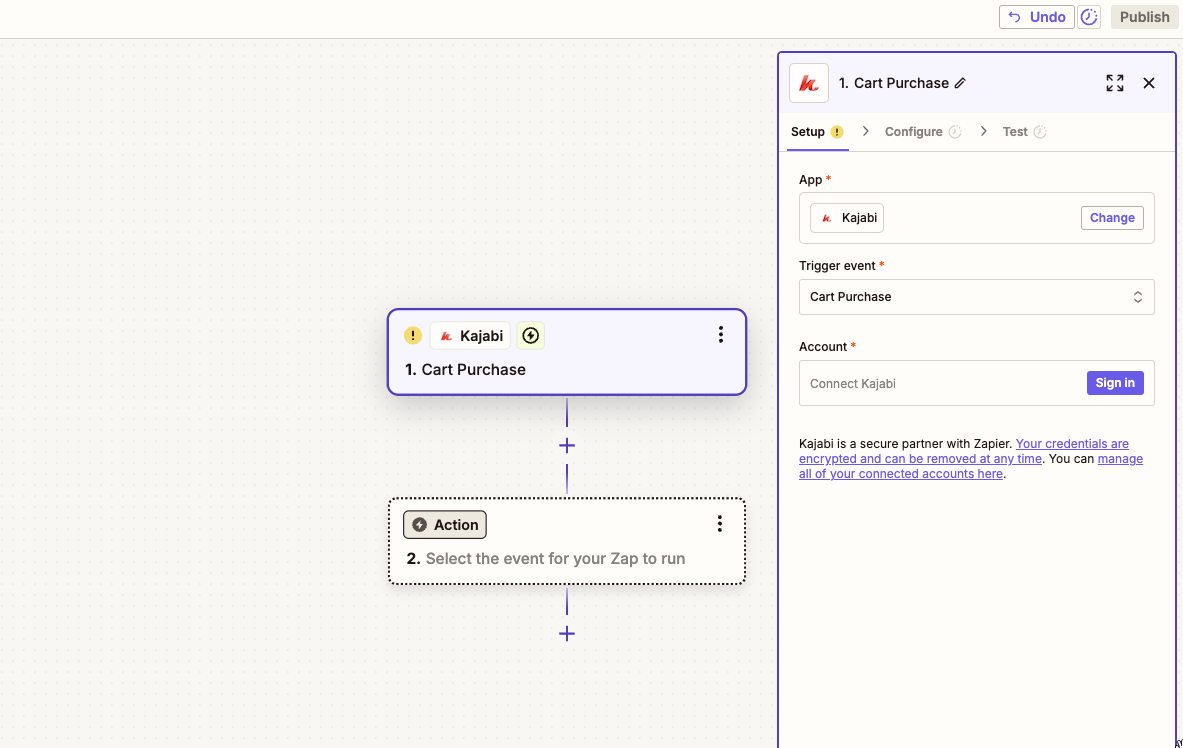
Kajabi can send Outbound Webhooks every time someone submits an Opt-in Form, purchases an Offer from your Site, or completes an Assessment. Zapier listens for these webhooks, and in turn creates or updates a contact in a third-party system:- Create a Zap and set Kajabi as the trigger app:
- Choose a Trigger.
- Select New Purchase to get user data for new purchases from your Site.
- Select Cart Purchase to receive user data when a customer completes a purchase through Kajabi Cart on your site.
- Select New Form Submission to get user data when a user submits through an Opt-in Form on your Site.
- Select Assessment Completed to trigger an action once an Assessment is completed in Kajabi:
Connect Zapier to the Kajabi account
After selecting your trigger, you’ll need to connect to your Kajabi account. If you’re connecting for the first time, you’ll be asked for your account API Key and Secret located in your Account Settings.- From the Kajabi Dashboard, click Settings.
- Under the Account Settings section, select Account Details.
- Copy the API Key and API Secret.
- Then, paste each into the appropriate Zapier field and click Yes, continue at the bottom.
- Select a Site and Offer to link to your Zap and proceed with testing to make sure things are working.
Connect Zapier apps to Kajabi (inbound)
Kajabi supports Inbound Webhooks to trigger an action on Kajabi after receiving data from a third-party application. Inbound integrations include actions like creating Contacts or granting access to Offers after an external event occurs (e.g., successful payment in a third-party payment provider). Zapier listens for these webhooks from a connected data source and sends the data to your Kajabi account.Select the third-party application as the trigger app
In this step, you will:- Select your trigger app: the Zap will be triggered by an event that occurs in this app
- Select your trigger event: this will be the event that occurs in the selected app that triggers the Zap
- Select your app account: select or connect the specific app account to use in the Zap trigger
- Customize your trigger: customize your trigger options to fit your needs
- Test your trigger: test your trigger to see if it pulls in the right data
Select Kajabi as the action app
- Create a Zap according to your third-party system provider’s guide and set it as the trigger app.
- Select Kajabi as your Action app:
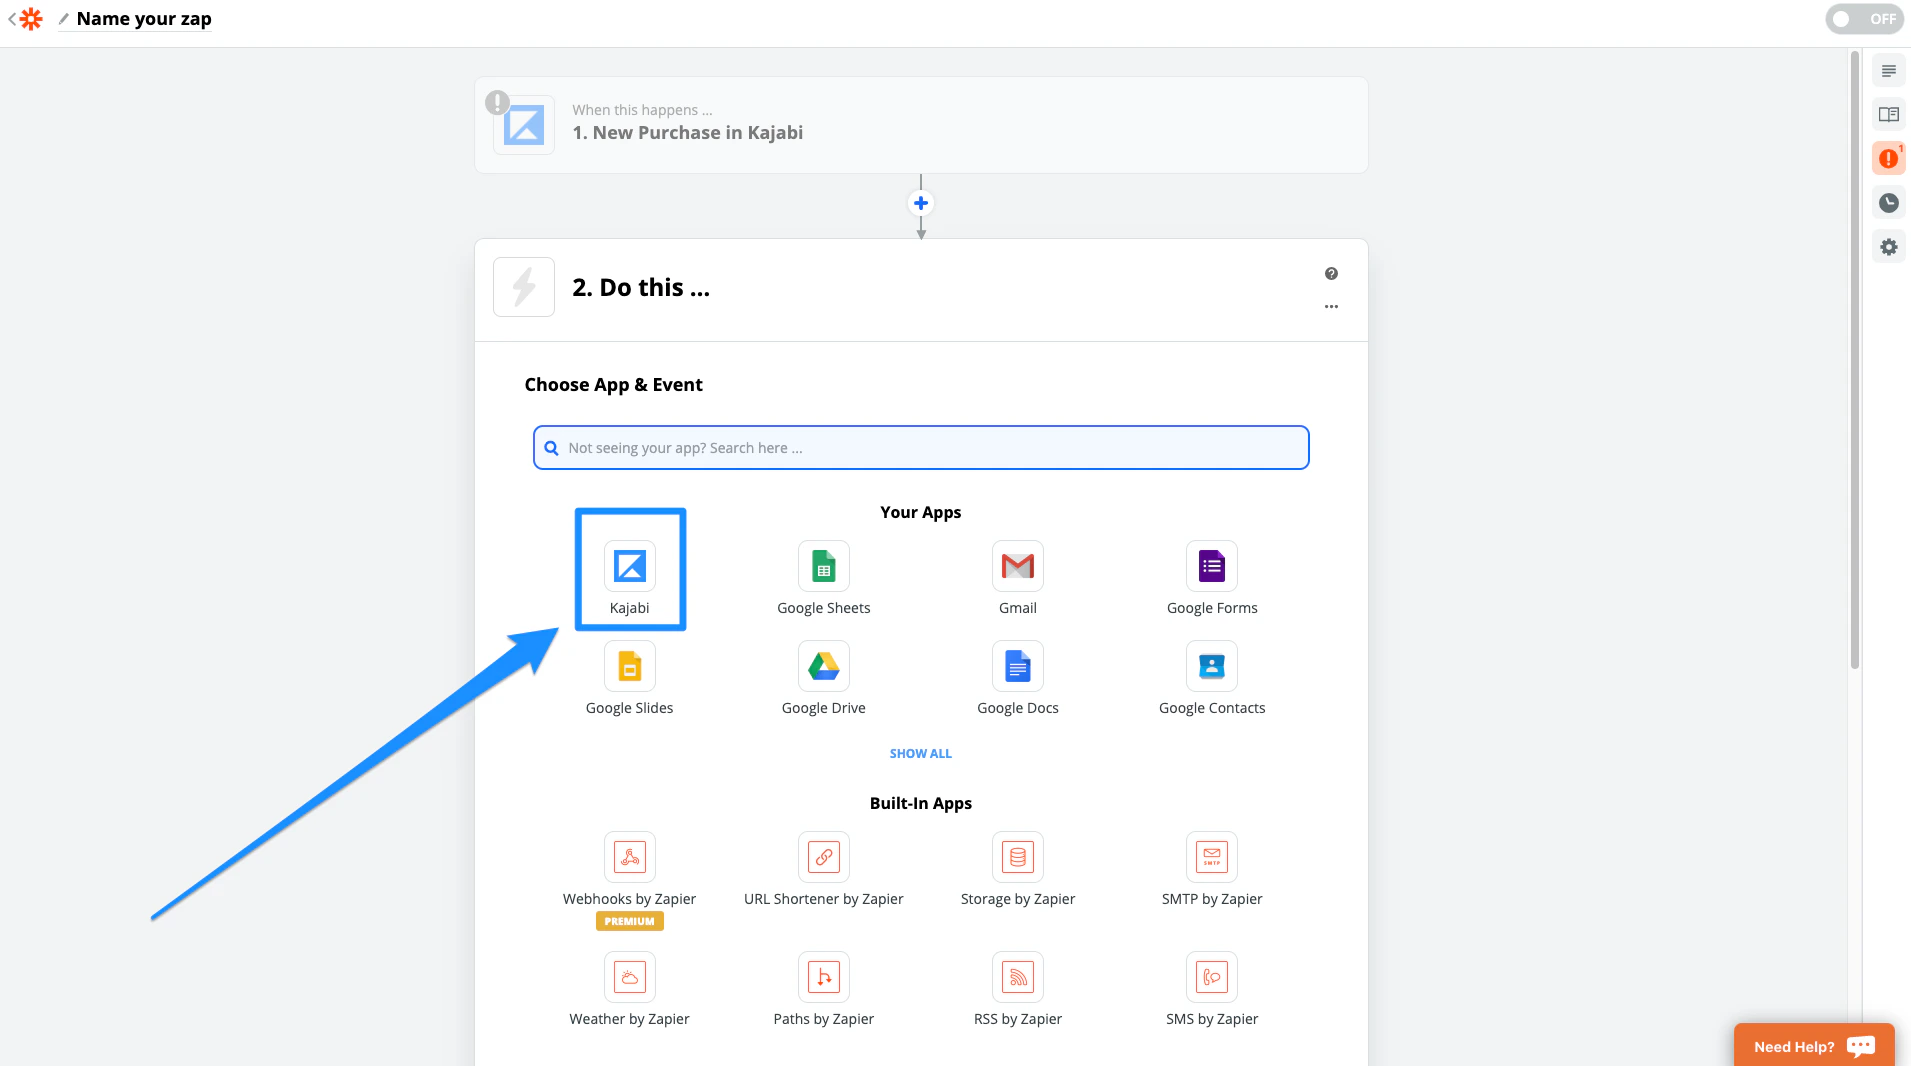
- Select an Action:
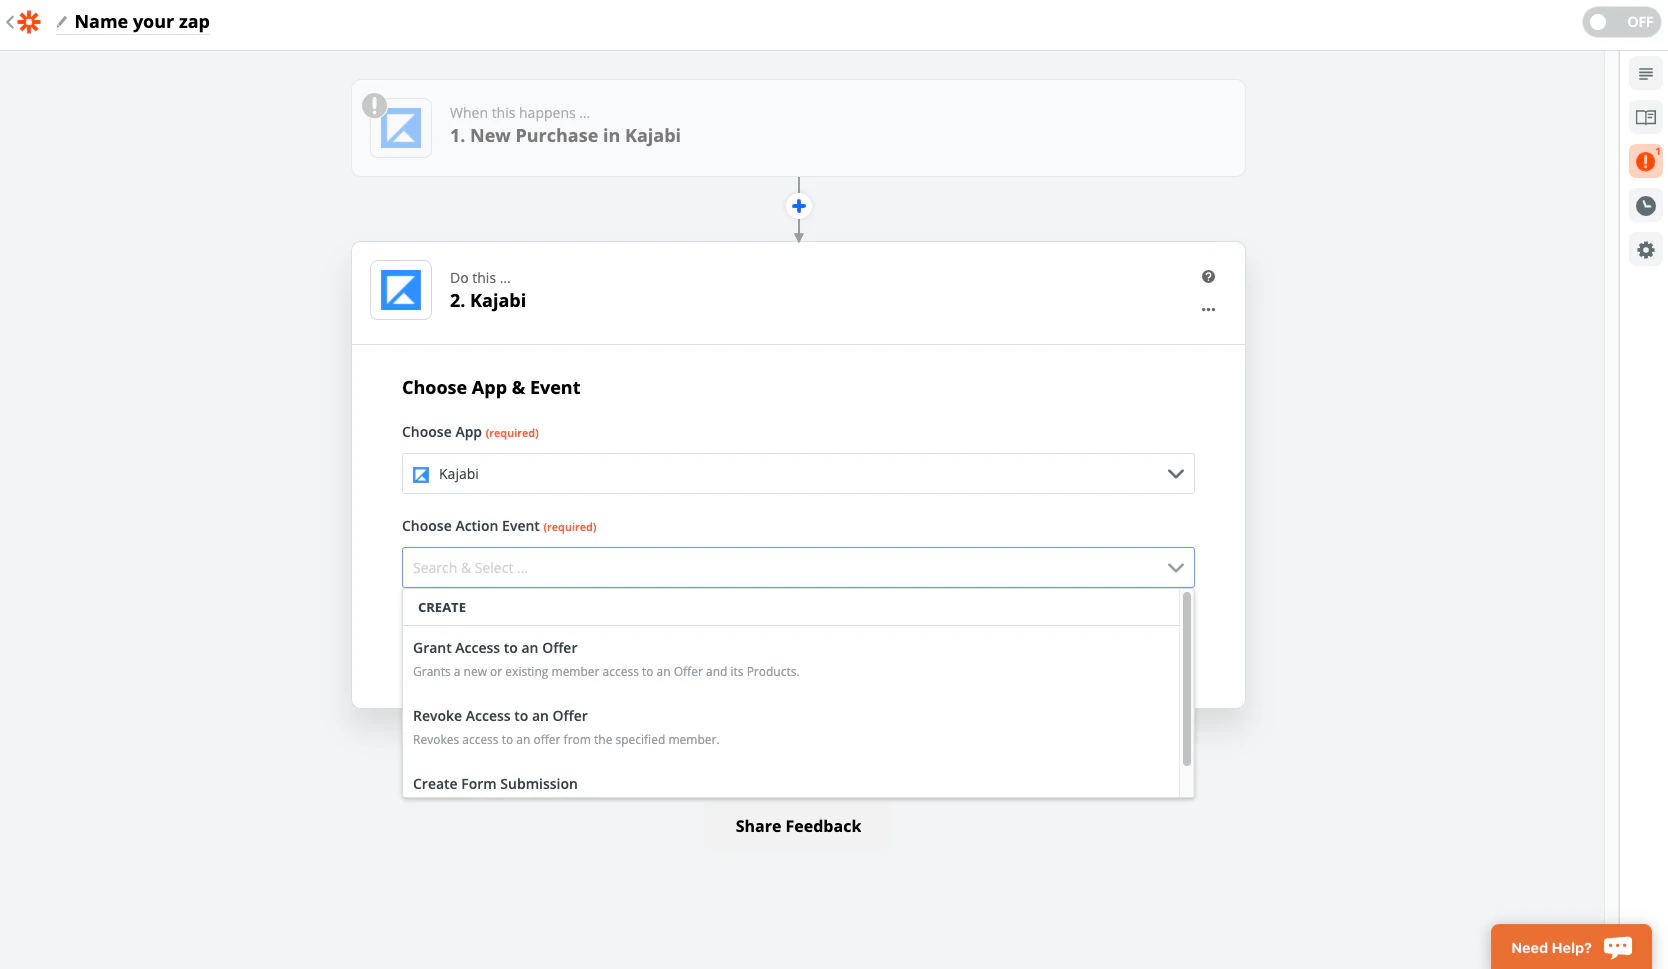
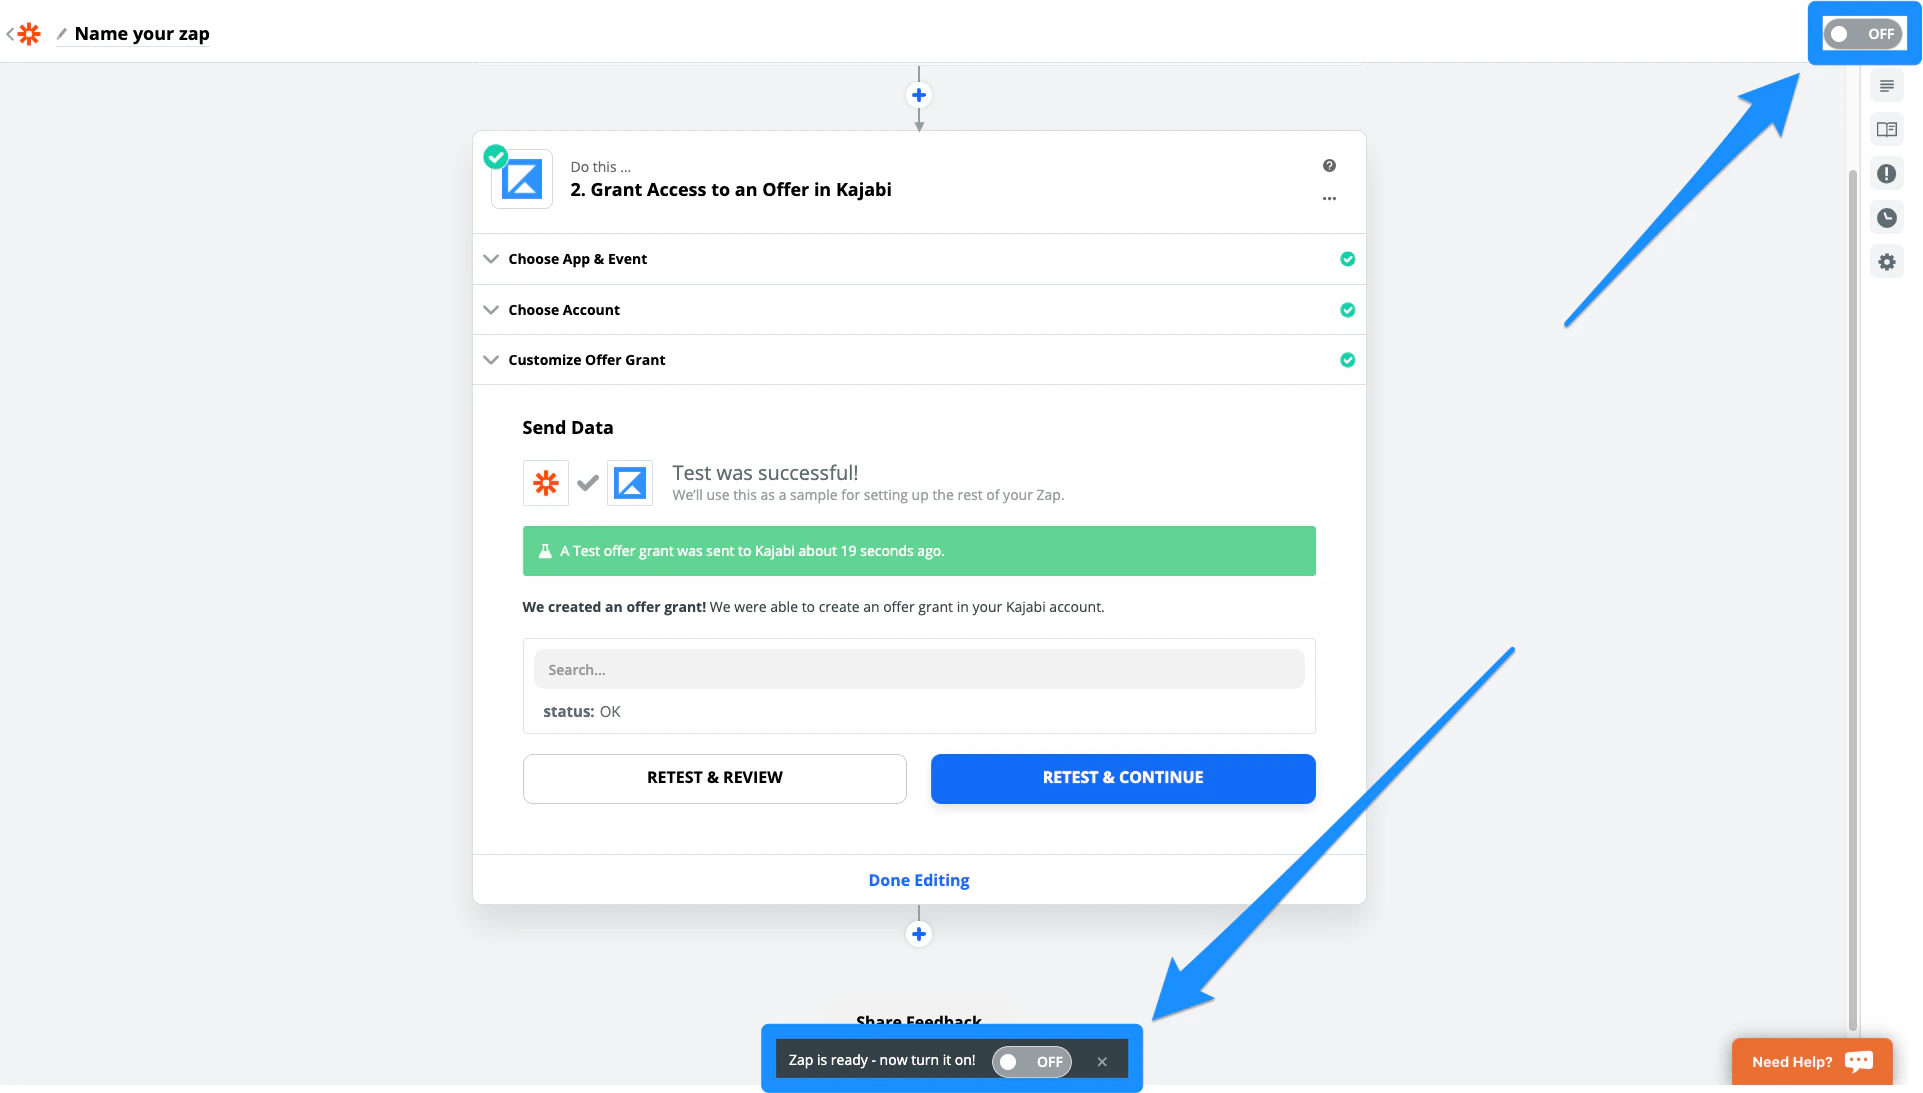
- Select Grant Access to an Offer to grant a new or existing customer access to an Offer and its Products. Your customer will only receive the Granted Offer Email if they are subscribed to receive Granted Offer Emails.
- Select Revoke Access to an Offer to revoke access to an Offer for the specified customer.
- Select Create Form Submission to have your information automatically populate your Kajabi Opt-in Form.
Note: It isn’t possible to deactivate/reactivate an Offer through Zapier.
Connect Zapier to the Kajabi account
Once you’ve selected your action, you’ll need to connect to your Kajabi account. If you’re connecting for the first time, you’ll be asked for your account API Key and API Secret located in your Account Settings.- From your Account Settings, select Account Details.
- Copy the API Key and API Secret.
- Then, paste each into the appropriate Zapier field and click Yes, continue at the bottom.
- Select your Site and Offer and match the required parameters for Customer Name, Email and External User ID with merge fields from your data source.
Note: Kajabi has several different parameters that are sent out when using Zapier integrations:
name email offer external_user_id ip_addressTurn on the Zap
- Proceed with testing to make sure things are working.
- Then, turn on your Zap: