Note: Your plan usage is shared among all sites in your account.
Sites cannot be moved to different Kajabi accounts.
Multiple sites within one account are not meant to be created for other people or businesses you do not own.
Sites cannot be moved to different Kajabi accounts.
Multiple sites within one account are not meant to be created for other people or businesses you do not own.
Add a site
- From the Dashboard, click the site name in the top-left.
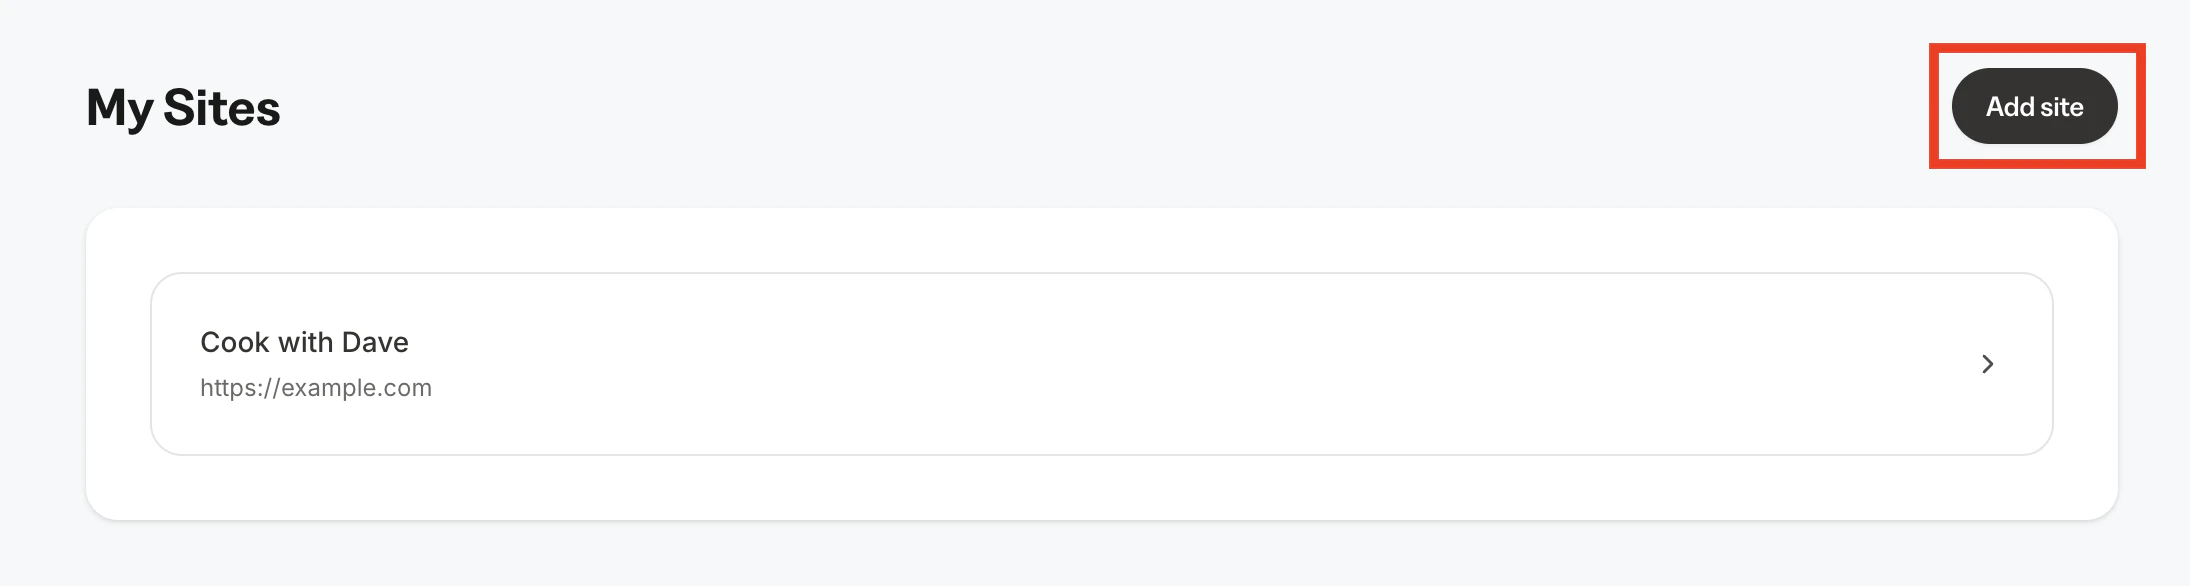
- Select Manage sites.

- Click Add site.
- Enter site details, including:
- Title (Site name)
- Support email
- Support phone number
- Language - English is default
- Text direction - Left-to-right is default
- Click Save to add the site.
Edit site details
There are several sections of site details you may edit: General, Homepage, Instructor, Page scripts, SEO and social sharing, and Kajabi branding.General details
- From the Dashboard, go to Settings.
- Under Site settings, click Site details.
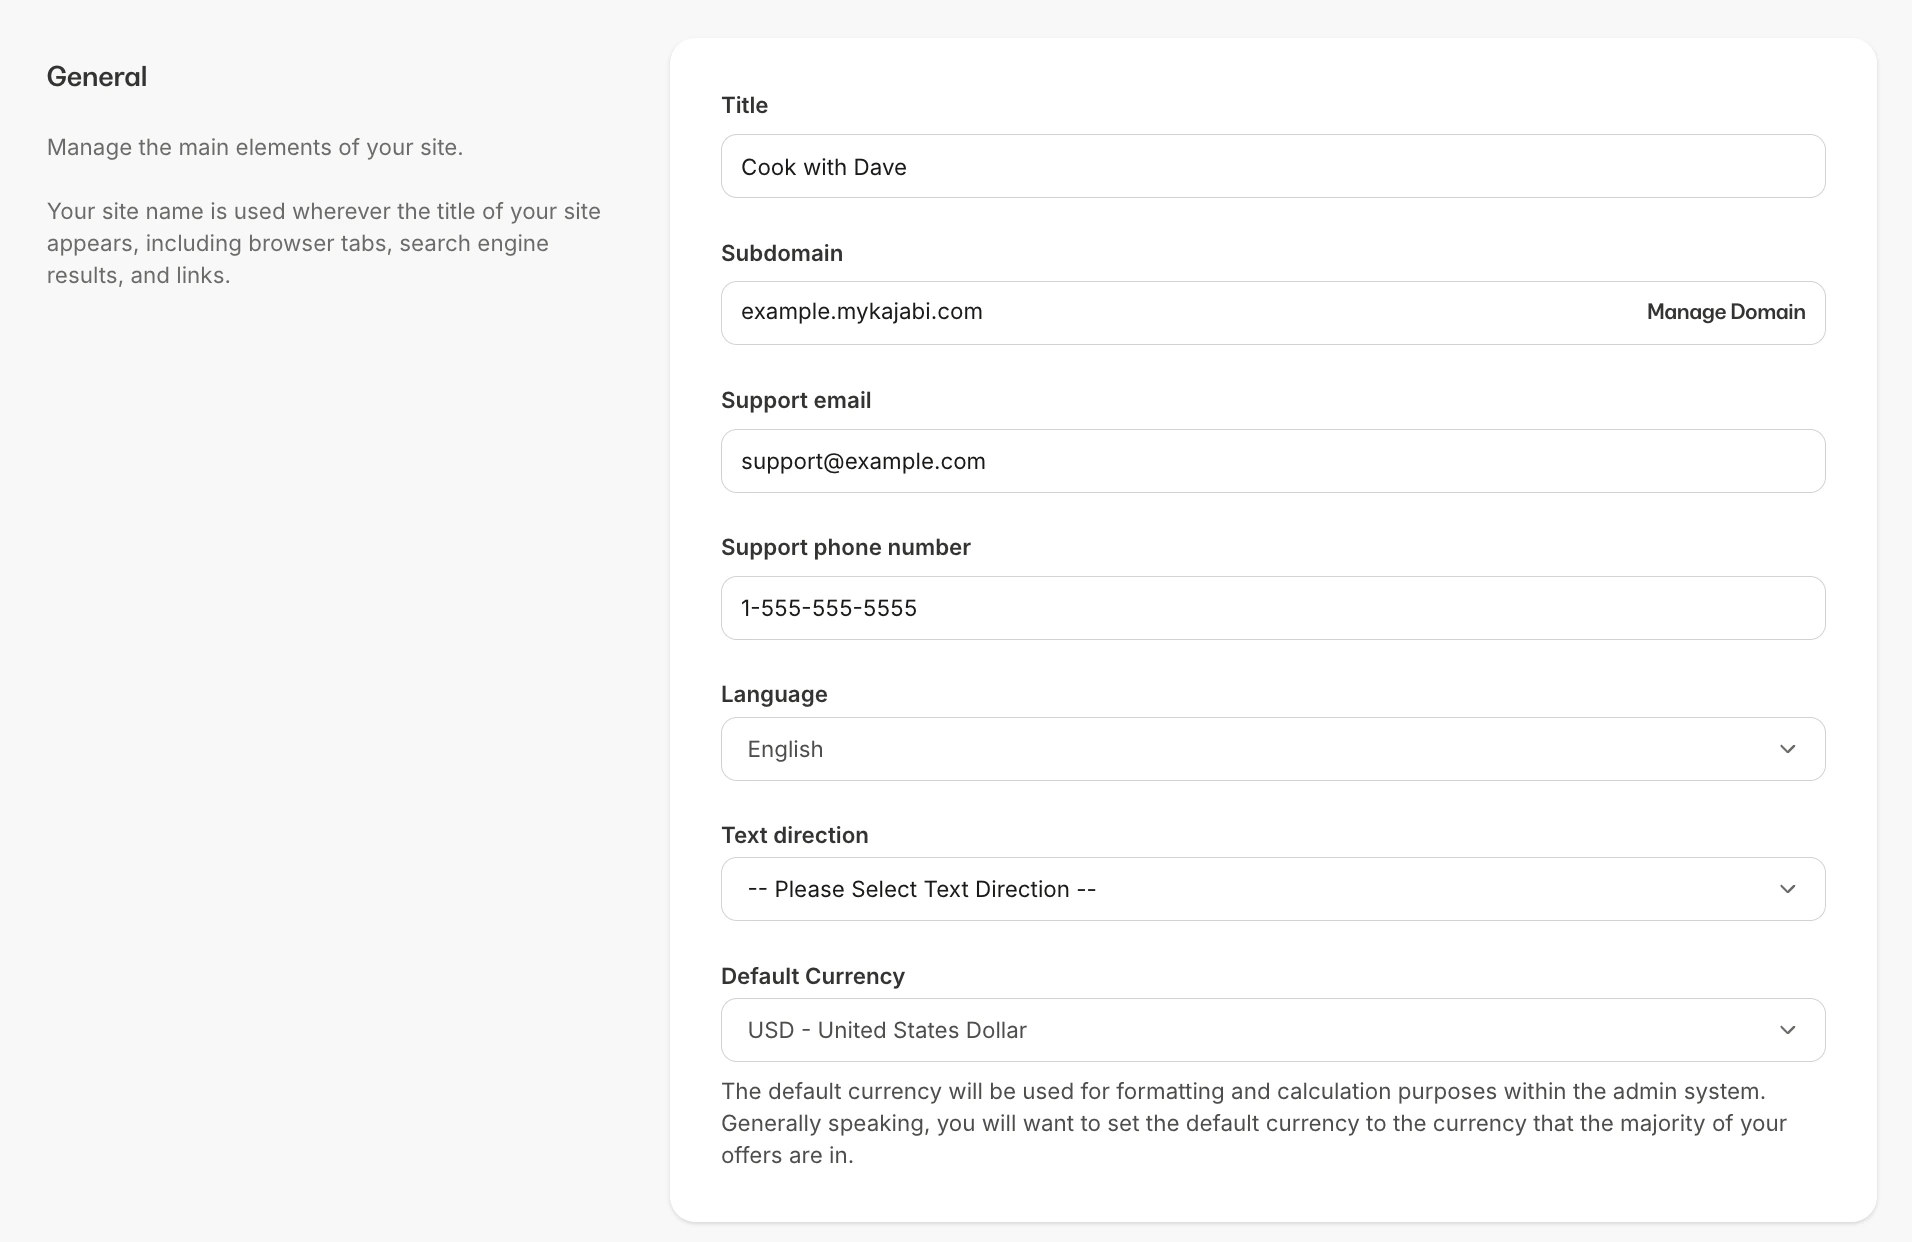
- Under General, you can edit any initially entered details as needed, as well as the site Subdomain, and the Default Currency.
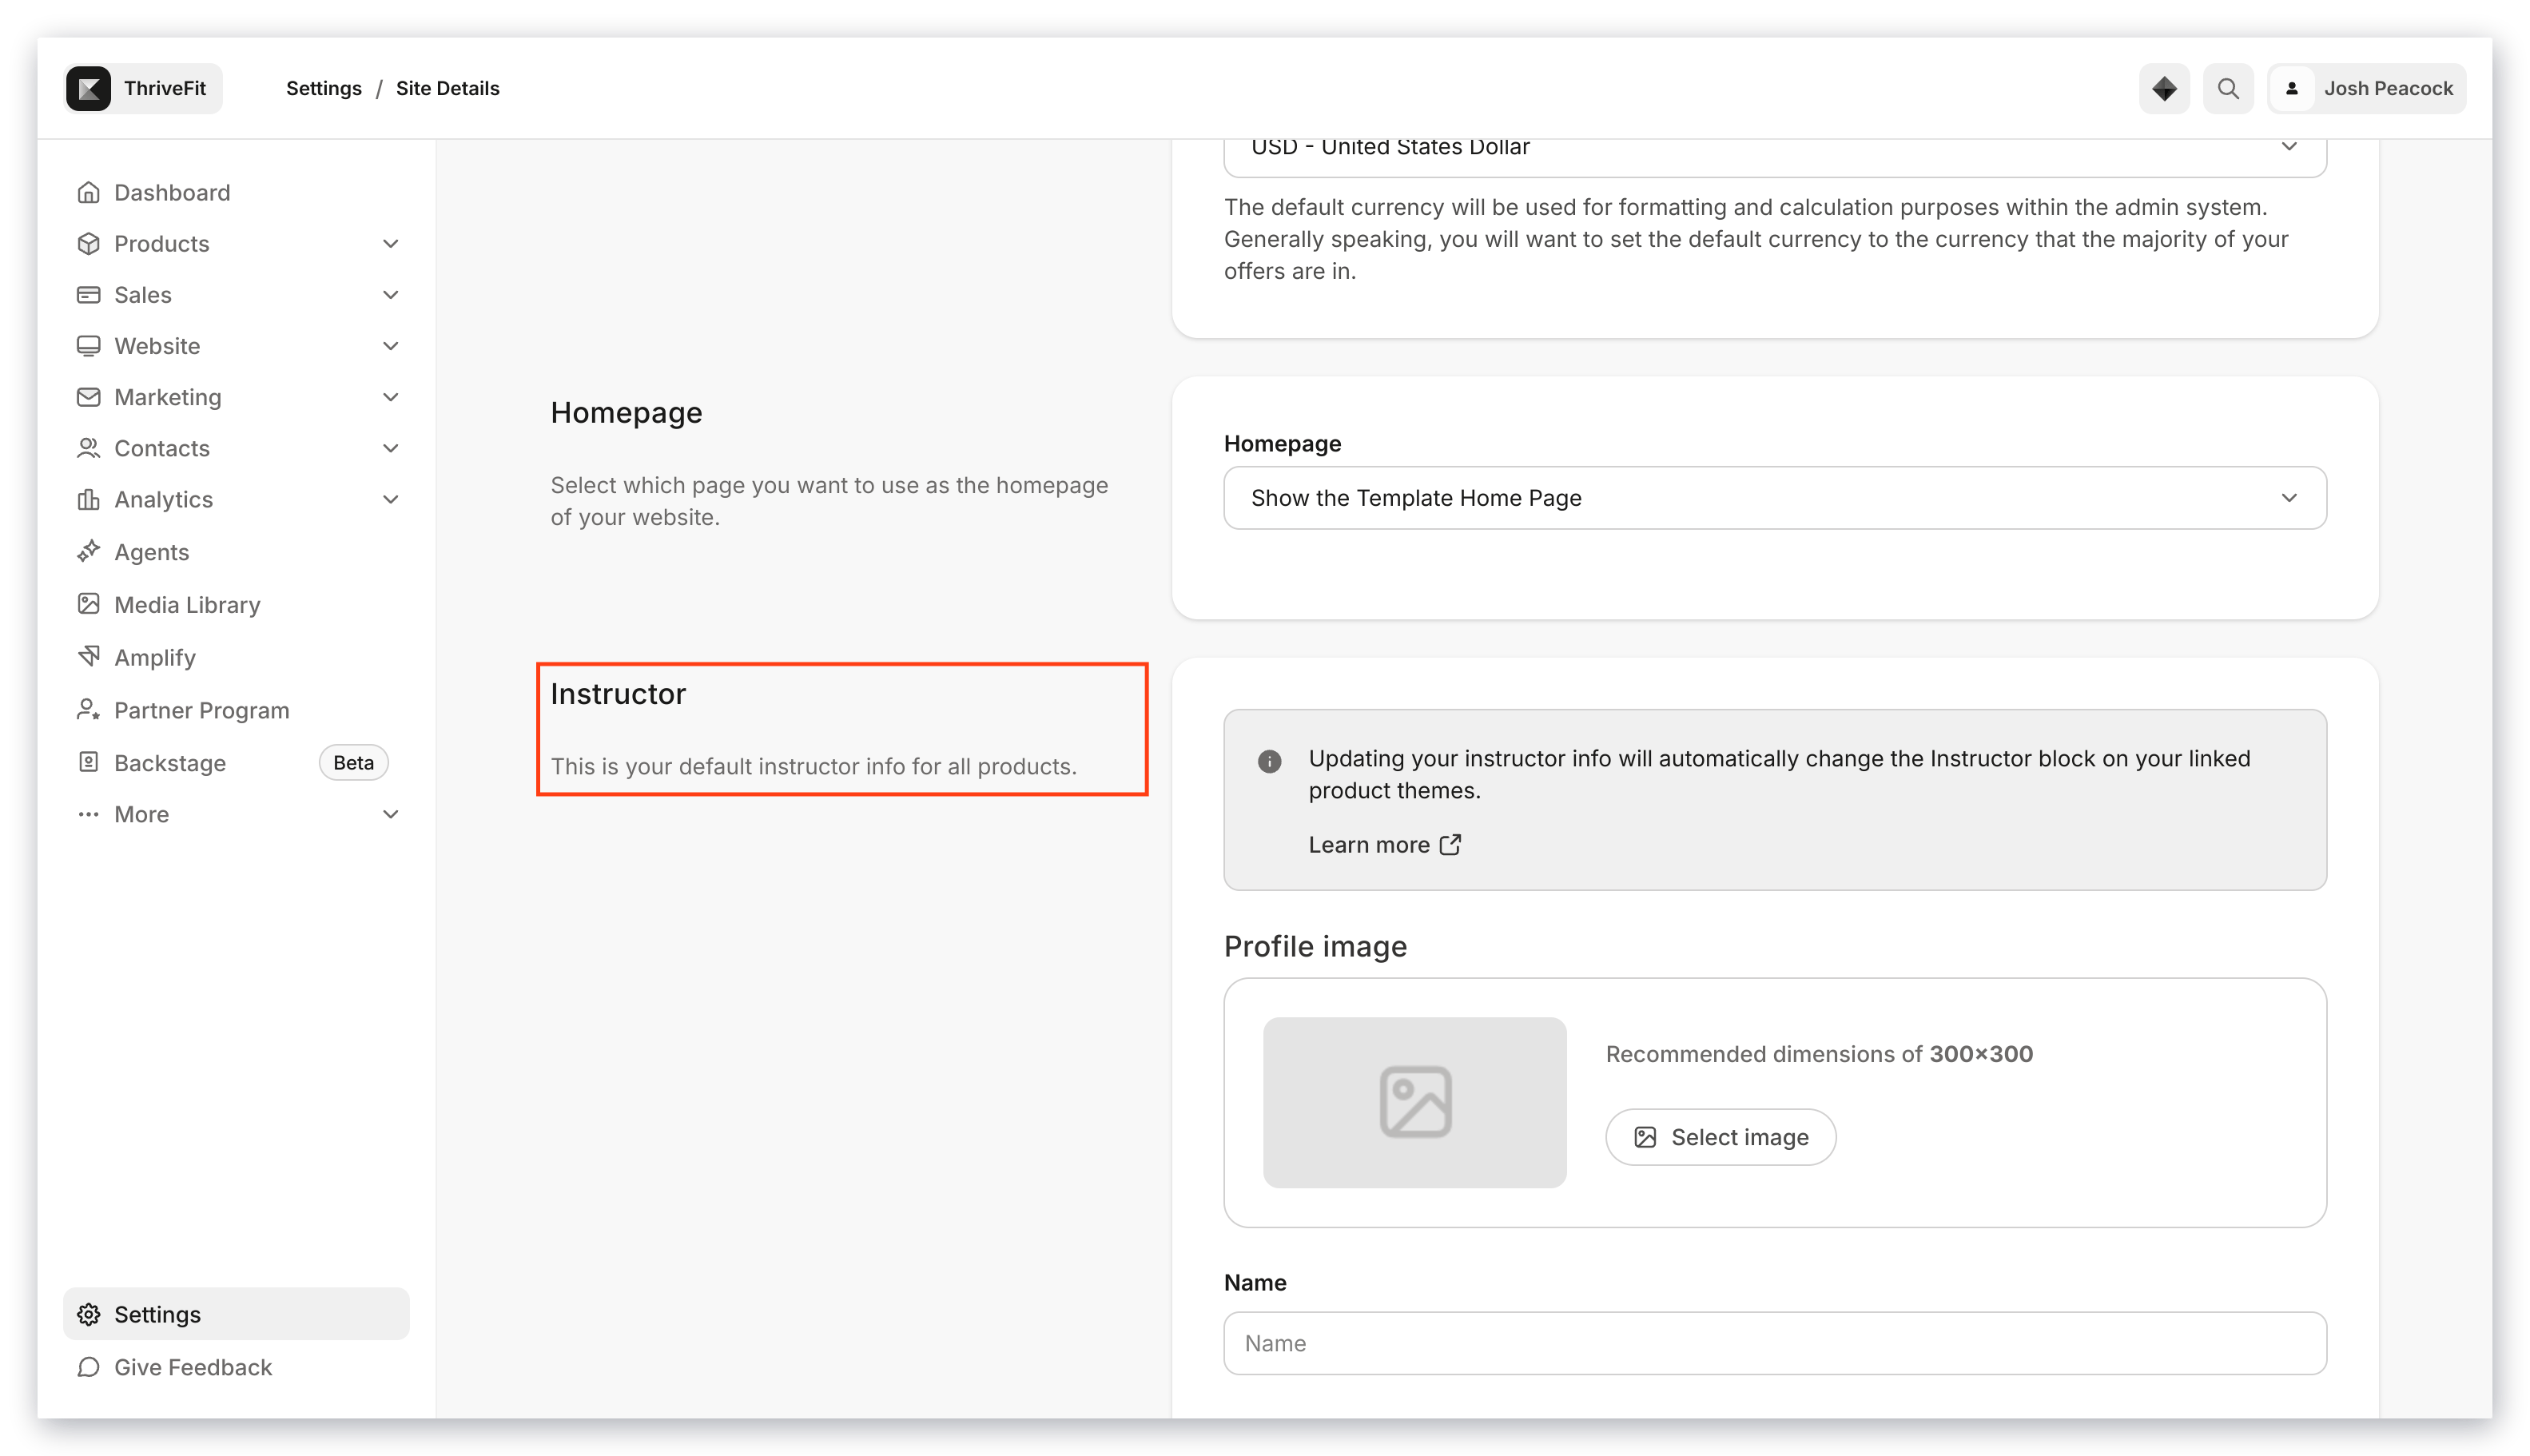
Homepage
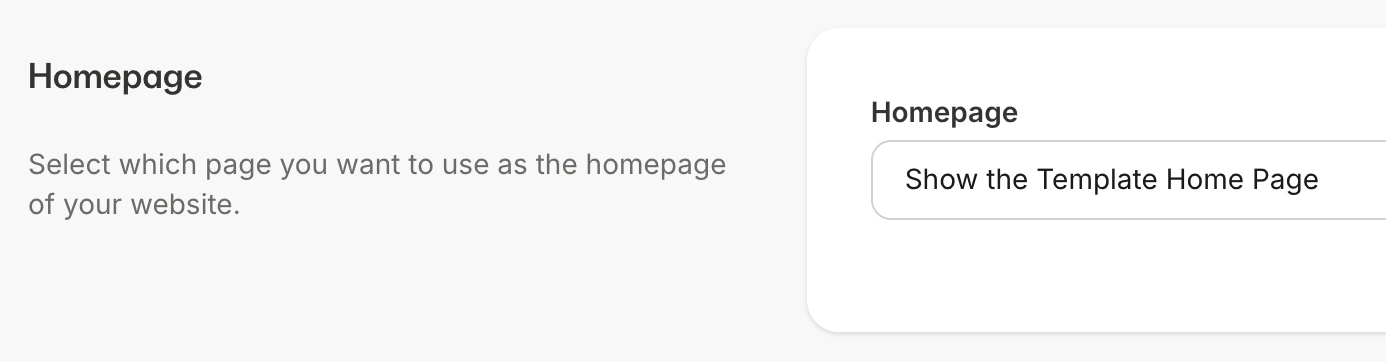
- Under Homepage, select one of the following options:
- Show the Store
- Show the Library - Users are prompted to sign in
- Show a Newsletter - Choose from any of your created Newsletters
- Show a Landing Page - Choose from pages listed under Website > Landing Pages
- Show the Template Home Page - Shows the Home page in Website > Website Pages
Instructor
Add information for the default instructor for all of your products.- Enter the instructor’s Name, Title, and a short Bio.
Note: This information will only be displayed for courses with Premier, Prosper, or Creative installed if linked to your Instructor Bio Site settings.
- You can customize the Instructor block on Course templates.
Learn how to add or update instructor information.
Page scripts
Code you enter in the Header Page Scripts field is placed in the<head> section of every page on your site. This includes products, lessons, and pages. For example, you can add a cookie disclaimer banner.
Note: Adding code in Header Page Scripts will not affect Checkout pages.
Learn how to add custom tracking code to your checkout pages.
Learn how to add custom tracking code to your checkout pages.
SEO and social sharing
The SEO and social sharing section applies to the following system pages under Website > Website Pages:- 404
- Announcements
- Blog
- Blog Post
- Blog Search
- Home
- Library
- Login
- Member Directory
- Store
- Thank You
Kajabi branding
By default, your website will show a link to the Kajabi website (https://kajabi.com) and the message “Powered by Kajabi” in your site’s footer. Depending on your plan, you may toggle this off.
Switch to another site
To switch the site you are working on to another on your account:- From the Dashboard, click the site name in the top-left.
- Then, select the site you wish to switch to.

Delete a site
- From the Dashboard, go to Settings.
- Under Site settings, click Site details.
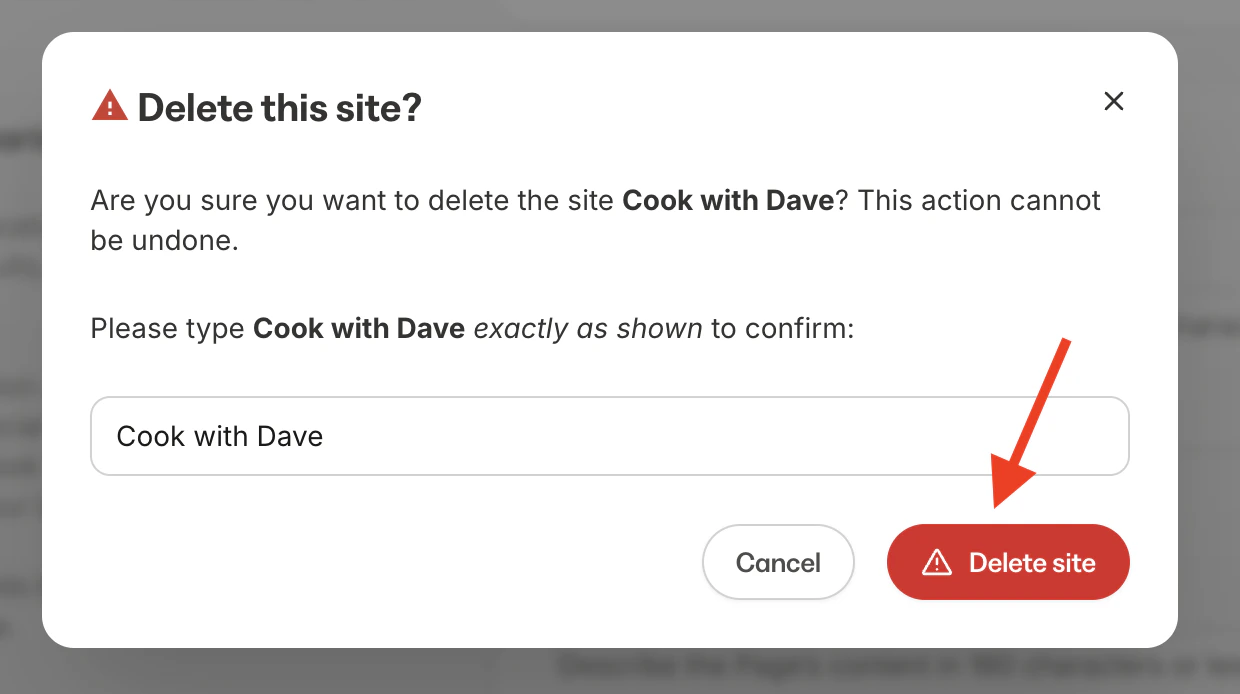
- Scroll down to the bottom of the page, and click Delete Site.
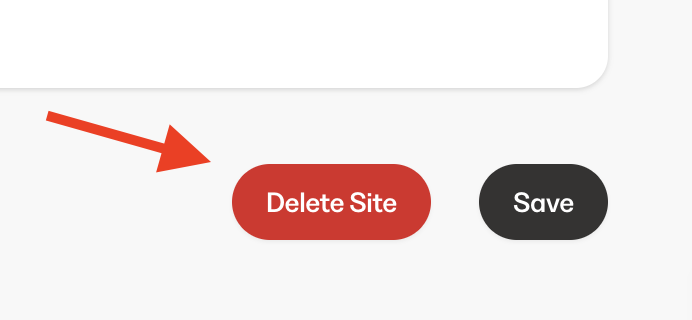
- Type in your site name and click Delete site.