

Note: This guide refers to the latest page editor available with the Website Builder and Kajabi Pages. If you are using the Premier Legacy Templates, please refer to the guide here.
Adding an image block
Use images to help set a tone for your site, show your personality, and display what your business has to offer.To add an image block to your page:
- Open the Website tab from your Dashboard.
- Select either Website Pages or Landing Pages.
- Open the page editor for your Page. Learn more
- Click the Section you want to edit or create a new Section.
- In the sidebar, click Add Content.
- From the list, select Image.
- Your newly created Image Block will generate at the bottom of the Section.
- Upload a New File or a Recent File to display your image in the Block.
- Click Save to keep your changes:
Customizing your image block
With Kajabi, customize the look and feel of the image uploaded as it displays on your page with the various customization features. Learn to customize your images with Adobe Express. In an Image Block, you can:- Customize the Width of the Block
- Select the image displayed
- Configure an Image Action
- Adjust the Image Width
- Add an Image Caption
- Include an Image Alt Attribute
- Create a Gallery for your Images in the Section
- Customize the look and feel of the Block with your Image Block Settings
Select image
Select the image displayed in the Image Block by:- Uploading a New File
- Selecting a Recent File
Image action
Select an Image Action to trigger an action after the image is clicked (leave this blank if you wish to disable the Image Action). The Image Action can be used to:- Lead a visitor to a custom Landing Page
- Lead to a sale by going to a Checkout Page
- Encourage your audience to download a file
- Lead to any website page with a URL link
- Open a Two-Step Optin Popup
- Act as an anchor link to lead to a section of the page
Note: Checking Add to Section Gallery will disable your Image Action settings to only enable your Section Gallery when clicked. This means your images will expand to full size when clicked for an enhanced “Gallery” viewing for your site visitors.
Image width
The Image Block can be customized to:- Change the width of the Block
- Change the width of the image within the Block
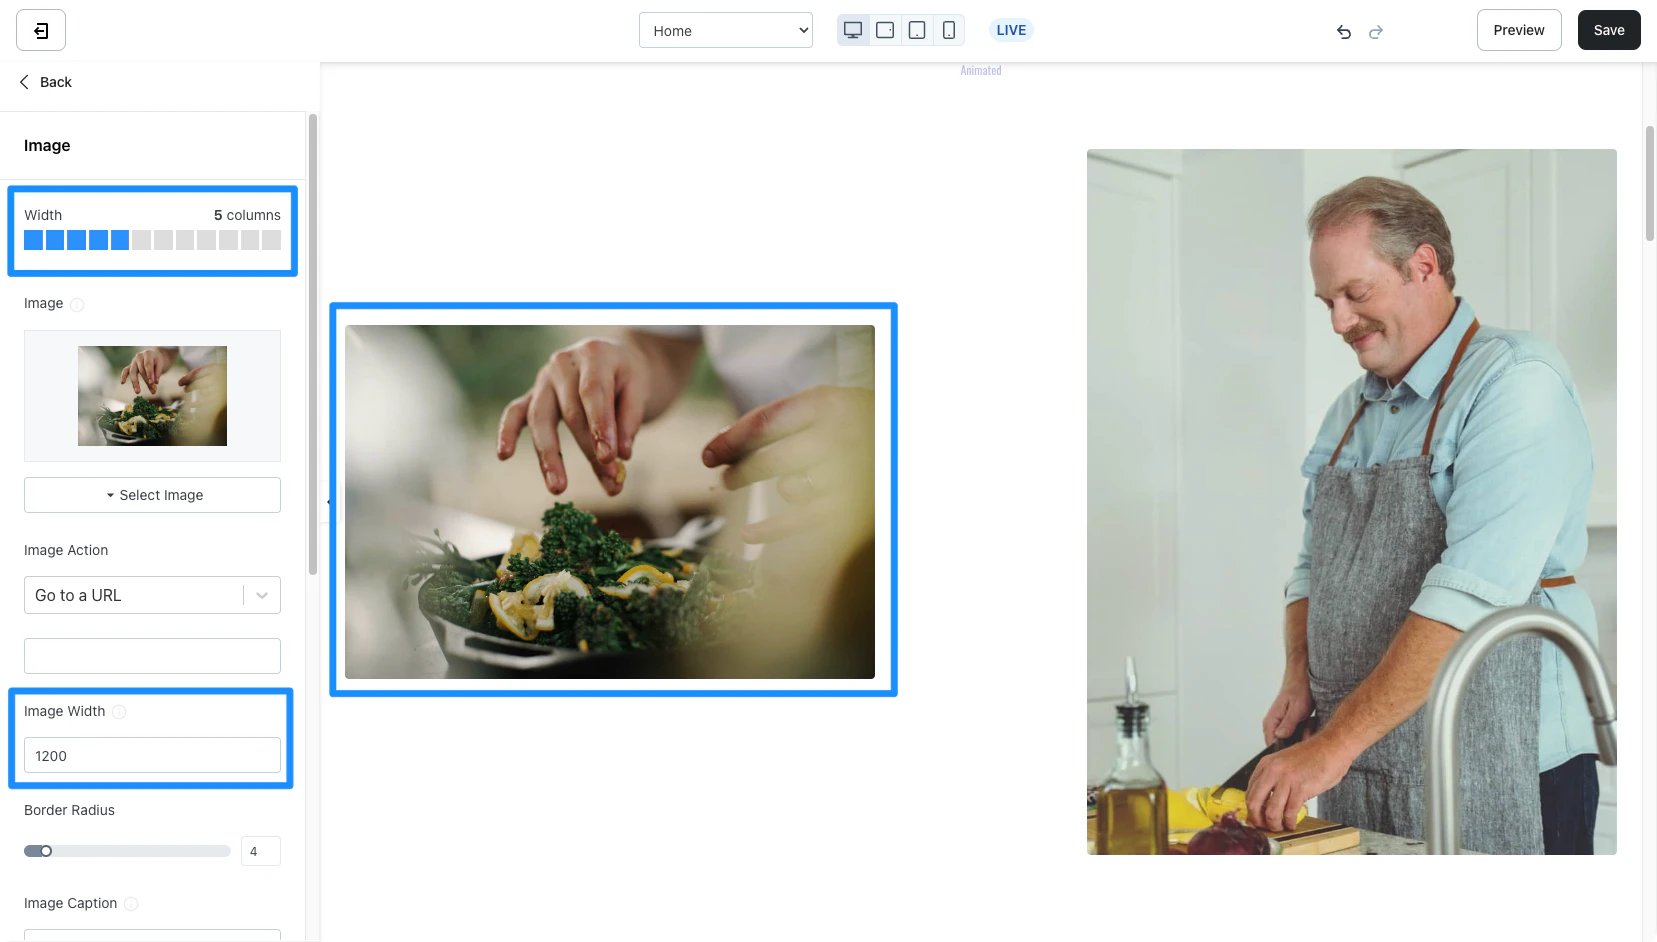
Image caption
The Image Caption displays below your image when the image is clicked and expands to full size for your visitors to view the image in your Section Gallery. Your Section Gallery can be toggled on by checking Add to Section Gallery toward the bottom of the editor.Image alt attribute
Add an image alt attribute for SEO or if the image cannot be displayed.Open in new tab
Toggle on Open in New Tab to open a separate tab when your image is clicked that leads to your specified destination as configured in the Image Action settings.Add to section gallery
Add the image to the Section Gallery for enhanced “Gallery” viewing for your site visitors. This means your image will expand to full size when clicked and your visitors can easily click through the images in the Section:Block settings
To adjust the look and feel of the Block, configure your Block Settings by customizing the:Overlay block setting
What is an overlay? An overlay changes the appearance of your image to help communicate a message to your visitors. This can be done by displaying an overlay color or including text to appear on top of your image.- Show Overlay on Hover: Display an overlay color and/or text when your visitor hovers over the image.
- Always Show on Mobile: Always display the overlay when viewed on a mobile device.
- Overlay Background Color & Text Color: Customize the general appearance (color and text) of your overlay setting if you choose to have it enabled.
- Overlay Text: Display a custom message as the overlay for your image.