

What are DNS records?
What is DNS? DNS stands for the Domain Name System. Which is a fancy way of saying that the DNS is the handbook for the Internet. So, if the DNS is the handbook for the Internet, the DNS records are the listings for the businesses in that handbook. For example, a business listing within a handbook will provide information about the address, office hours, and services provided to help a person access that business. Similarly, DNS records communicate the essential information for a user to access your website. DNS records are crucial to ensuring that your website can be connected and accessible to the outside world. With Kajabi, connecting your custom domain allows you to manage and view your DNS records directly from your Kajabi account.Note: Removing, editing, or adding custom records requires working with domain settings. If you are unfamiliar with domain settings, we recommend consulting with a web professional before making changes to DNS records. If you require additional assistance, reach out to our support team.
View DNS records
Access DNS settings in Kajabi
Note: DNS Settings are only available if you have successfully connected a custom domain to Kajabi using the nameserver method. If you connected your domain using the CNAME/subdomain method, your DNS is still managed by your domain registrar and will not appear in Kajabi.
Learn how to connect a custom domain.
Learn how to connect a custom domain.
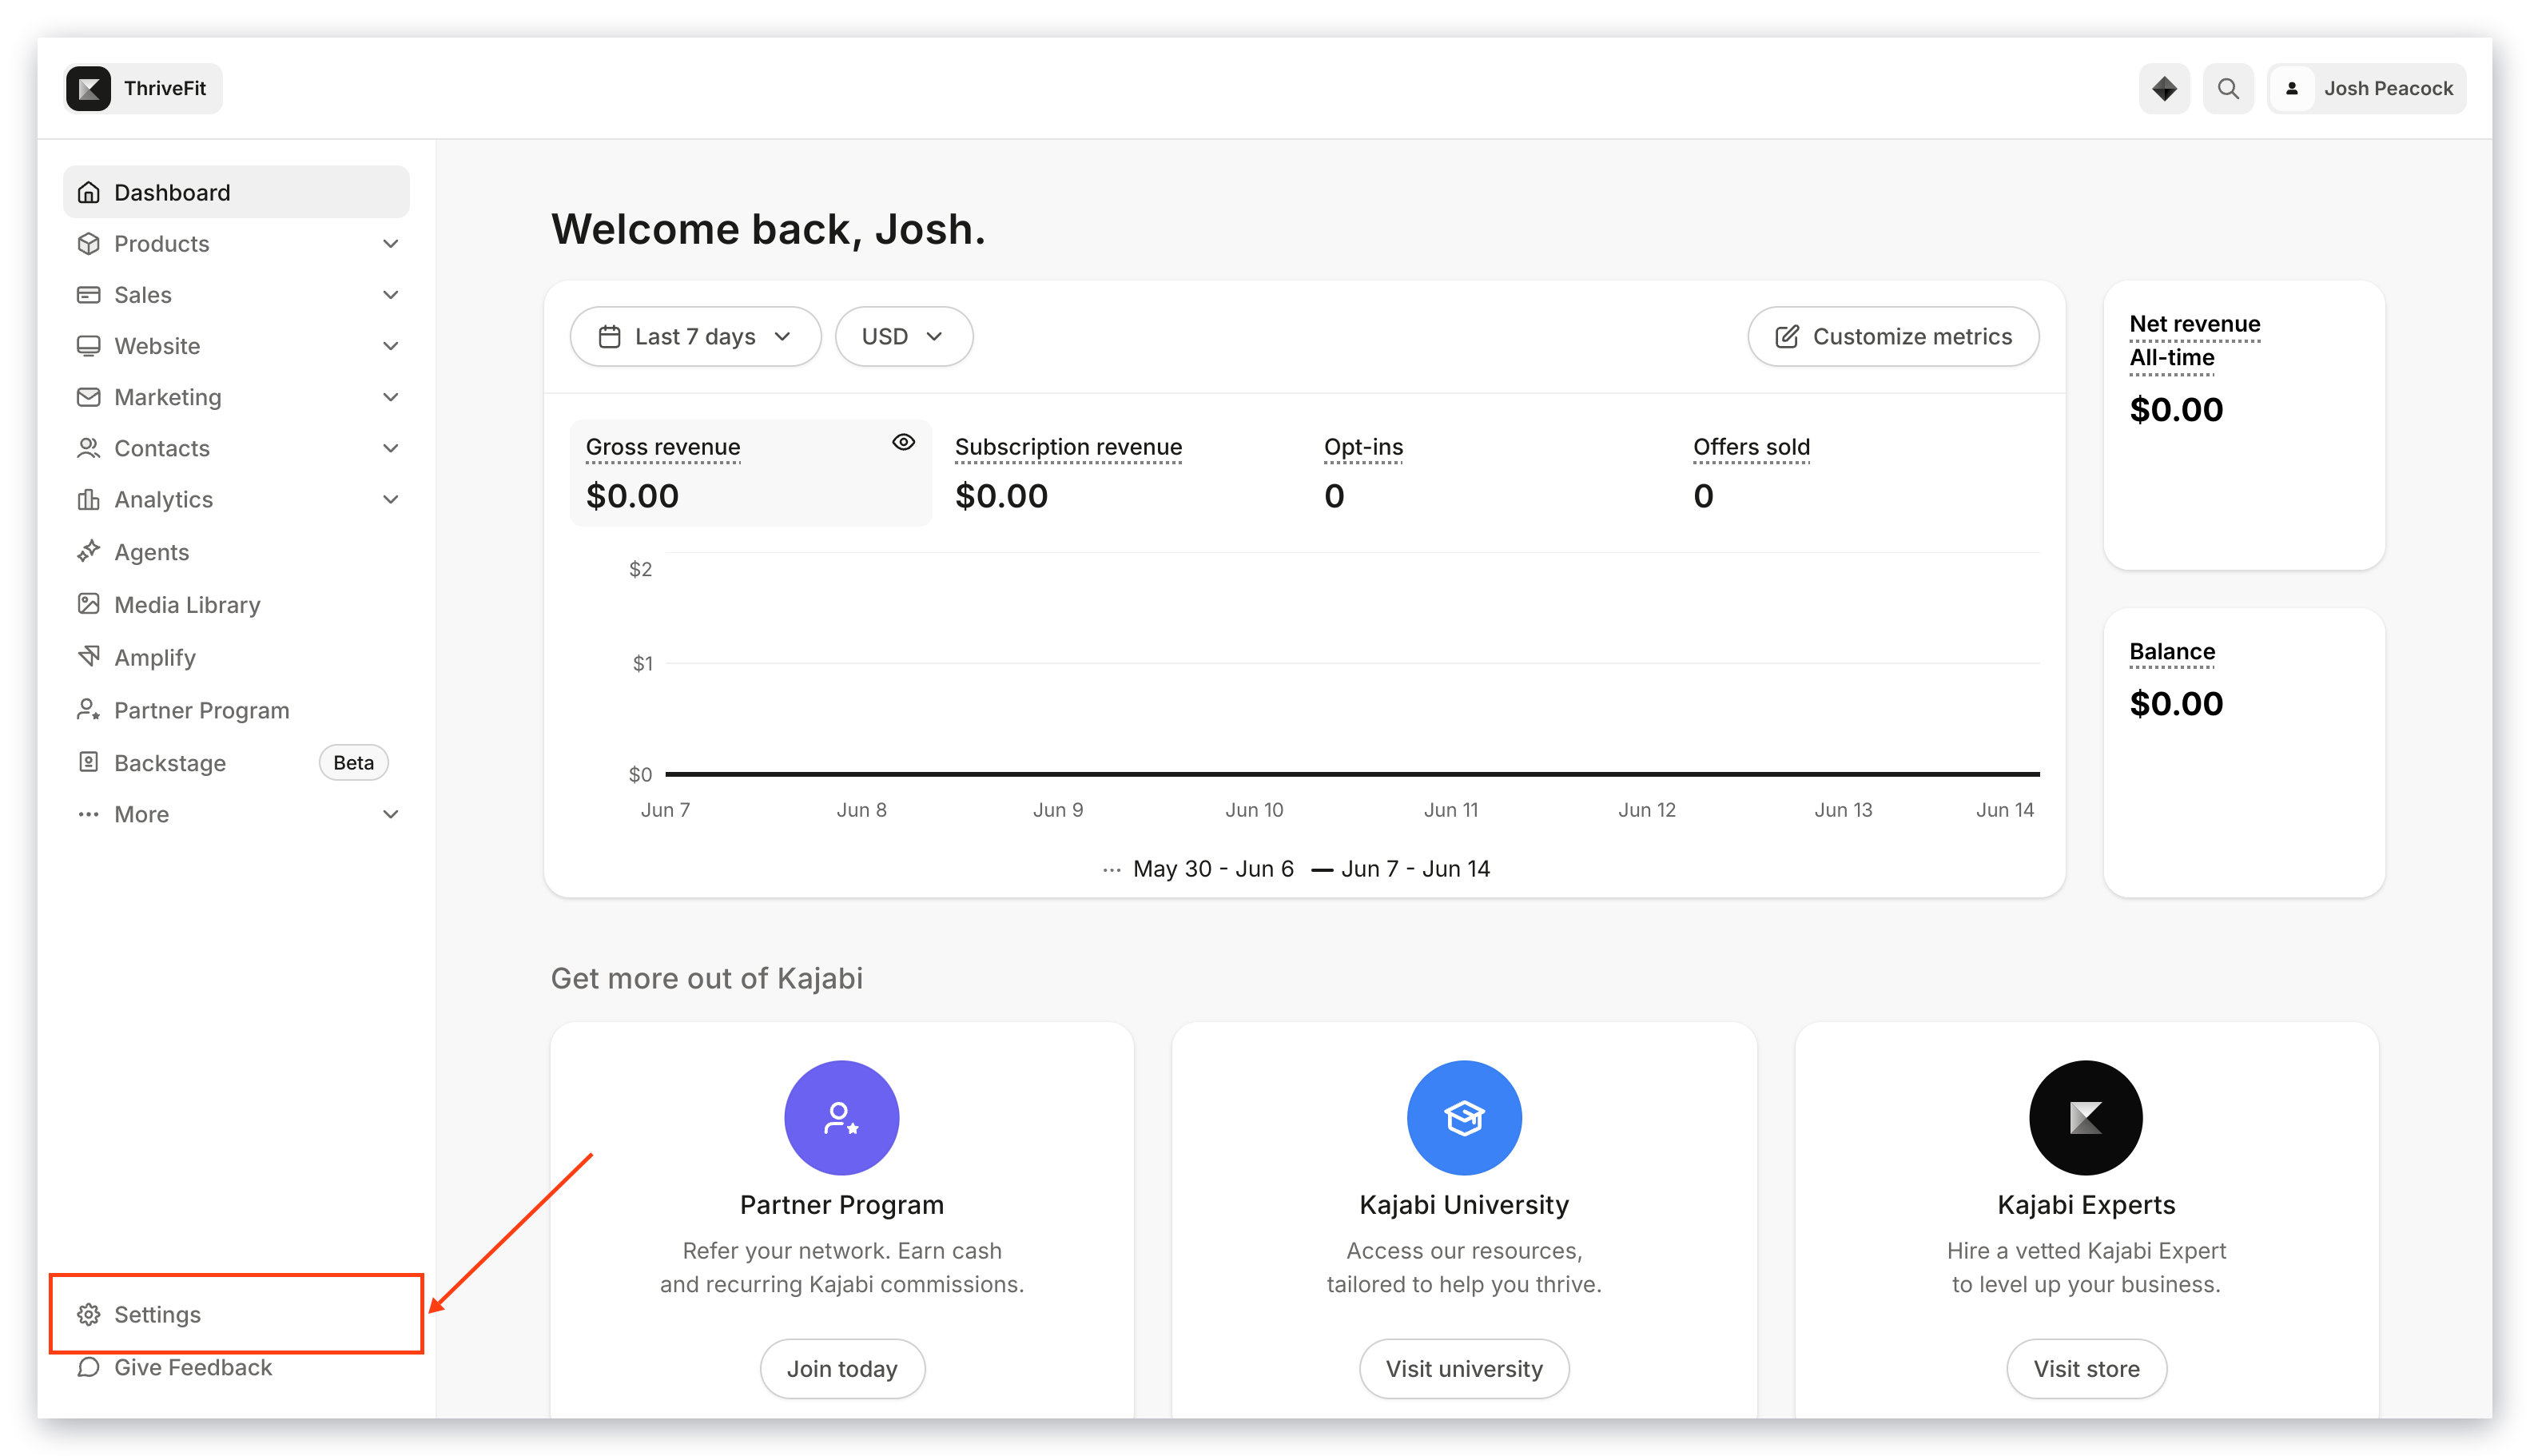
- Open the Settings tab from the Dashboard:
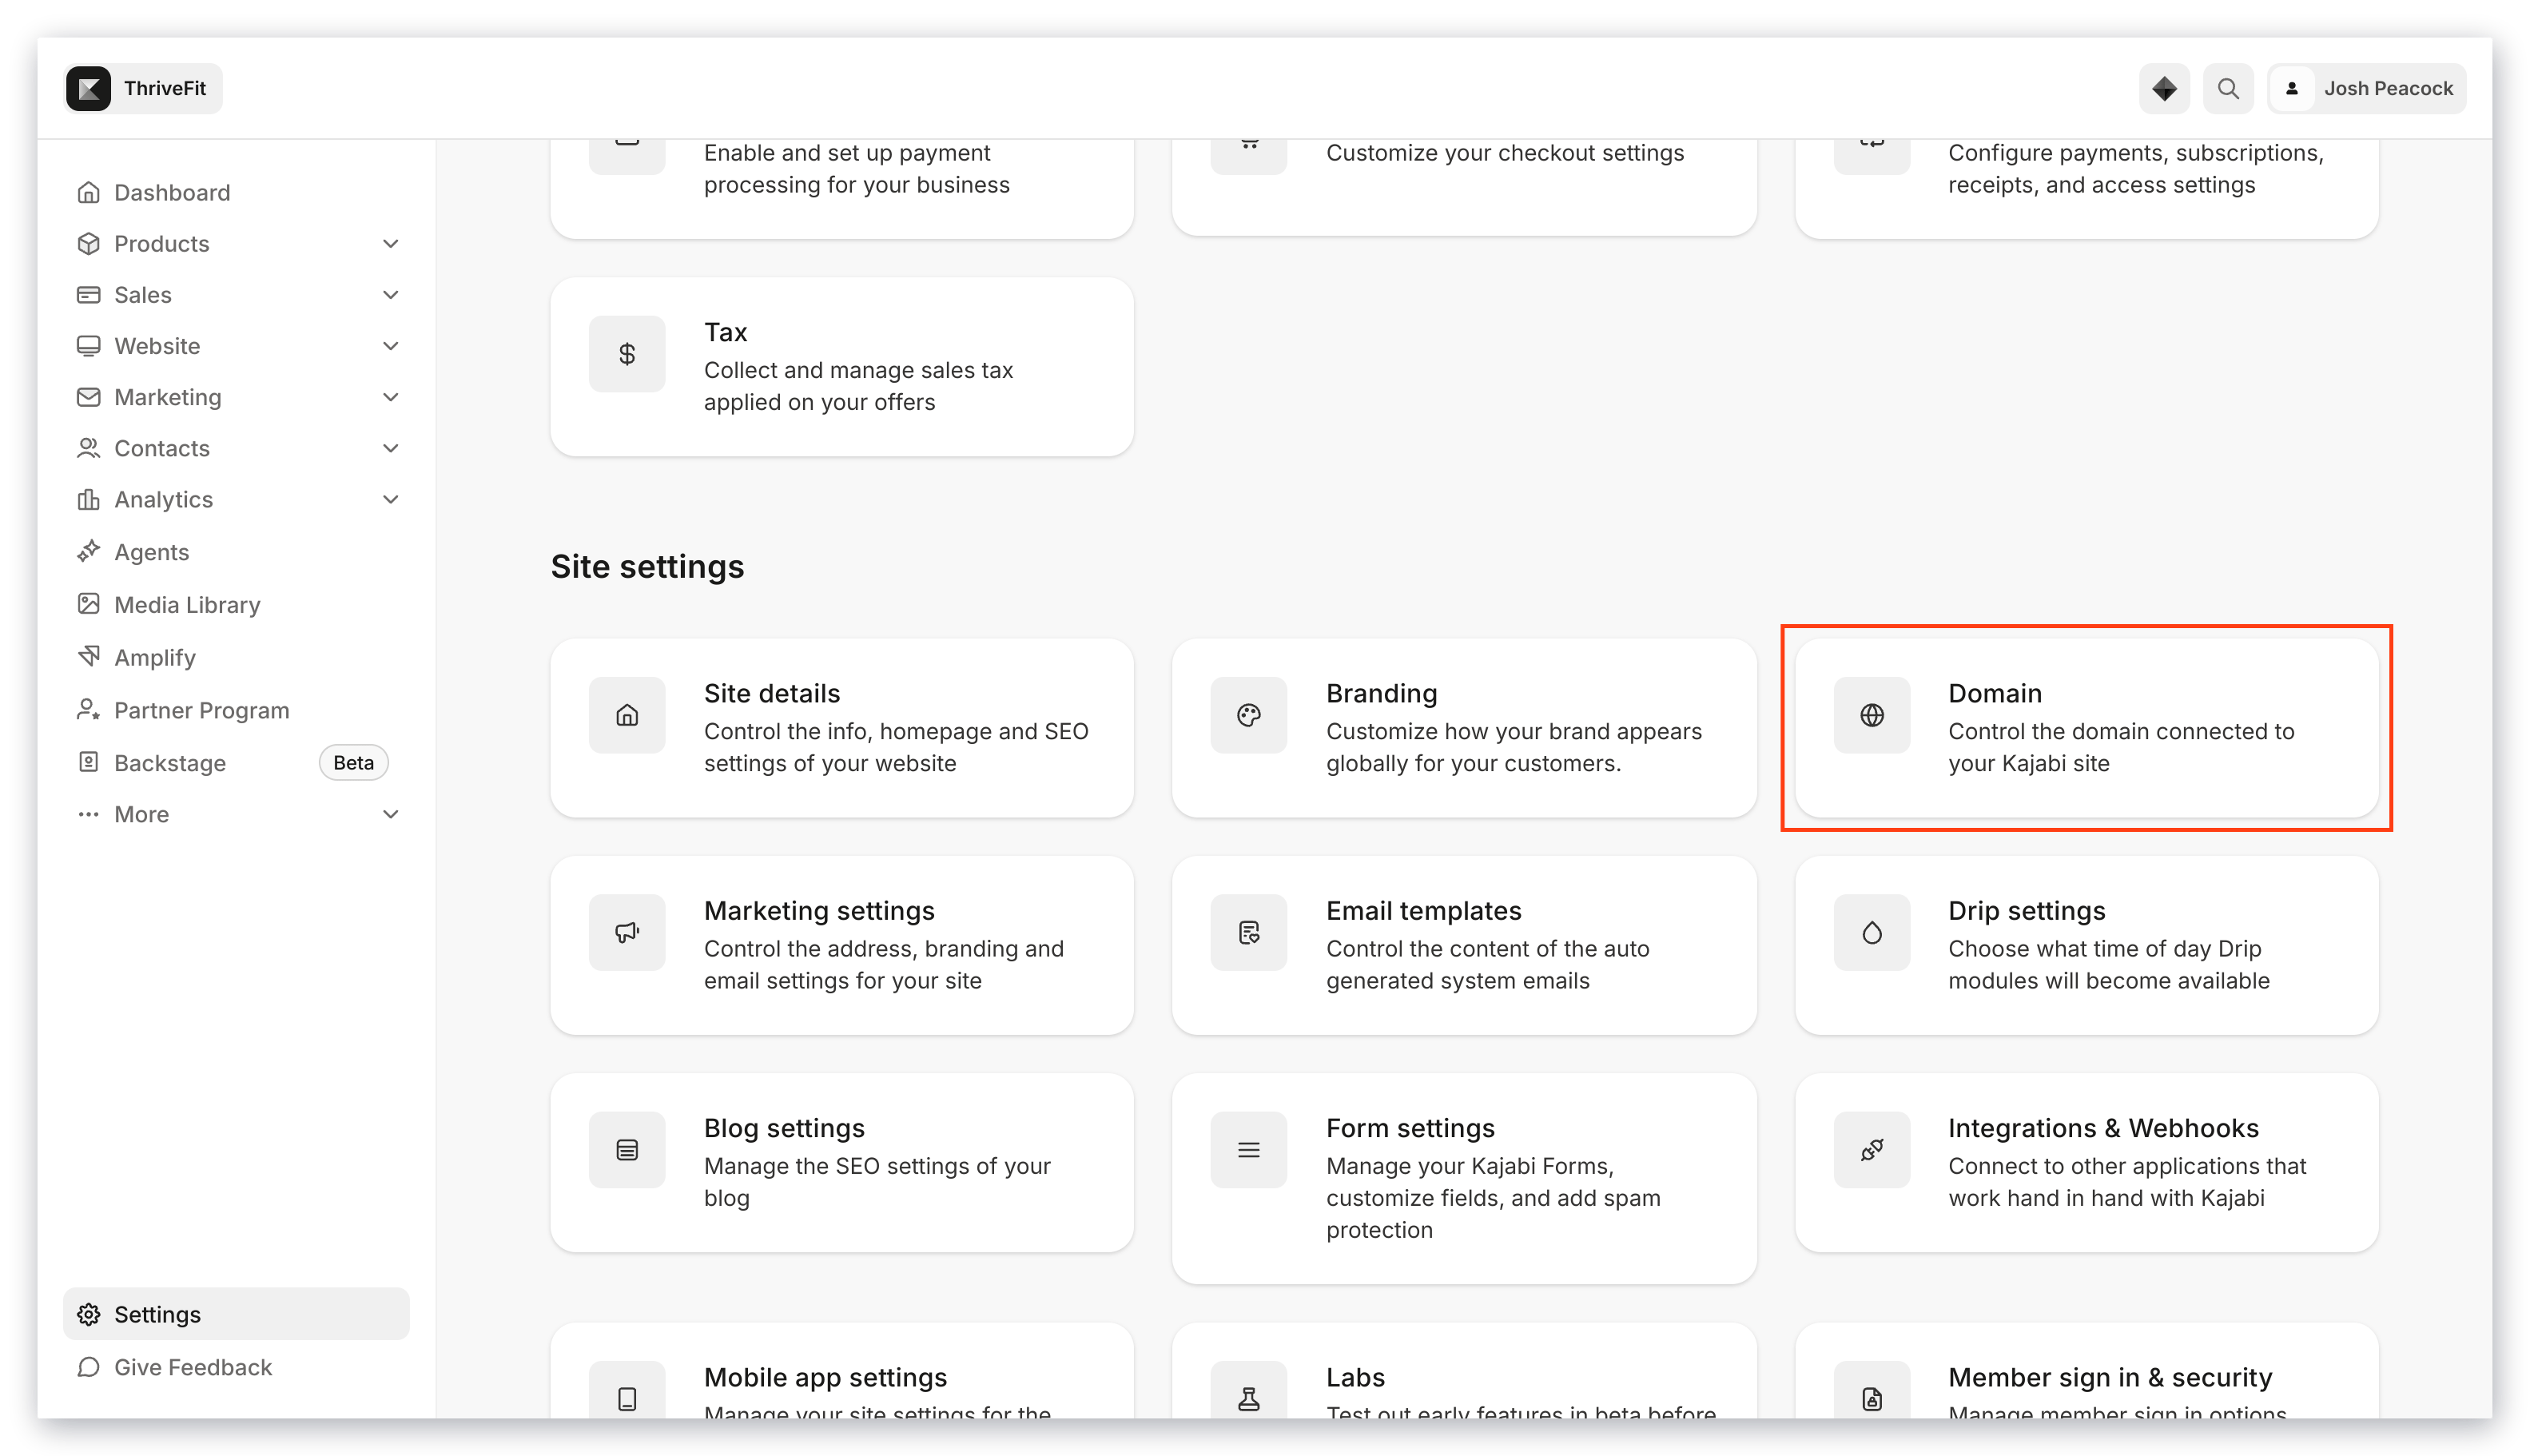
- Click Domain:
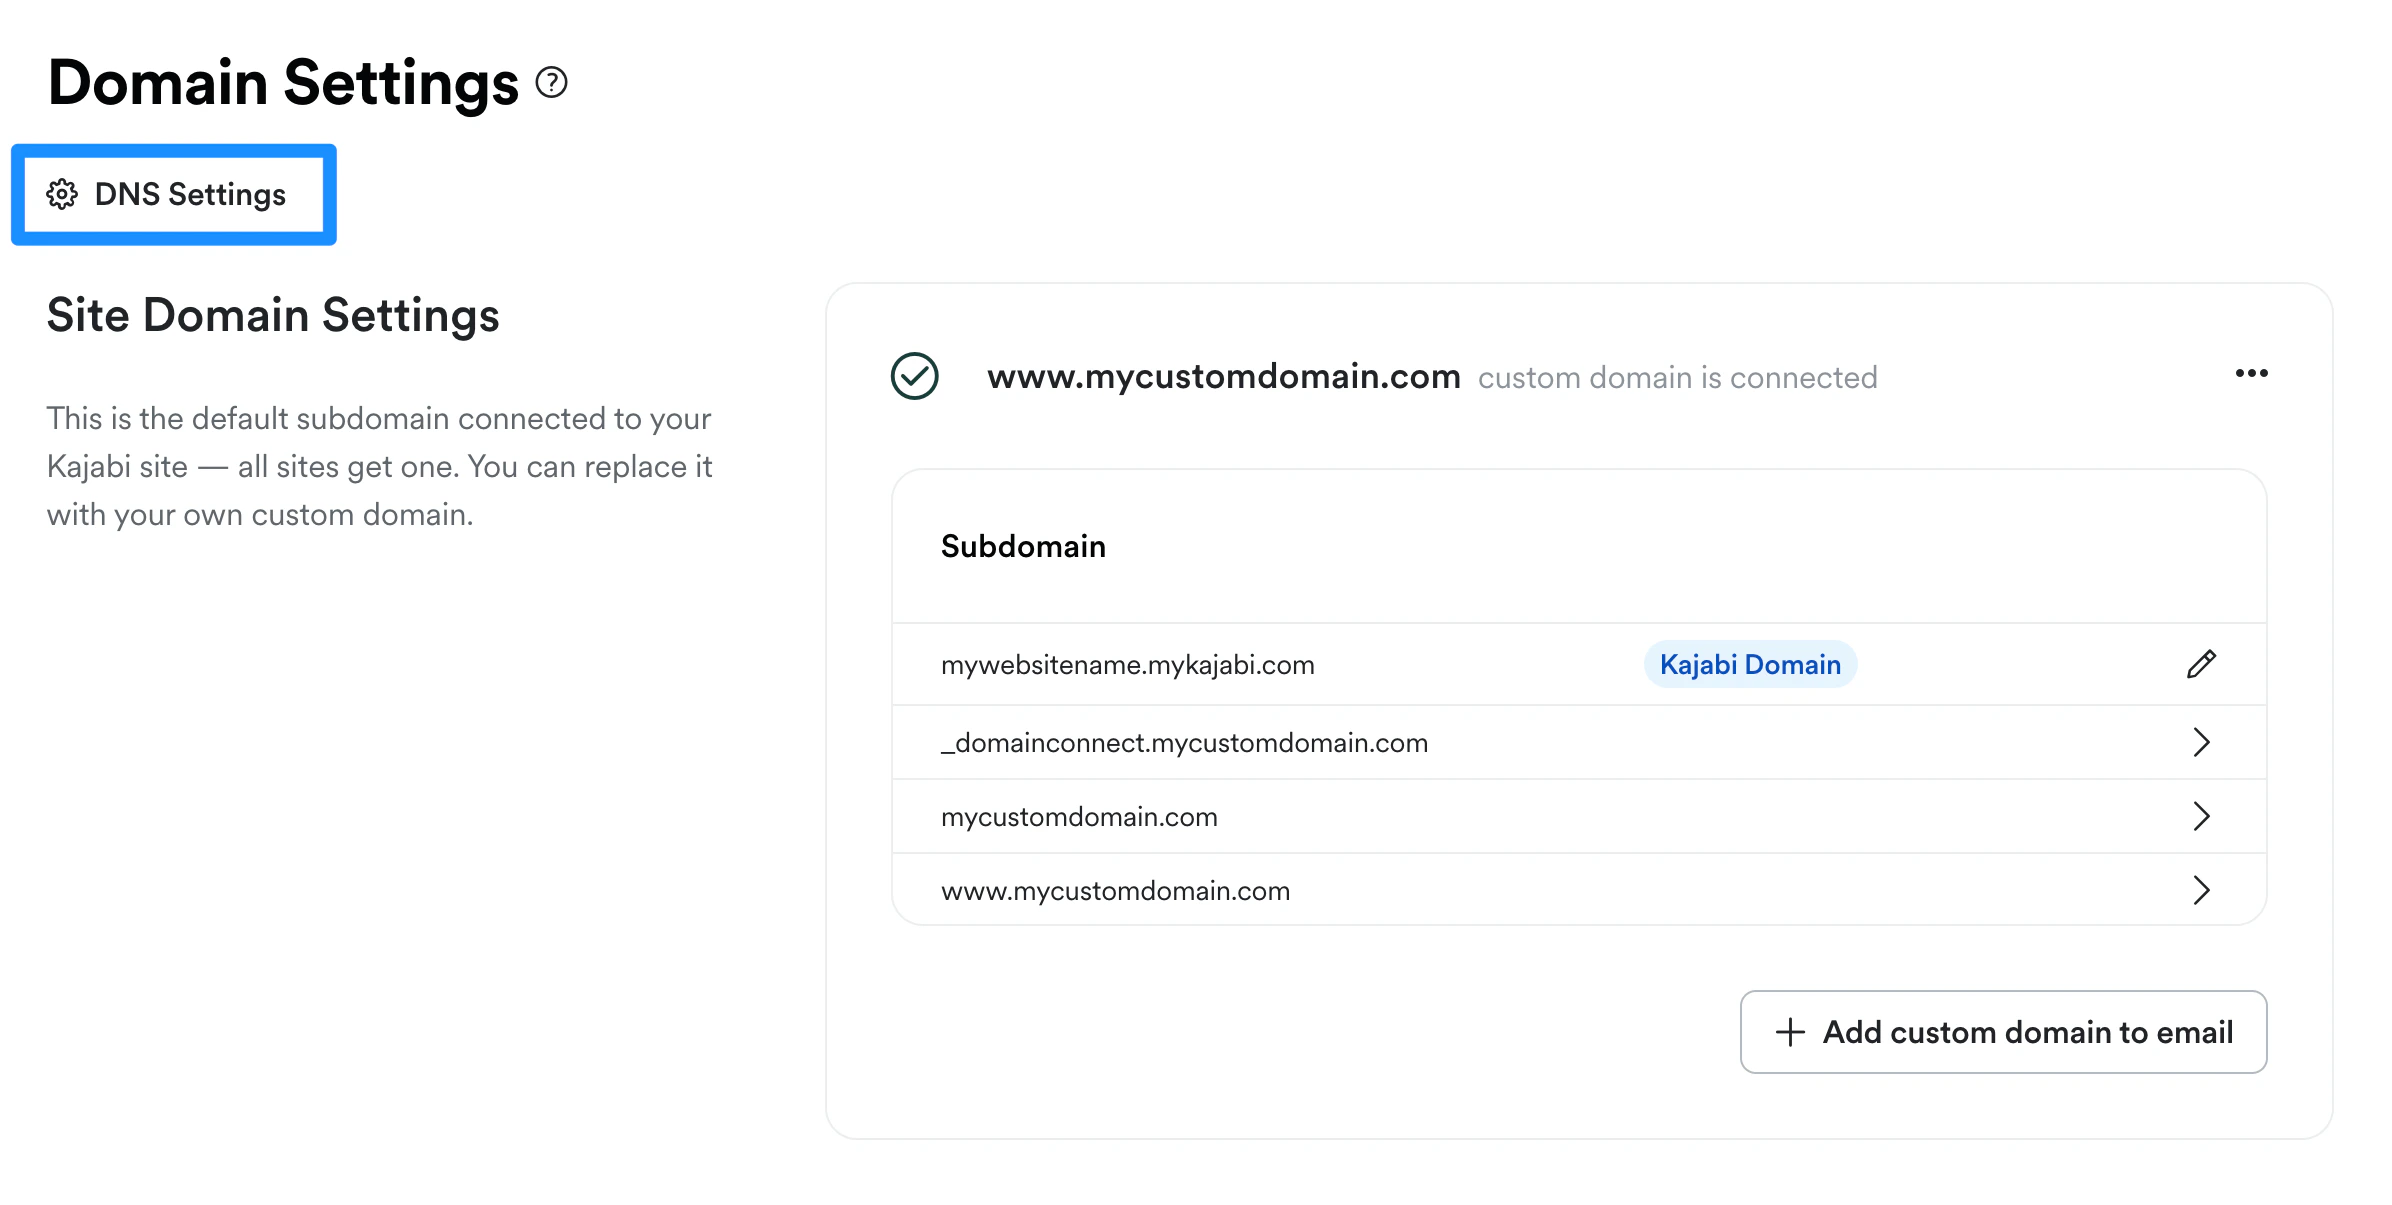
- Click DNS Settings:
Add custom records to DNS settings
- From the Dashboard, open the Settings tab.
- Under Site settings, click Domain, then DNS Settings.
- Click + Custom Record in the top right corner of the DNS Settings page and select a record type:
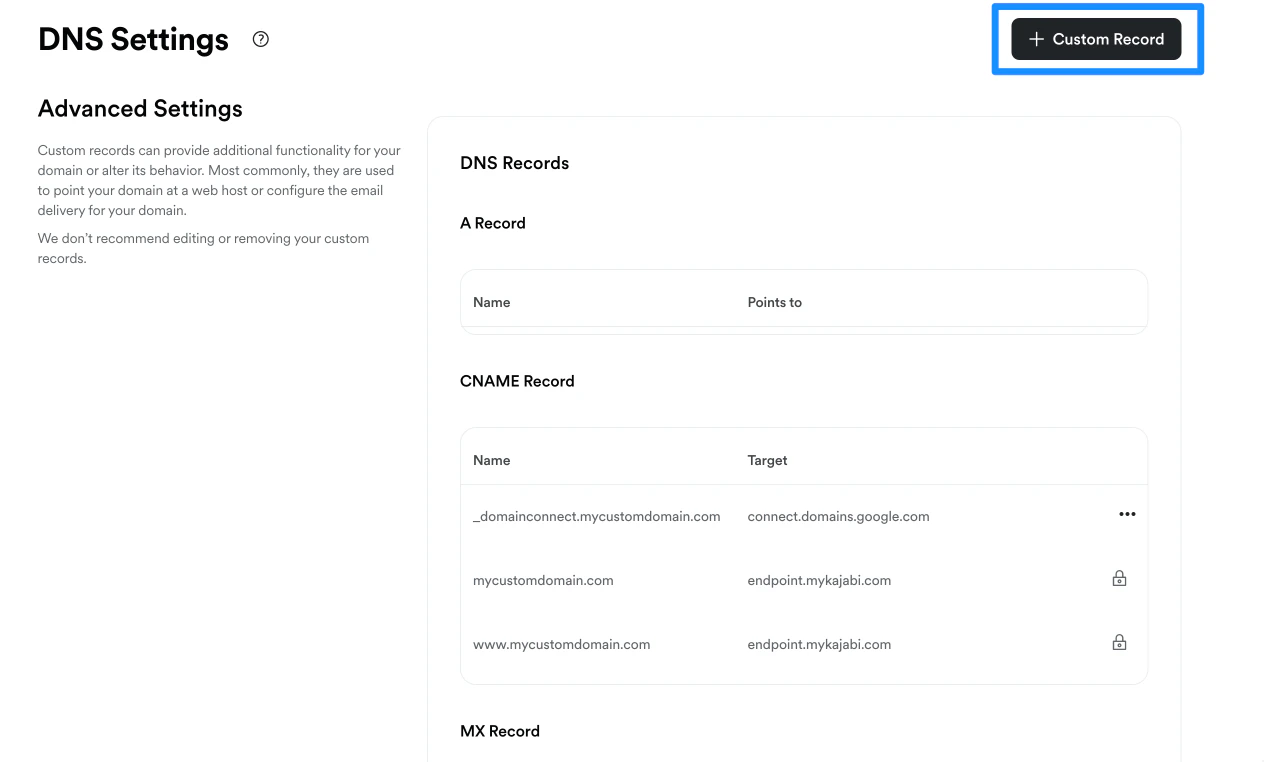
Available custom record types
- A record - Assigns an address for your domain to a specific IP
- CNAME record - Used to connect platforms through subdomains
- MX record - Holds your email sending and receiving information
- SRV record - Specifies a port for specific services. Commonly used for services like Skype or Discord.
- TXT record - These records are used to hold your email security information (e.g., DKIM) as well as for third-party plug-ins.