

Set up a monthly enrolling membership
Note: Setting up a Monthly Enrolling Membership will require creating multiple Products. Check out the Kajabi Pricing Page to find out how many Products are available with your Kajabi subscription.
Create monthly products
To create a Monthly Enrolling Membership, each block of your monthly content must be created as a separate Product. Your Products will be connected to corresponding Offers to ensure that customers purchasing in a specific month will only receive content from that month onward. Start by building your first Product for the first month you plan to run your membership. Learn to create a Product Then create a new Product for each month you plan to run your Monthly Enrolling Membership: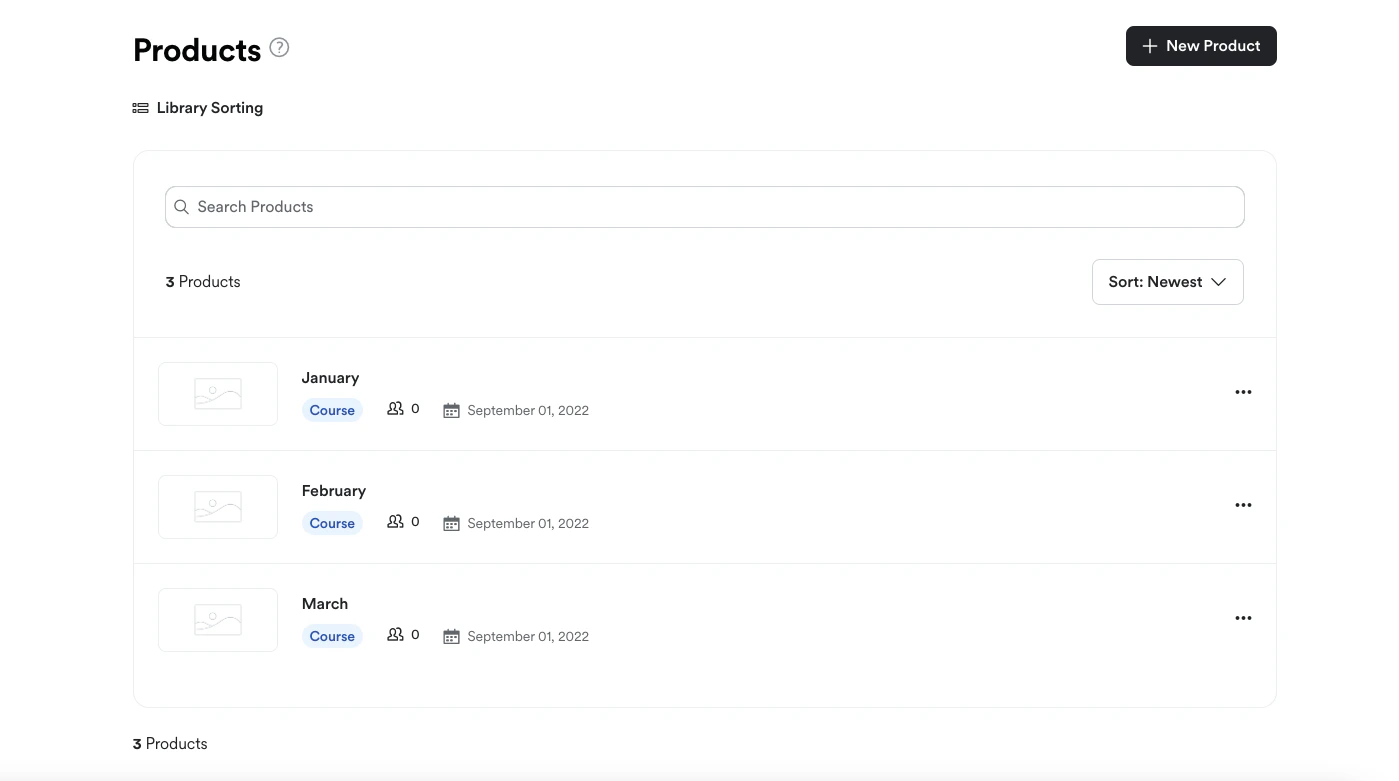
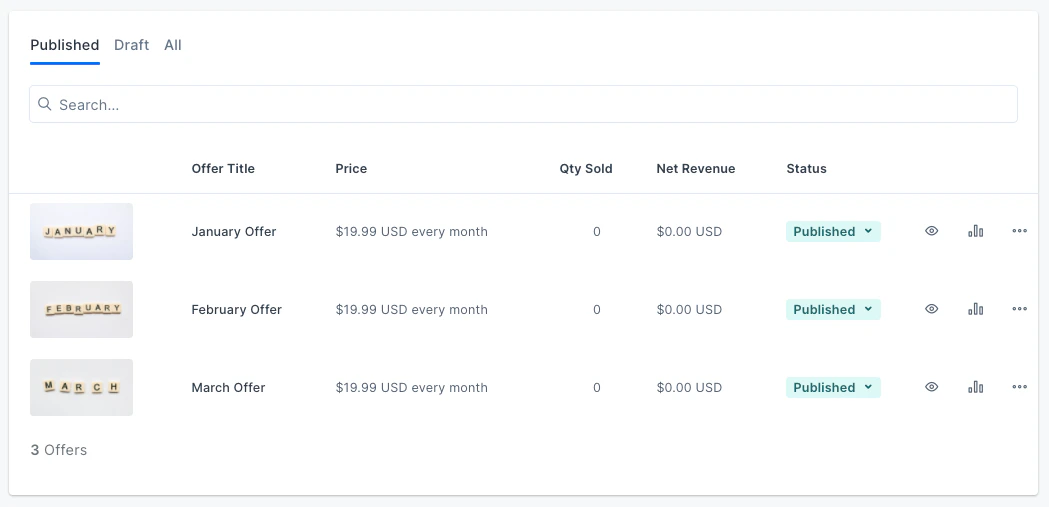
Create monthly Offers
After creating your Product(s), create and edit the corresponding Offers and their Checkout Pages for each month a customer can purchase your membership. Learn to Create Offers and edit the Checkout Page.Key Offer settings
- Price: Recurring subscription
- Automation: When an Offer subscription payment fails
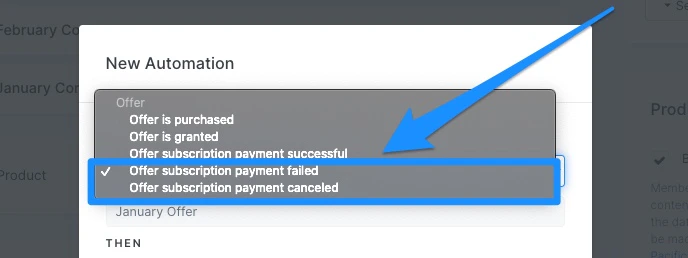
- Notify you and/or your team to address the issue with a Send an email automation
- Revoke access to the Offer
- Deactivate from Offer (discontinue payment & access) if you have Advanced Automations
Create a monthly enrolling funnel
Streamline your Monthly Enrolling Membership by using the Sales Page Funnel as your Monthly Enrolling Funnel.- Open the Marketing tab from your Dashboard.
- Click Funnels.
- Navigate to the top right corner and click New Funnel.
- Locate the Sales Page funnel card and click Get started.
- Enter an easily identifiable Title for your funnel (e.g., Monthly Enrolling Membership).
- Select the Offer for the first month of your membership (e.g., January Offer).
- Click Create Funnel.
Manage a monthly enrolling membership
Managing your Monthly Enrolling Membership is the key to successfully running this type of membership model. To manage your Monthly Enrolling Membership, simply update your Funnel and monthly Offers for each month of your membership. For example: If your Monthly Enrolling Membership began in January and now February has arrived, update your January Offer to also include your February content (i.e., February Product). Then, change the Offer in your Funnel to the February Offer. Managing your Membership on a monthly basis ensures that your ongoing content is only available to customers from the month your customers begin paying. Although Kajabi doesn’t have an automated process for this type of model at this time, it’s a sustainable, scalable process you can implement for your own business.Edit the funnel
First, edit your Funnel to direct customers to the next month’s Offer (in this example, the February Offer). This will ensure that customers purchasing in the next month (e.g., February) will only have access to the February Product.- Open the Marketing tab from the Dashboard.
- Select Funnels.
- Click to open your Monthly Enrolling Membership Funnel.
- Locate the Offer Checkout page and click the
…menu at the top right of the card. - Click Remove.
- Confirm by clicking Remove again in the pop-up.
- Next, place your cursor over the vertical line below your Sales Page.
- Click + Add Offer.
- Select the Offer for the next month of your membership (e.g., February).
- Click Save to apply your changes.
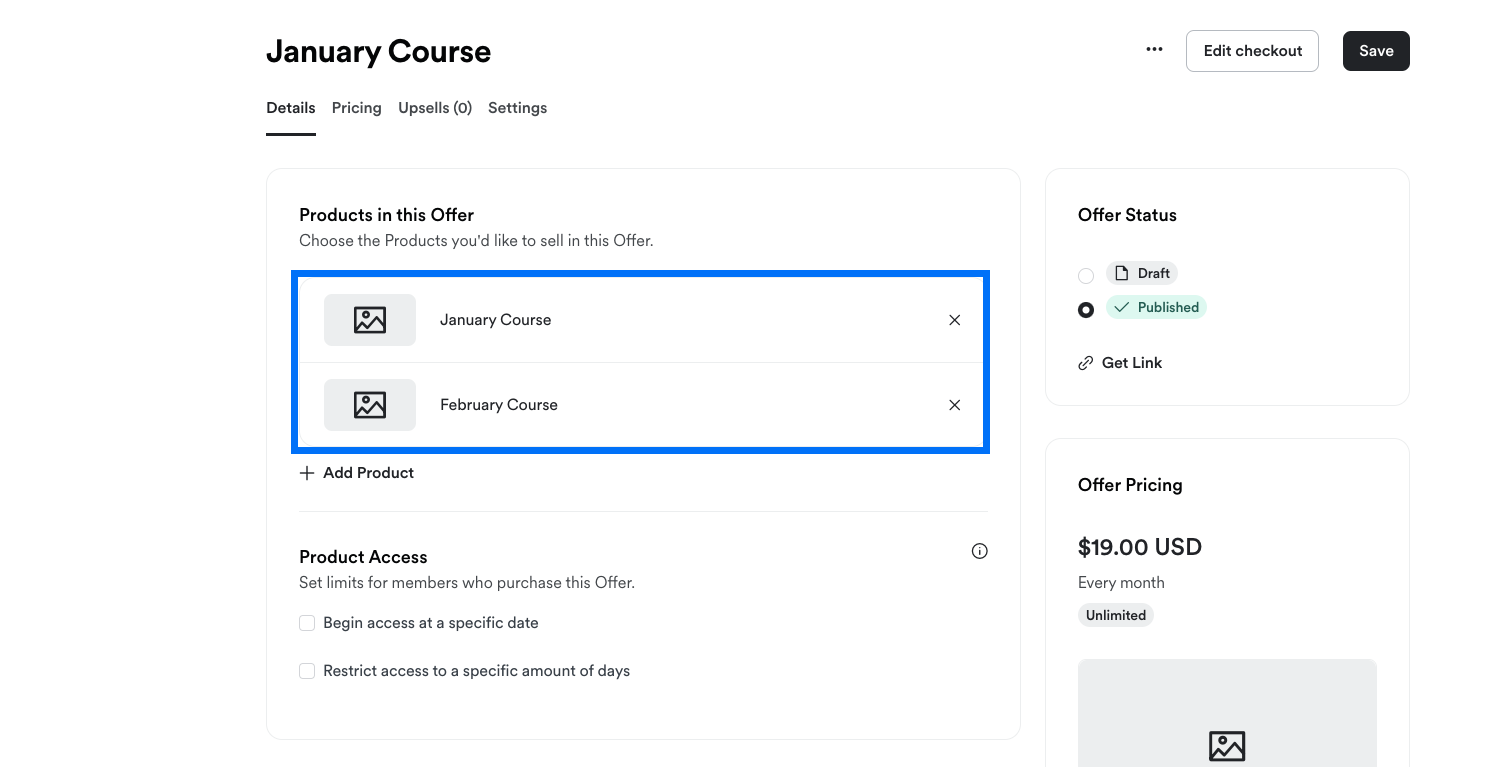
Edit the Offer
In this step, edit your previous Offer(s) to include the content (i.e., Product) for the next month of your membership. This will give customers with the previous Offer(s) access to the content for the new month.- Open the Sales tab from the Dashboard.
- Navigate to Pricing.
- Select the previous Offer.
- Locate Products in this Offer and click + Add Product.
- Select your next month’s Product.
- Click Save to keep your changes.
Have multiple previous Offers?
If you have multiple previous Offers, repeat Step 2 for each previous Offer to include the Product for the new month. For example, if your membership has entered the month of March, your previous Offer(s) should include Products for each month leading up to March:- Customers who subscribed in January will now have access to the Products for January, February, and March.
- Customers who subscribed in February will now have access to the Products for February and March.
- Customers who subscribed in March will only have access to the Product for March.