

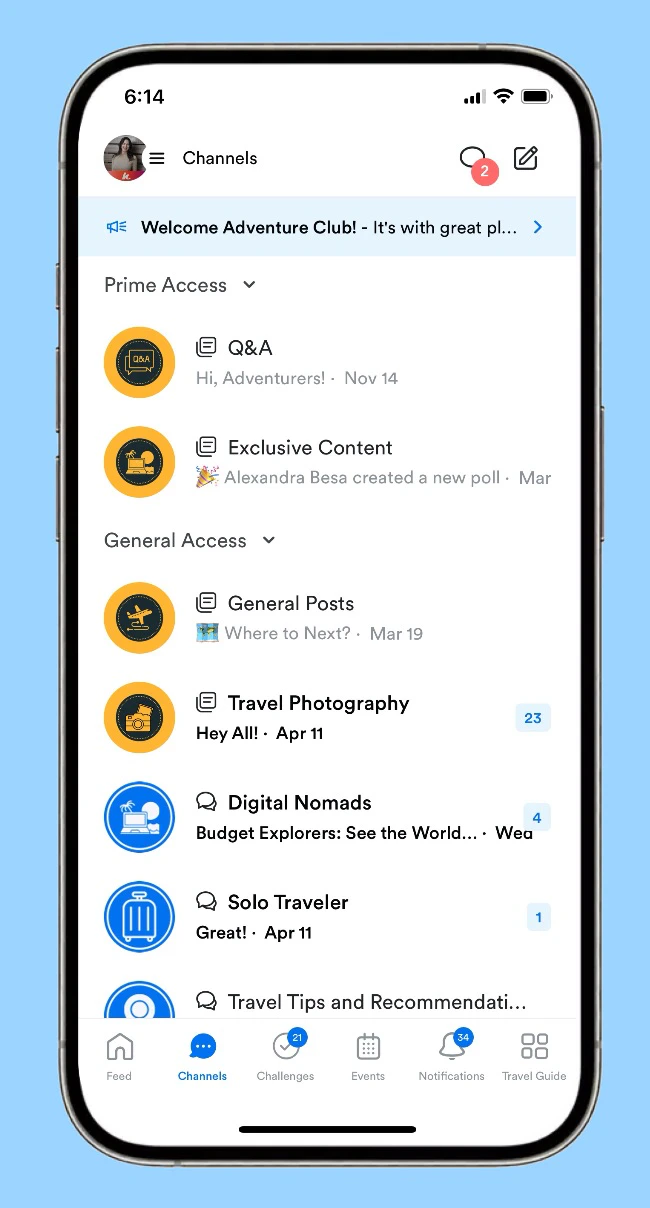
Channel types
Public, Private & Read-only Channels
A Public Channel automatically includes all members in the selected Access Group. A Private Channel limits access to only the members you invite from the Access Group. A Read-only channel may be public or private, and limits write access to Admins, Moderators and Assistants only.Feed vs. Chat
A Feed supports posts and topic threads. It displays in a feed-style layout where members can post photos, videos, share content, and show appreciation. A Chat is a group conversation where you can exchange messages with members.Channel topic ideas
Channels live within an Access Group. Choose topics that align with your goals and add value for your members. Topic-based examples:- Mental Health
- Need Advice
- Body Positivity
- Books
- Los Angeles Chapter
- Tokyo Buddies
- Australia Chapter
Create a Channel on the web
- Open the Products tab from your Dashboard.
- Select Community.
- Click the Go to Community button.
- Click the more options icon (…) in the top left next to the Community cover photo, then select Community Settings.
- Navigate to Channels on the left, then select +New channel.
- Add an image, Title, and Description for your Channel.

- Choose which Access Group can interact with your Channel.
- Select the type of Channel you want to create:
- A Feed layout supports posts and topic threads
- A Chat is a group chat where you can exchange messages with others
- Select one or more View Modes, or layouts, that are available for the channel. Community members are able to choose between the modes you select: Feed (Default) - A social card layout for scrolling through text and media posts.


- Then, select the Default View Mode members see when they first open the Channel.
- Set the privacy setting for your Channel:
- Public Channel — All members in the selected Access Group are automatically added
- Private Channel — Only people you invite will have access
- Click Save to create a Public Channel, or click Next for a Private Channel.
- Use the checkboxes to select which members to grant access.
- Select the checkbox at the top of the list to select all members.
- Click Save.
Note: If you want to upload an image or video file to your Channel, there is a 1 GB upload limit for videos and a 40 MB upload limit for photos. Videos and rich content can also be added directly into a feed post by adding a link.
Note: Add or remove members from a Private Channel at any time in your Channel settings by clicking the members link at the right of the Privacy setting. A notification appears in the Channel feed when members are added. If a member is removed from the Community, any content they posted remains visible with an indication that the original author’s account was deleted.
Create a Channel on mobile
- Open the mobile app.
- Go to the Channels tab at the bottom of the screen.
- Click the pencil icon in the top right corner.
- Click Start a new Channel.
- Fill out all the details.
- Select the type of Channel you want to create:
- A Feed layout supports posts and topic threads
- A Chat is a group chat where you can exchange messages with others
- Set the privacy setting for your Channel:
- Public Channel — All members in the selected Access Group are automatically added
- Private Channel — Only people you invite will have access
- Click Save to create a Public Channel, or click Next for a Private Channel.
- Use the checkboxes to select which members to grant access.
- Click Save.
Set a Channel to Read-only
When editing a Public or Private Channel, you may use a toggle to set it to Read-only. When enabled, only Admins, Moderators and Assistants can create Posts and Comments. Members are able to react to existing content.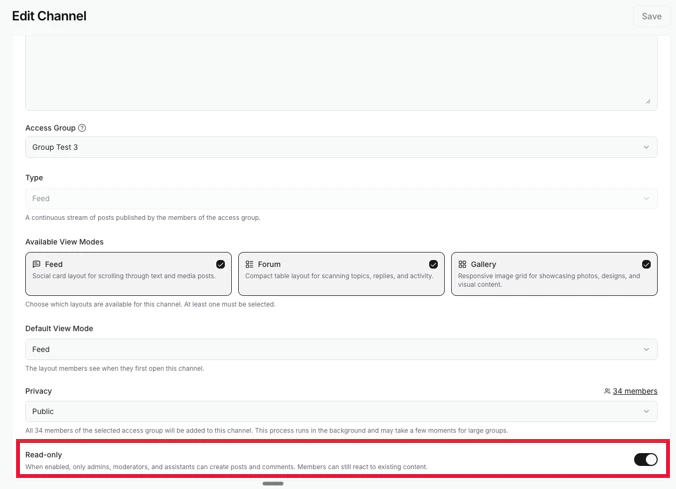
Feed Channel cover photo
Add a cover photo to Feed Channels to give your Channel a polished look.- Go to the Feed Channel.
- In the top left corner, click Edit Page.
- Click Choose File and upload your cover image.
- Click Save to apply changes.