Overview
Use Kajabi’s Lead Generation Landing Page Wizard to quickly and easily capture the email addresses of potential customers, even if you haven’t yet built a Course or a Website.
The Wizard helps you generate a single web page with an embedded Contact Form. Use the Form to capture your page visitors’ email addresses to build your email list and market your products.
Create a lead generation landing page
Build your Lead Generation Landing Page in as little as a few minutes with the Landing Page Wizard in Kajabi.
Tip:
Have your business Logo image file handy. You’ll need to upload it in Step 1.
To open the Landing Page wizard
If you’ve never created a Landing Page before:
- Select the Website tab from your Dashboard.
- Select either Website Pages or Landing Pages.
- Choose Landing as your Page type from the top navigation menu.
- Click Get Started to launch the Wizard.
Or click Browse templates and select the Lead generation page creator:
If you’ve created a Landing Page before:
- Select the Website tab from your Dashboard.
- Choose Landing as your Page type.
- Click + New Landing Page.
- Select the Lead generation page creator:
Next, follow the prompts in the Wizard to build your Landing Page. After you make a change, the preview will automatically update.
Step 1: Customize your page
- Click Pick File to upload a business Logo to display at the top of the Page.
(Note: If you’ve uploaded a Logo in your Site Branding Settings, it may already appear on the template. Click “Replace file” to choose another image.)
- (Optional) Customize your Button color and Background color by clicking on the color pickers and selecting or inputting your desired colors.
Use the color picker sliders to create a custom color, or input a Hex code or RGBA color values.
- (Optional) Select a Font from the dropdown menu and customize your Font color by clicking on the color picker and selecting or inputting your desired color.
If you select a dark Background color, we automatically update the Font color to white to make it readable against the dark background. To edit the Font color, change your Background color to a lighter color.
- Click Continue:
Step 2: Write content for your page
- Create a page Headline and Supporting copy encouraging people to sign up for your email list.
You can either input your own copy or use Cofounder to help.
- (Optional) Click Generate content for your page to open Cofounder.
Input a detailed Topic for your marketing copy and click Generate.
Edit the generated Headline and Supporting copy as desired and click Apply.
(Or click Try again to generate a new set of copy).
- Click Continue:
Tip:
Not sure about your copy? You’ll be able to refine it again later as many times as you like. Learn more about how to use Cofounder to help you generate a great first draft of your marketing copy. Step 3: Set up your social links
- Optionally add any or all of the following social media profile links to your Landing Page:
- Facebook
- Instagram
- Twitter
- YouTube
- LinkedIn
- TikTok

When you’ve finished building your Landing Page
- Toggle on the Show preview only setting at the top right to preview a larger image of your page.
- (Optional) Click Go back if you’d like to return to a previous step in the Landing Page Wizard and make any changes.
- Click Finish to create your Landing Page:

Share your page
Once you’ve generated your Landing Page, share it with your audience to begin capturing leads.
- Click Copy Link in the completion pop-up modal to share your Page on your social media channels. You can also click the icons to share your Page directly to Facebook, Twitter, or LinkedIn:

- Or copy your Page link at any time by navigating to Website > Pages > Landing and clicking the Copy URL icon next to your Landing Page:
 If you’ve already built a business Website, you can also add a link to your Landing Page from your other site pages or your site navigation menu. Learn more about how to connect a Landing Page to your Website.
Edit your page and form details
Customize the settings for your Landing Page and Contact Form to best fit your business needs.
Page details
Conveniently edit your Page URL, SEO settings, and other Page details by clicking Edit URL slug in the completion pop-up modal:
 Or edit your Page details at any time by navigating to Website > Pages > Landing, clicking the … dropdown menu next to your Landing Page and selecting Edit details:
 Learn more about how to customize your Page details.
Tip:
Looking to go back later to change your written copy or Page design? Navigate to Website > Pages > Landing and click either your Page Title or the Customize icon to open your Landing Page in the Page Builder for editing.
 Or edit your Form details and view your Form submissions at any time by navigating to Marketing > Forms and clicking the Edit and Submissions icons next to your Form:
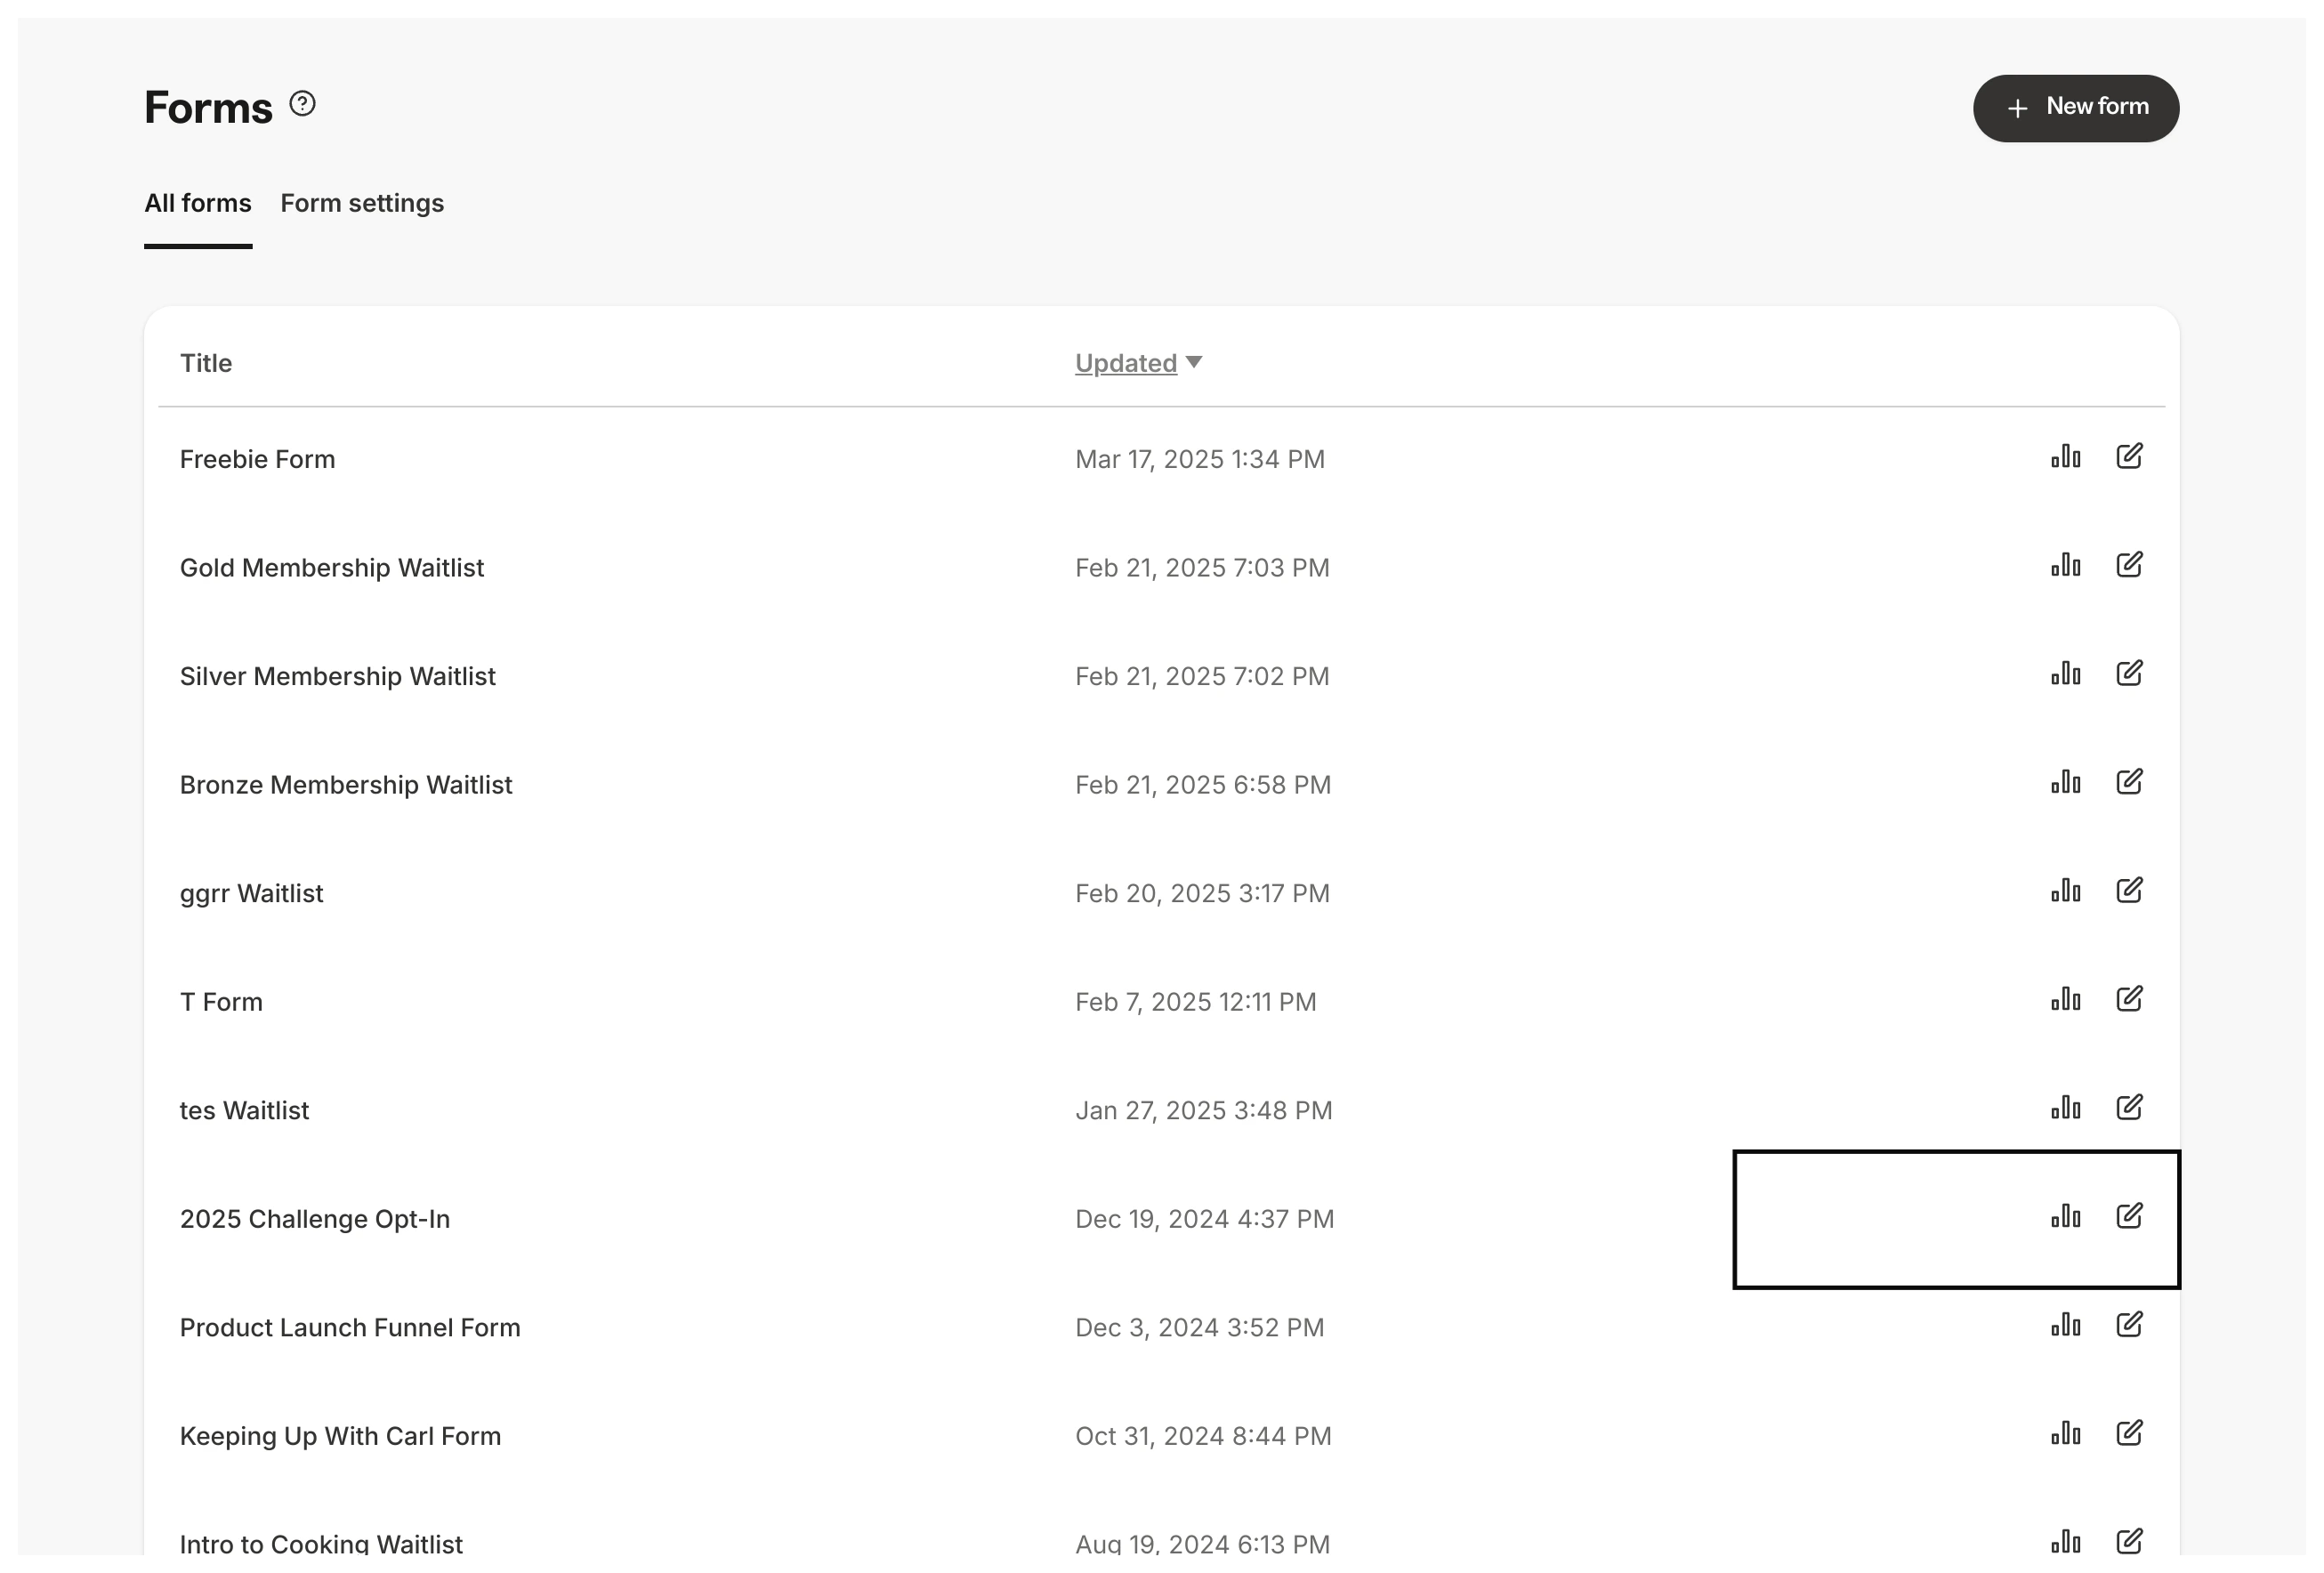 Learn more about how to customize your Form and how to view Form submissions.
Offer a lead magnet or freebie
Give your contacts a sample of your content by providing a downloadable file in your landing page.
To add a downloadable file in your landing page
- Open the Website tab from the Dashboard.
- Select Landing Pages.
- Open the page editor for your landing. Learn more
- From the sidebar, click Opt-in Form.
- Then, open the Form block.
- Set up the action triggered after the Form is submitted from the page by locating the Thank You Page dropdown.
- Select Download a File.
- Click Pick File.
- Follow the on-screen prompts to upload your downloadable file.
- Click Save to keep your changes:
By including a downloadable file in your landing page, your leads will be able to download your freebie after signing up.
Learn more tips to create a lead magnet or freebie and additional ways to send a lead magnet or freebie to a customer. 
